Handstand Progression: How to Learn a Handstand at Home
Quick answer: To learn a handstand, build up in steps: plank holds → pike holds → wall walks → chest-to-wall handstand holds → kick-ups and bailing practice → freestanding handstand. Practice 3–5 times a week for 10–15 minutes, starting with 20–30 second holds at each stage before moving on. Learn to bail out safely (cartwheel or step down) early, and practice on a clear, cushioned surface near a wall. Most adults need several months of consistent practice for a freestanding handstand.
Key takeaways
- Strength first: you need to hold a solid plank and pike position.
- Chest-to-wall holds teach the straight body line.
- Learn to bail before attempting freestanding balance.
- Short, frequent practice beats occasional long sessions.
- Warm up wrists every time.
Are you ready?
- Can you hold a high plank for 60 seconds?
- Can you do 10 push-ups with good form? (Not yet? See our push-up progression.)
- Can you raise your arms fully overhead without arching your lower back? (If not, try upper back mobility drills.)
- No wrist, shoulder, neck or blood pressure issues. If unsure, check with a healthcare professional; being upside down isn't suitable for everyone.
Wrist warm-up (3 minutes)
- Wrist circles: 10 each direction.
- On hands and knees, fingers forward, gently rock forward and back: 10 reps.
- Fingers pointing back toward knees, gentle rocks: 10 reps.
- Palm lifts: lift palms while keeping fingertips down: 10 reps.
Handstand progression
| Step | Exercise | Goal before moving on |
|---|---|---|
| 1 | High plank hold | 3 × 45–60 sec |
| 2 | Pike hold (hips high, feet on a box or bench) | 3 × 30 sec |
| 3 | Wall walks (walk feet up the wall, hands toward it) | 3 × 3 reps, getting closer each time |
| 4 | Chest-to-wall handstand hold | 3 × 30–45 sec |
| 5 | Shoulder taps in chest-to-wall handstand | 3 × 5 per side |
| 6 | Bail practice (cartwheel out or step down) from a kick-up | Comfortable bailing to both sides |
| 7 | Back-to-wall kick-ups, pulling one foot off the wall | 5–10 sec balancing |
| 8 | Freestanding kick-ups | Holds of a few seconds, then build |
Proper handstand form
- Hands shoulder-width, fingers spread, pressing through the fingertips to balance.
- Arms locked and shoulders pushing up toward your ears.
- Ribs tucked and glutes squeezed for a straight line, not a banana shape.
- Legs together and toes pointed.
- Eyes on the floor slightly between your hands.
Common mistakes
| Mistake | Fix |
|---|---|
| Banana back (arching) | Chest-to-wall holds with ribs tucked |
| Bent elbows | Lock arms; build strength with pike holds |
| Kicking too hard | Small, controlled kicks |
| Not knowing how to bail | Practice cartwheel exits before freestanding work |
| Practicing only when tired | Practice early in your session |
Sample weekly practice
| Day | Practice (10–15 min) |
|---|---|
| Mon / Wed / Fri | Wrist warm-up, 3 wall walks or chest-to-wall holds, 5 bail practices |
| Tue / Thu | Strength: pike push-ups 3 × 6, plank variations, overhead press |
Strength exercises that help
- Overhead press and pike push-ups for shoulder strength.
- Hollow body holds and dead bugs for core control.
- Dips for triceps and shoulder stability.
- Pull-ups for balanced shoulders: chin-up vs pull-up.
Practicing handstands safely at home
- Clear space: at least 6 ft around you, away from furniture, TVs and glass.
- Wall: a solid wall with nothing hanging on it.
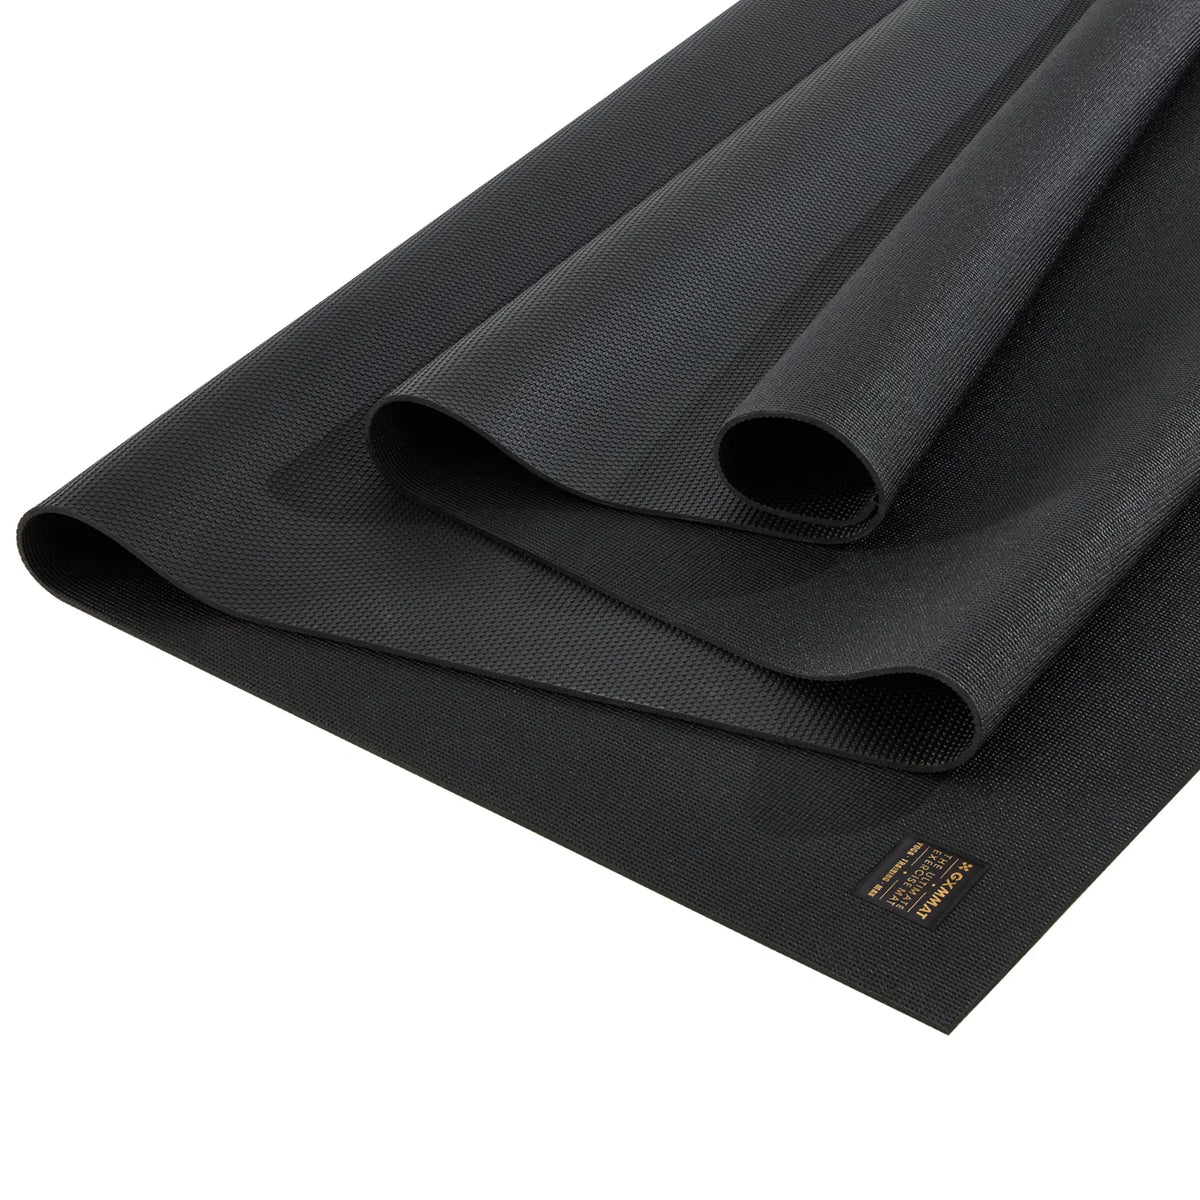
- Surface: a firm but cushioned, non-slip mat. GXMMAT large exercise mats are 7 mm thick and non-slip on both sides, so your hands stay put and falls are softer than bare floors. The GXMMAT yoga mat in 7 or 9 mm suits barefoot practice. Avoid very soft foam that makes wrists unstable.
- Room for bails: a large mat such as 6×8 ft or bigger gives space to cartwheel out.
- Spotter: helpful in the early kick-up stages.
FAQ
How long does it take to learn a handstand?
Many adults take several months of regular practice for a freestanding handstand. Wall handstands come much sooner.
Is it safe to practice handstands at home?
Yes, with a clear space, a solid wall, a non-slip mat and a practiced bail. Skip it if you have blood pressure, eye, neck or wrist conditions without medical advice.
Chest-to-wall or back-to-wall: which is better?
Chest-to-wall is better for learning a straight body line. Back-to-wall is useful for practicing kick-ups and balance.
What muscles do handstands work?
Shoulders, triceps, upper back, core and wrists and forearms.
How often should I practice handstands?
Short sessions 3–5 times a week work best. Stop when your form gets sloppy.
Written by Yuvien Royer for GXMMAT. This article is general fitness information, not medical advice. Inversions aren't suitable for everyone; consult a healthcare professional if you have any health concerns.