Workout Cage Setup: Spatial Clearance, Floor Protection, and Home Gym Layout Architecture
Architectural Fundamentals of a Workout Cage Setup
Installing a dedicated lifting station represents a cornerstone milestone when designing a home training environment. A successful workout cage setup requires an architectural perspective that accounts for equipment dimensions, dynamic human movement, and the structural integrity of your room. Far beyond simply assembling steel uprights, organizing a power cage home gym demands that you balance load distribution, user pathways, and equipment versatility before tightening the first bolt.
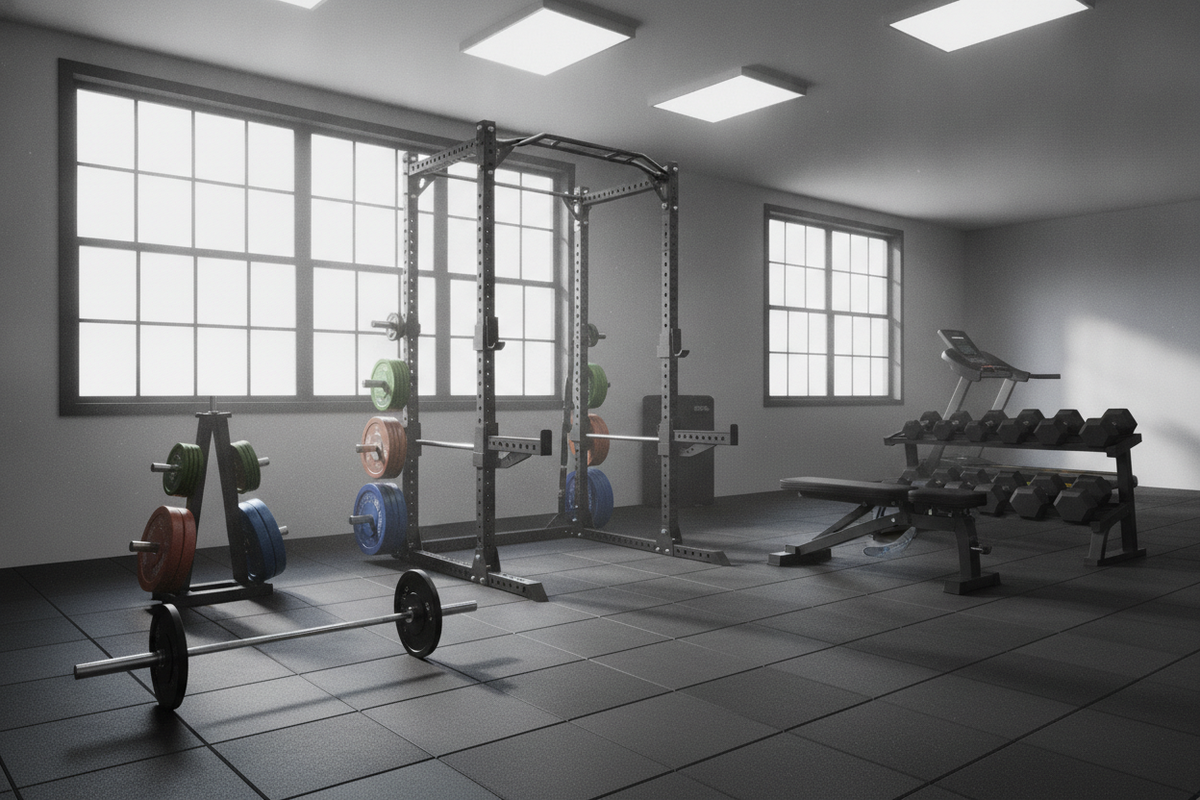
A weight lifting cage acts as the central anchor of your training space. Selecting a solid rack allows an athlete to customize their workouts across squats, bench presses, and accessory movements within a controlled perimeter. When browsing through a dedicated gym power rack collection, consider how upright dimensions, base stabilizers, and accessory mounts dictate your spatial needs. Building around a central steel frame ensures that subsequent additions—such as weight storage trees, benches, and specialty bars—integrate smoothly into your floor plan rather than crowding your workout zone.
Spatial Clearance: Wall Distances, Barbell Paths, and Overhead Height
Proper home gym rack placement starts by mapping clear spatial boundaries around the perimeter of the steel frame. When lifters consider how far a power rack should sit from a surrounding wall, they often underestimate the space needed behind and beside the frame. Placing uprights too close to drywall restricts plate loading, obstructs rear attachment installation, and prevents uninhibited barbell travel during dynamic exercises.
- Rear Clearance: Leave adequate walking room between rear uprights and the wall. This permits effortless access for tightening hardware, storing weight horns, or positioning a bench for inclined movements.
- Lateral Loading Buffer: Allow ample lateral space beyond the ends of a standard barbell. Lifters must be able to slide bumper plates onto the bar collars without scraping nearby walls or weaving around other fitness gear.
- Overhead Headroom: Ensure generous clearance between the top pull-up bar and the finished ceiling. Overhead presses completed outside the rack, as well as strict pull ups inside or above the frame, demand sufficient vertical space to prevent unexpected contact with joists or light fixtures.
Planning these clearances ensures that your barbell moves through its natural trajectory without interference. Furthermore, convenient hole spacing along the uprights allows fine adjustments for safety catches and J-cups, which makes unhindering spatial margins around the cage even more critical during intense lifting sessions.
Footprint Comparison: Power Cages, Half Rack, and Squat Rack Profiles
Selecting between an enclosed frame, a half rack, or an open squat stand hinges on available space, exercise variety, and stability expectations. A full power rack features an enclosed four-post or six-post design, creating an interior zone equipped with safety features like pin-pipe safeties or heavy-duty straps. This enclosed configuration supports heavy squats, rack pulls, and solo bench presses with reliable peace of mind, though it demands the largest footprint in your room.
Conversely, a half rack utilizes two primary vertical uprights paired with compact base supports and short forward-facing spotter arms. This design delivers a space-saving compromise, preserving overhead openness while still offering substantial rigidity for serious training. For highly constrained rooms, an open squat rack offers a minimal, lightweight footprint. However, freestanding squat stands often sacrifice accessory expandability and stability during aggressive barbell re-racking. For a thorough breakdown of how these frames differ in footprint and functional utility, consulting a detailed power cage squat guide helps clarify which geometry matches your home gym ambitions without overcommitting your square footage.
Subfloor Defense: Squat Cage Floor Protection and Mat Selection
A heavy steel cage combined with iron weights creates immense localized pressure on your subfloor. Establishing reliable squat cage floor protection prevents cracked concrete, crushed subflooring, and damaged decorative finishes. What you put under a power rack determines not only the longevity of your home flooring but also the baseline stability of every heavy lift.
Bare concrete surfaces, while rigid, are prone to dusting, chipping, and spiderweb fractures when exposed to heavy dropped weights. Installing a dedicated power rack floor mat creates a resilient buffer that dissipates kinetic force across a broader surface area. When reviewing an architectural layout via a weight lifting mat guide, prioritizing high-density, non-porous rubber remains the standard recommendation for strength equipment zones.
Addressing carpeted subfloors presents unique structural challenges. Placing heavy equipment directly over carpet invites mold-trapping condensation, pile crushing, and equipment wobbling caused by underlying carpet padding. For carpet installations, the most effective approach incorporates a solid surface intermediary—such as dense smooth composite sheeting or rigid subfloor panels—topped with a heavy-duty protective layer like a specialized mat gym workout product. This layered foundation creates a firm, slip-resistant base that prevents upright sinking while preserving the underlying carpet fibers.
Step-by-Step Layout Zoning and Cage Orientation Mechanics
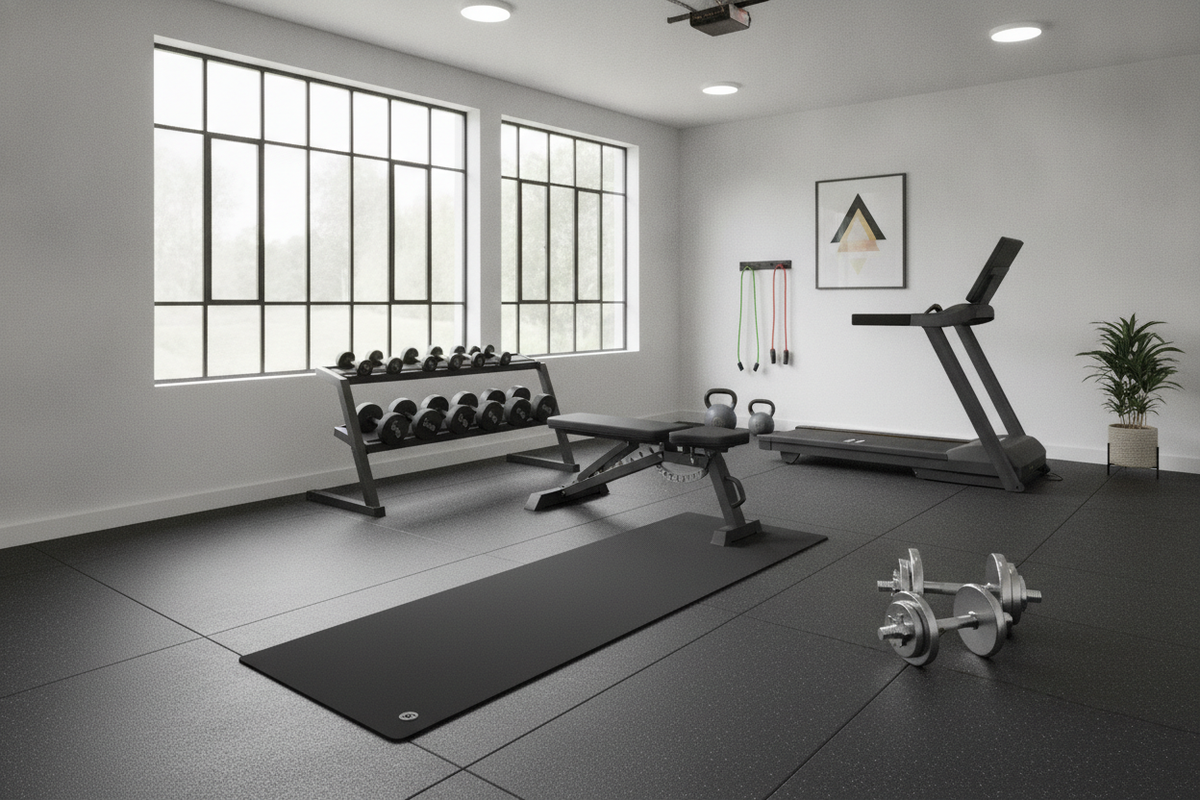
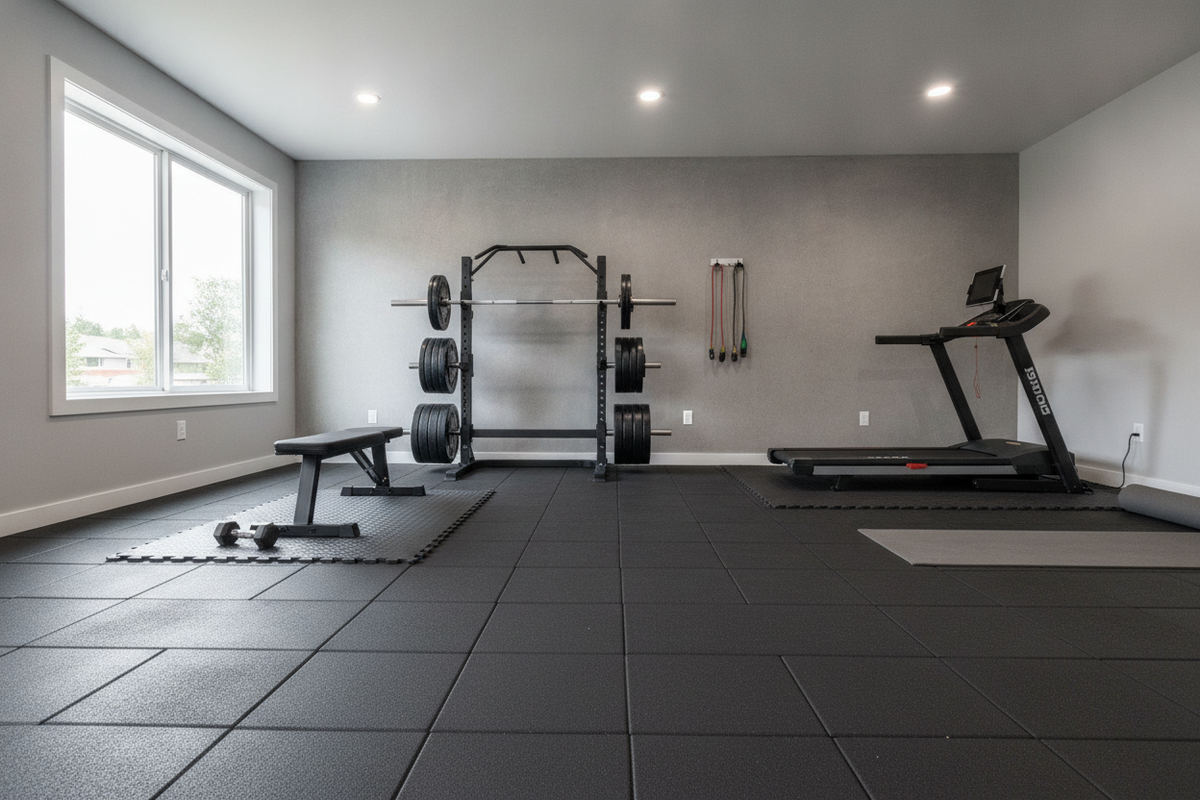
When mapping how to layout your home gym, treat your workout cage as the central anchor from which all training zones radiate. Efficient spatial flow prevents clutter, isolates heavy barbell pathways from general stretching zones, and keeps walkways open.
- Determine Orientation: Decide early whether you face towards or away from a squat rack. Most lifters prefer facing out toward the room or a focal point during squats, which encourages an upright posture and maintains spatial awareness. Facing into the cage remains common during bench presses to ensure sightlines align directly with the J-cups during lift-off.
- Establish the Core Lifting Perimeter: Position your cage so that benches can roll completely clear of the interior uprights without colliding with walls, secondary machines, or storage racks.
- Zone Peripheral Storage: Situate plate trees, dumbbell racks, and utility accessories along adjacent walls, outside the primary bar loading clearance envelope.
- Anchor or Level the Base: Ensure the cage rests level against the floor mat. If bolting to a concrete foundation or a reinforced wooden platform is not an option, counterweighting the rear storage horns provides meaningful frame stability without penetrating structural subfloors.
Routine Inspection and Flooring Preservation Protocols
Maintaining a safe, high-performing home gym requires periodic hardware checks and proactive flooring inspections. Over months of heavy training sessions, repeated vibration from re-racking barbells and landing weights can gradually loosen structural bolts and compress protective matting unevenly.
Conduct regular walkthroughs to ensure that frame bolts remain torqued to manufacturer recommendations and that uprights sit vertically plumb. Simultaneously, examine the perimeter of your floor mats for signs of curling, shifting, or localized depression beneath the rack feet. Realigning base mats and cleaning accumulated chalk or debris from beneath the frame preserves the traction of your lifting surface and protects your foundational investment for years of productive workouts.