
5 Essential Hip and Pelvis Stretches: Biomechanical Blueprints, Positional Cues, and Floor Mat Staging
The Biomechanics of the Hip-Pelvis Complex: Why Integrated Mobility Matters
The hip-pelvis complex operates as the central crossroad for lower-body power, upright posture, and fluid movement. Structurally, the pelvic girdle and the ball-and-socket acetabulofemoral joints work together across sagittal, frontal, and transverse planes. When tight muscular structures around the pelvis restrict natural movement, surrounding joints often compensate. Incorporating structured hip and pelvis stretches helps re-establish balanced muscular tension, allowing the pelvis to sit in neutral alignment during both athletic drills and daily activities.
Achieving effective pelvic mobility requires understanding pelvic tilt and rotational orientation. When you perform pelvic and hip stretches, subtle shifts between an anterior tilt (forward tip), posterior tilt (backward tuck), and neutral position directly determine which muscular layers receive tension. Isolating these lines of force on a supportive surface ensures the stretch reaches deep hip rotators, adductors, and flexors rather than collapsing into passive connective tissue.
5 Essential Hip and Pelvic Stretch Blueprints
Understanding how to stretch pelvis and hips effectively comes down to deliberate joint positioning, controlled breathing, and firm ground contact. Below are five foundational floor-based movements designed to target the primary muscle groups surrounding the pelvic basin.
Half-Kneeling Hip Flexor Stretch with Posterior Pelvic Tuck
The half-kneeling stretch isolates the psoas major and rectus femoris by removing compensatory lumbar arching.
- Setup: Assume a half-kneeling position with one knee resting on your exercise mat and the forward foot planted flat, creating 90-degree angles at both knees.
- Execution: Engage the glute of the trailing leg and gently tuck your tailbone underneath you into a posterior pelvic tilt. While maintaining an upright rib cage and neutral spine, shift your entire torso forward by a few inches until you feel a clean stretch across the front of the trailing hip.
- Key Cue: Avoid hyperextending your lower back. The tension must stem from the pelvic tuck rather than over-lunging forward.
Supine Figure-4 and Knee-to-Shoulder Gluteal Stretch
This supine pattern decompresses the posterior hip capsule, piriformis, and deep external rotators while keeping the spine supported against the mat.
- Setup: Lie flat on your back on a cushioned surface with both knees bent and feet resting on the floor.
- Execution: Cross your right ankle over your left knee to form a figure-4 shape. Thread your hands through to clasp behind your left hamstring or over the left shin, gently drawing the left knee toward your chest. Keep your head, neck, and tailbone flat on the floor. For targeted variations focusing on deeper rotational lines, explore targeted knee to shoulder stretch guidance.
- Key Cue: Actively press the crossed knee outward using hip musculature rather than forcing the joint with your hands.
The 90/90 Hip Mobility Flow for Internal and External Rotation
The 90/90 position addresses internal rotation on one side and external rotation on the other, promoting balanced hip capsule mobility.
- Setup: Sit on your mat with your lead leg bent in front of you at a 90-degree angle (knee and hip aligned) and your trailing leg bent behind you at a 90-degree angle.
- Execution: Sit tall through your spine. Hinge forward from the hip crease over the front shin to target the lead glute. To address the trailing hip's internal rotators, gently square your torso forward while keeping the back hip grounded toward the floor.
- Key Cue: Maintain an active foot position by gently dorsiflexing both ankles to support knee stability.
Quadruped Frog Stretch for Adductor and Pelvic Floor Lengthening
The frog stretch provides broad opening across the adductor complex and the pelvic floor, providing a foundational bodyweight counterpart to dedicated adductor stretch machine training.
- Setup: Start on hands and knees over a high-density, wide-format mat. Slide your knees outward as wide as comfortably possible while keeping the inner edges of your feet flat against the mat.
- Execution: Lower down to your forearms for upper-body support. Keeping your spine neutral, slowly rock your hips backward toward your heels until you feel a deep, controlled stretch along the inner thighs.
- Key Cue: Synchronize your movement with slow diaphragmatic exhales as you press back into the hip hinge.
Deep Squat Pry with Pelvic Expansion
The deep squat pry uses full lower-body flexion to encourage natural pelvic outlet expansion and hip abduction.
- Setup: Stand with feet slightly wider than shoulder-width, toes turned slightly outward. Descend into a deep squat position, holding onto a solid anchor point if balance is limited.
- Execution: Place your elbows against the insides of your knees and press your palms together. Use your elbows to gently pry your knees outward while lifting your chest and extending upward through the crown of your head.
- Key Cue: Breathe deeply into the lower abdomen and pelvic basin to encourage muscular relaxation at the bottom of the squat.
Floor Staging and Surface Mechanics: Maximizing Stretch Depth with High-Density Matting
Executing ground-based hip and pelvis stretches requires proper floor staging. When working through deep kneeling positions, quadruped wide-stance drills, or supine stretches, sensitive joints—such as the patella, wrists, and sacrum—bear significant body weight against the floor. Hard subfloors without adequate cushioning can cause discomfort that triggers protective muscular guarding, preventing deep relaxation.
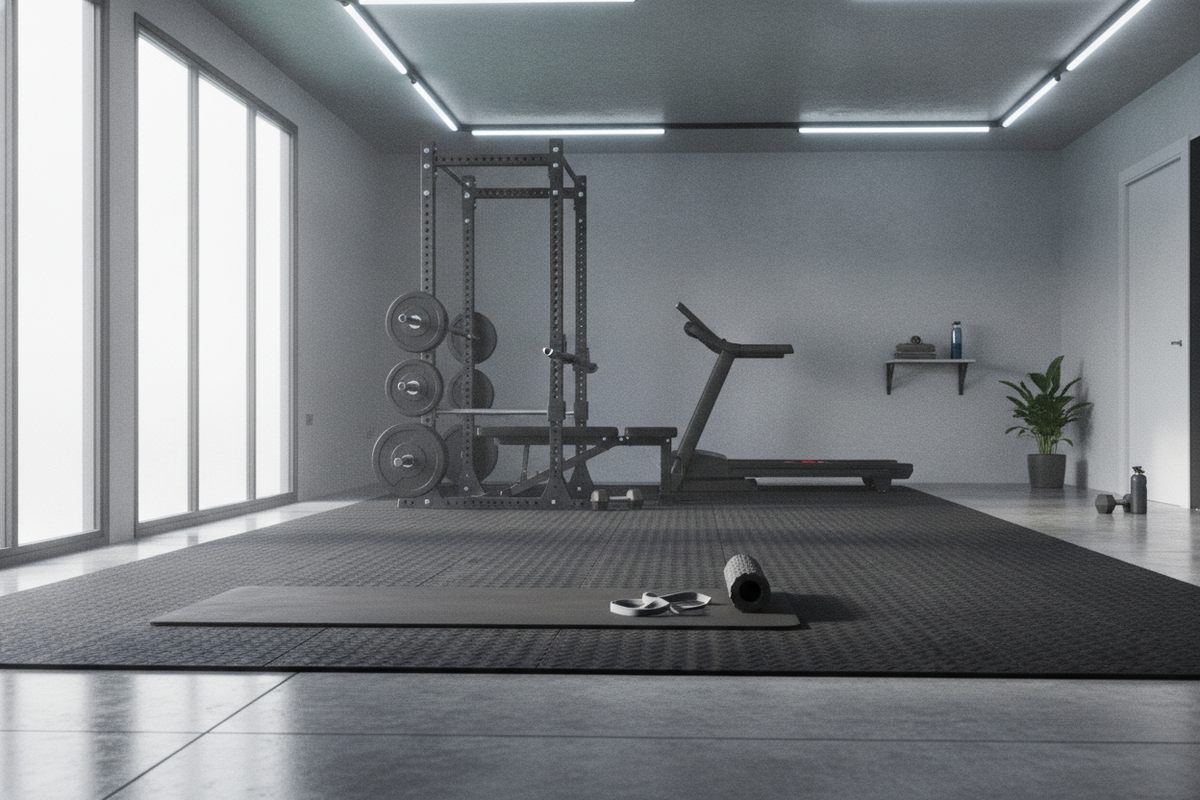
A dedicated, high-density exercise mat distributes surface pressure evenly while offering non-slip traction. High-friction textured surfaces prevent the trailing knee from sliding backward during half-kneeling lunges and keep feet securely planted during wide-stance frog stretches. Choosing a large-format mat allows you to flow seamlessly between kneeling, seated, and supine positions without running out of room or shifting off padded ground.
Programming and Sequencing: Integrating Mobility Into Daily Workouts
Knowing how to stretch hips and pelvis effectively also requires choosing the right timing for different stretch modalities:
- Pre-Workout Dynamic Preparation: Prior to lifting or running, prioritize active, movement-based variations such as dynamic 90/90 transitions, gentle hip circles, and bodyweight squat prying. These patterns prepare joint capsules for loaded ranges of motion without temporarily decreasing muscular power.
- Post-Workout Static Lengthening: After training sessions, hold static positions like the half-kneeling hip flexor stretch, frog stretch, and supine figure-4 for steady intervals of controlled breathing. For a broader dynamic structure, you can integrate these into a complete tight hip workout routine.
- Standalone Active Recovery: Dedicated 15-to-20-minute floor mobility sessions on rest days help restore baseline joint play and reinforce pelvic control. Pairing flexibility work with active control, such as seated hip adduction strength principles, ensures your mobility is backed by joint stability.
Common Biomechanical Faults and Alignment Corrections
When performing pelvic and hip mobility work, subtle compensation patterns can reduce the effectiveness of each movement. Keep an eye out for these frequent alignment errors:
- Lumbar Hyperextension: Over-arching the lower back during hip flexor stretches bypasses the anterior hip. Keep the rib cage stacked directly over the pelvis and maintain a light abdominal brace.
- Pelvic Hiking and Asymmetry: In seated positions like the 90/90, leaning excessively to one side to avoid joint stiffness reduces rotational stimulus. Use yoga blocks or folded pads under the sitting bones to elevate the hips and level the pelvis.
- Knee Collapsing in Deep Flexion: During deep squat prying, allowing the arches of the feet or knees to collapse inward places unnecessary torque on connective tissues. Actively drive the knees out in line with the middle toes.
Mat Care, Grip Maintenance, and Mobility Zone Organization
Maintaining your home gym floor setup ensures long-term hygiene and consistent traction during floor-based stretching routines. Sweat-resistant, closed-cell exercise mats can be wiped down after mobility sessions using a mild soap solution and a microfiber cloth. Avoid abrasive chemical cleaners that can degrade top-layer grip coatings over time.
Keep your mobility zone organized by rolling large mats neatly or assigning them a dedicated flat footprint in your home gym. A designated, clean stretching bay removes friction from your daily training routine, making regular hip and pelvic mobility work a consistent habit.


