The 4-Move Chest Combination Workout I Use in My Garage Gym
I spent years trying to force a square peg into a round hole. I’d look at bodybuilding magazines or follow pro routines that required three different cable machines and a pec deck that didn't rattle. In my 400-square-foot garage, that stuff just isn't happening. I had to pivot to a chest combination workout that prioritized raw mechanical tension over fancy pulleys.
If you're training in a garage, you know the struggle. You want the pump and the growth, but you only have a rack, a bench, and some iron. This routine is the result of years of trial and error, focusing on what actually builds slabs of muscle when you're limited on space but not on effort.
Quick Takeaways
- Prioritize heavy compound movements while you're fresh to maximize mechanical tension.
- Use 'squeeze' techniques to replicate the constant tension of cable machines.
- Incorporate floor-based movements to safely push to failure without a spotter.
- Focus on the eccentric (lowering) phase to trigger more hypertrophy.
Why Commercial Gym Chest Routines Fail at Home
Most commercial gym routines are designed for people who have access to a sprawling facility. They tell you to do four sets of cable crossovers, followed by a machine press, followed by some high-to-low flyes. When you try to replicate that at home with resistance bands looped around your power rack, it feels... off. The resistance curve is wonky, the bands snap back, and you spend more time fiddling with setups than actually lifting.
A home-based chest combo workout has to be different. You can't rely on 'junk volume'—those easy sets that just make you sweat without actually challenging the muscle. Instead, you need to lean into the strengths of a home gym: heavy free weights and creative bodyweight manipulation. We aren't here to chase a light pump; we're here to create enough mechanical tension that your pecs have no choice but to grow.
I’ve found that focusing on the 'stretch' and the 'squeeze' using basic gear is far more effective than trying to rig up a makeshift cable system. It’s about making the movements harder, not just adding more sets. If you aren't shaking by the end of your second move, you aren't doing it right.
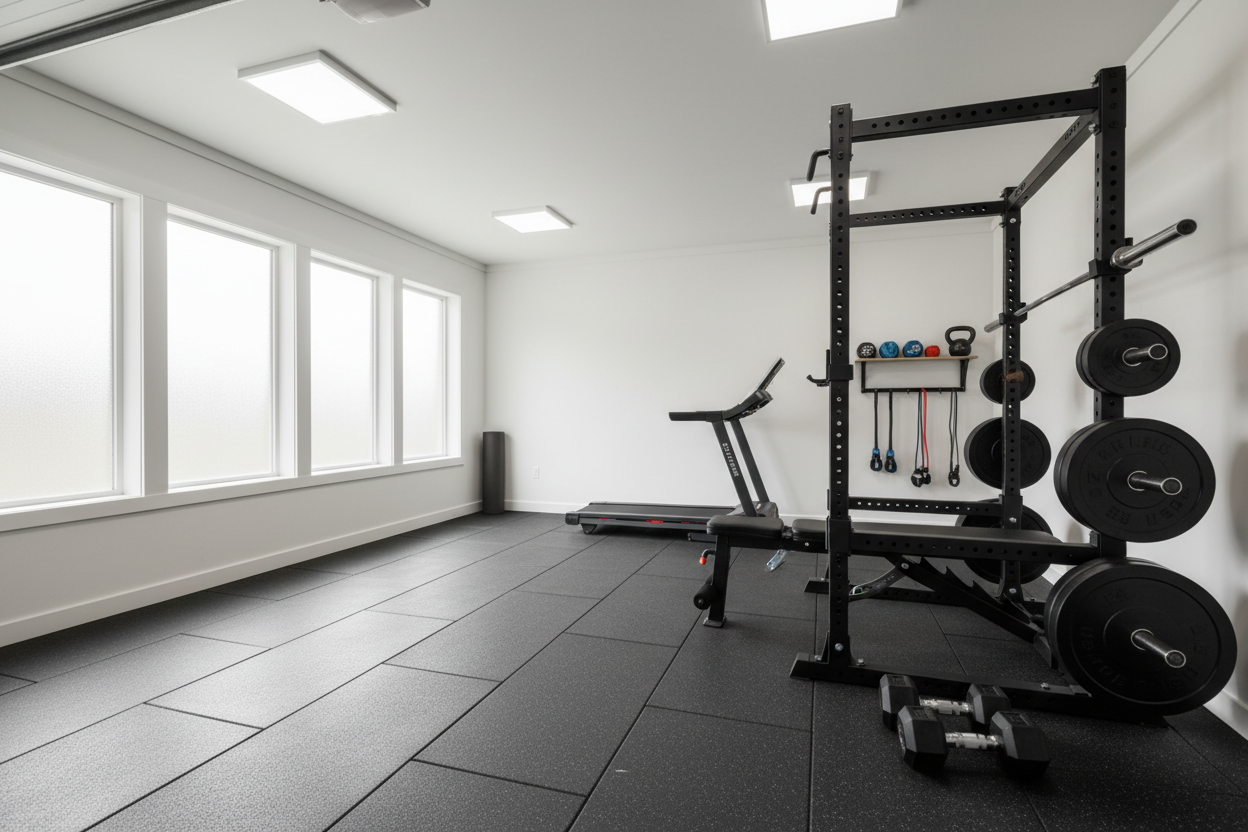
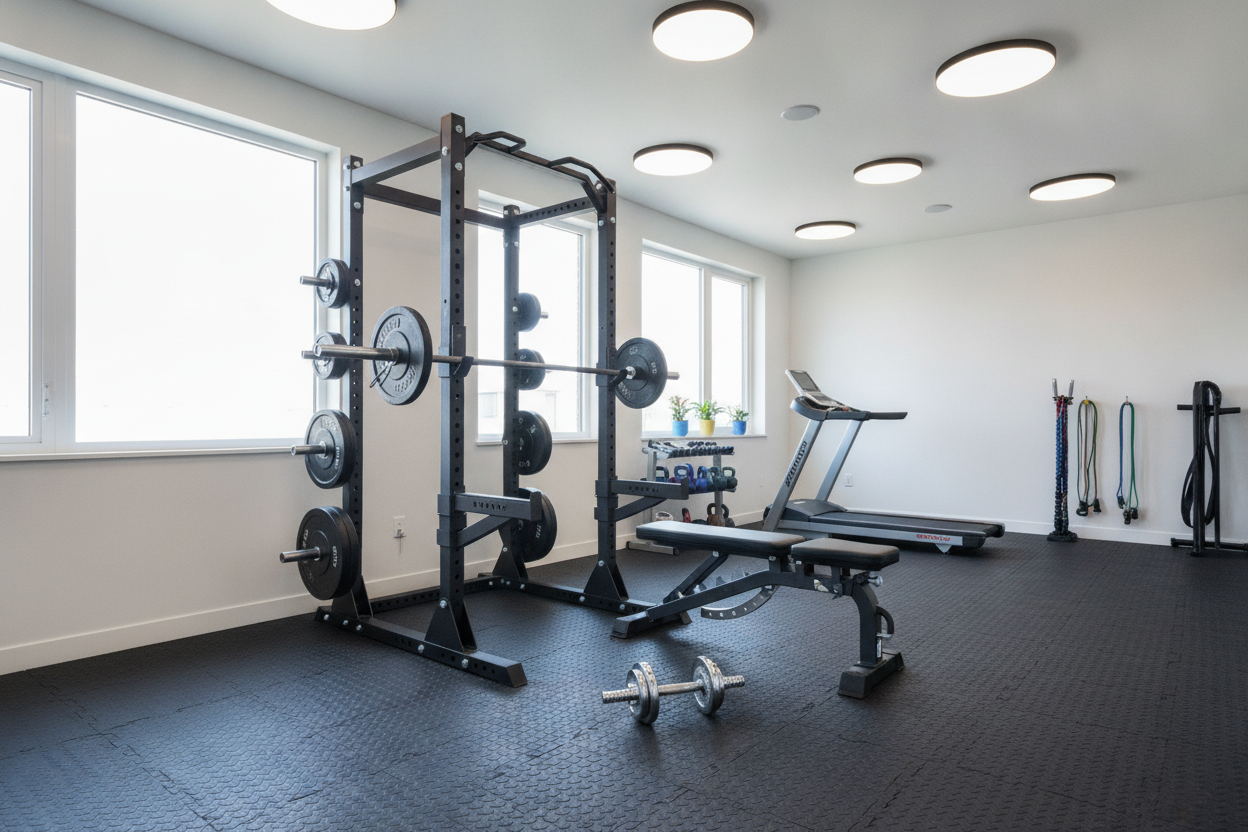
The Bare-Bones Equipment Setup
You don't need a $5,000 functional trainer for this. You need a bench that doesn't wobble when you hit 225 lbs and a decent set of weights. I personally use a 3×3 rack with a flat-to-incline bench. If your bench feels like it's going to tip when you're pressing heavy, get a new one. It’s not worth the ER visit.
The most overlooked piece of gear is actually what’s under your feet. When you're driving your legs into the ground for a heavy press, you cannot have your feet sliding around on dusty concrete. I use a heavy-duty exercise mat to ensure I have a stable, high-traction floor space for leg drive. That grip allows you to transfer force from the ground up through your core and into the bar. Without it, you’re leaving pounds on the table.
The 4-Move Garage Gym Chest Combination Workout
This routine is built on a simple philosophy: start heavy, then get creative. We are going to alternate between massive compound presses that tax the entire upper body and targeted movements that isolate the pecs through a deep stretch. This chest combination workout is designed to hit every fiber without needing a single pulley.
By the time you get to the final move, your chest will be screaming. We aren't doing 20 sets here. We are doing 10 to 12 high-intensity sets that actually matter. If you want to understand the science behind why these specific pairings work, you can check out this ultimate chest combination workout guide for a deeper dive into the hypertrophy mechanics.
Movement 1: The Heavy Flat Press
This is your bread and butter. Whether you prefer a barbell or heavy dumbbells, this is where you move the most weight. I personally lean toward the barbell for the first move because it’s easier to load incrementally. I like to stay in the 5-8 rep range here. Focus on a three-second eccentric (lowering) phase. Don't just let the bar collapse onto your chest.
Keep your shoulder blades tucked into the bench. I see too many guys flaring their elbows out at 90 degrees; that’s a one-way ticket to a rotator cuff tear. Keep them tucked at about 45 degrees. Touch the bar to the lower part of your sternum, pause for a split second, and drive it back up. This builds the foundational strength that makes every other move in this chest combo workout more effective.
Movement 2: Incline Dumbbell Squeeze Press
Since we don't have cables to get that 'inner chest' feel, we use the squeeze press. Set your bench to a 30-degree incline. Take two dumbbells and press them together as hard as you can throughout the entire movement. You aren't just holding them; you are trying to crush them into each other.
This creates massive isometric tension. Your pecs will be firing from the second you start the set until the moment you rack the weights. Because you're pressing them together, you'll find you can't go as heavy as a standard press, and that’s fine. Aim for 10-12 reps. The goal here is the mind-muscle connection and filling the upper pecs with blood. It’s the closest thing you’ll get to a cable flye without the cables.
Movement 3: Floor-Based Slider Flyes
This is my favorite garage gym hack. Grab a pair of furniture sliders or even just two small towels if you have smooth gym flooring. Get into a push-up position with your hands on the sliders. Slowly—and I mean slowly—let your hands slide out to the sides into a flye position. Drop your chest toward the floor, then pull your hands back in to the center.
The eccentric tension here is insane. Most people can't do the full concentric (pulling back in) at first, and that’s okay. You can drop to your knees for the way back up or just focus on the 'slow negative' on your toes. This move targets the chest in its fully stretched position, which is where the most muscle damage (the good kind) happens. It’s far more effective than light dumbbell flyes because the floor provides a natural safety stop.
Movement 4: Deficit Push-Ups to Failure
The finisher. You’re already fatigued, so we’re going to use bodyweight to finish the job. Place your hands on two weight plates or a pair of dumbbells to create a 'deficit.' This allows your chest to drop below the level of your hands, giving you a deeper stretch than a standard push-up. I like to use my 25-lb bumper plates for this.
Go to absolute failure. When you think you can't do another rep, do three partial reps in the bottom half of the movement. This final stretch-mediated hypertrophy is what separates a decent workout from a great one. Don't worry about the count; just move until your chest touches the floor and you can't get back up. It’s brutal, simple, and incredibly effective.
How to Fit This Into Your Weekly Split
I wouldn't run this more than twice a week. It’s high-intensity, and your central nervous system needs time to recover from the heavy presses. I usually pair this with a light tricep finisher or some lateral raises for shoulders. If you’re looking for a way to balance this out with other body parts, you can find a full library of home routines to help build out your entire week.
A common mistake is trying to do this workout the day after a heavy shoulder session. Your front delts will be fried, and your bench numbers will suffer. Give yourself at least 48 hours between any heavy pressing. If you're doing a Push/Pull/Legs split, this is your 'Push A' day. It’s the heavy hitter that sets the tone for the rest of your training week.
Personal Experience
I remember when I first moved my training to the garage. I tried to do a high-volume 'pro' chest day and ended up with a nagging shoulder injury because I was using awkward angles to compensate for my lack of equipment. I was trying to do 'banded flyes' that felt like nothing until the very end of the rep. It was a waste of time. When I switched to this minimalist, high-tension approach, my bench press jumped 20 pounds in two months, and my shirts actually started fitting tighter in the chest. The biggest lesson? Don't fear the floor. Using the floor for sliders and push-ups is safer and more effective than any cheap home-gym cable attachment I've ever bought.
FAQ
Do I need a spotter for this workout?
Not necessarily. Since the heaviest move is at the start, you can use safety bars in your rack. For the dumbbell work and the floor-based moves, you can simply drop the weights or drop to your knees if you hit failure, making it very solo-trainee friendly.
Can I replace the sliders with something else?
If you don't have sliders or towels, you can do wide-grip eccentric push-ups. The key is the slow descent and the wide hand placement to mimic the flye motion. However, the sliders are a $10 investment that really changes the game for home chest training.
How long should I rest between sets?
For the heavy flat press, take 2-3 minutes. You need your strength. For the squeeze press and the sliders, keep it to 60-90 seconds to maintain the pump and metabolic stress. For the final push-ups, rest just long enough to stop gasping for air.