Glute Circuit Training: Movement Frameworks, Muscle Recruitment, and Floor Staging Setup
A well-designed glute circuit provides a focused method for building lower-body muscular endurance, improving pelvic stability, and establishing clean movement mechanics. Rather than relying on isolated lifts alone, arranging exercises into a continuous sequence engages the hips through multiple planes of motion. To maximize the effectiveness of a glute circuit workout, trainees should consider how movement selection, resistance band placement, tempo control, and floor staging work together to support joint comfort and muscular engagement.
Understanding the Mechanics of an Effective Glute Circuit
The gluteal complex consists of three primary muscles: the gluteus maximus, gluteus medius, and gluteus minimus. Each serves distinct functional roles in lower-body biomechanics. The gluteus maximus drives primary hip extension and external rotation, while the gluteus medius and minimus manage hip abduction and lateral pelvic stabilization. Designing an effective glutes circuit requires sequencing movements that challenge each of these actions in turn, preventing early localized fatigue while ensuring comprehensive muscular stimulation.
When building a balanced strength routine, consulting a structured workout resource can help you sequence warm-ups and activation drills properly. By alternating between extension-focused exercises and lateral abduction patterns, you maintain a steady work density without placing excessive stress on the lower back or knee joints.
Core Movement Categories for Balanced Glute Activation
A balanced glute circuit relies on three main categories of functional hip movement. Combining these patterns ensures thorough recruitment across all planes of motion:
- Supine and Elevated Hip Extension: Movements such as glute bridges, single-leg hip bridges, and bench hip thrusts focus primarily on horizontal hip extension. These exercises place peak mechanical tension on the gluteus maximus at full hip lock-out without requiring heavy spinal loading.
- Lateral Abduction and External Rotation: Exercises like banded lateral monster walks, side-lying leg raises, and clamshells recruit the gluteus medius and minimus. These movements reinforce the lateral stabilizers that keep the knees aligned during running, jumping, and squatting.
- Quadruped and Prone Extension: Movements performed on hands and knees, such as donkey kicks and quadruped hip extensions, allow for deliberate control over isolated hip extension while challenging core stability against pelvic rotation.
Circuit work can serve as a standalone session or pair seamlessly with a targeted glute finisher guide at the end of a conditioning routine. Rotating through these categories within a single workout ensures balanced recruitment without overloading a single joint angle.
Structuring Your Glute Circuit: Progression, Tempo, and Volume Frameworks
Executing a glute circuit workout effectively depends more on time under tension and deliberate muscular intent than on sheer movement speed. Rushing through repetitions often causes momentum or secondary muscle groups, such as the lumbar erectors and quadriceps, to take over the workload.
If you are new to interval-style muscle endurance, reviewing a beginner circuit workout guide ensures you pace your sets without rapid fatigue. Consider these structural guidelines when assembling your circuit:
- Controlled Isometric Pauses: Pausing for a momentary hold at the peak contraction of a bridge or kickback reinforces full hip extension and limits hyperextension of the lumbar spine.
- Deliberate Eccentric Control: Lowering the hips or returning a banded leg under control maintains steady muscular tension across the entire range of motion.
- Progressive Band Placement: Placing resistance loops above the knees increases mechanical leverage for beginners, whereas shifting bands down toward the ankles or feet increases the torque required from the hip abductors.
Floor Staging and Surface Protection for Glute Circuits
A high-repetition glute circuit frequently transitions between standing, lateral stepping, kneeling, and supine floor positions. Training on thin yoga mats or bare subfloors can create uncomfortable pressure points under the sacrum during bridges and under the knees during quadruped movements. Furthermore, dynamic lateral band movements require reliable surface traction so foot placement remains secure against elastic resistance.
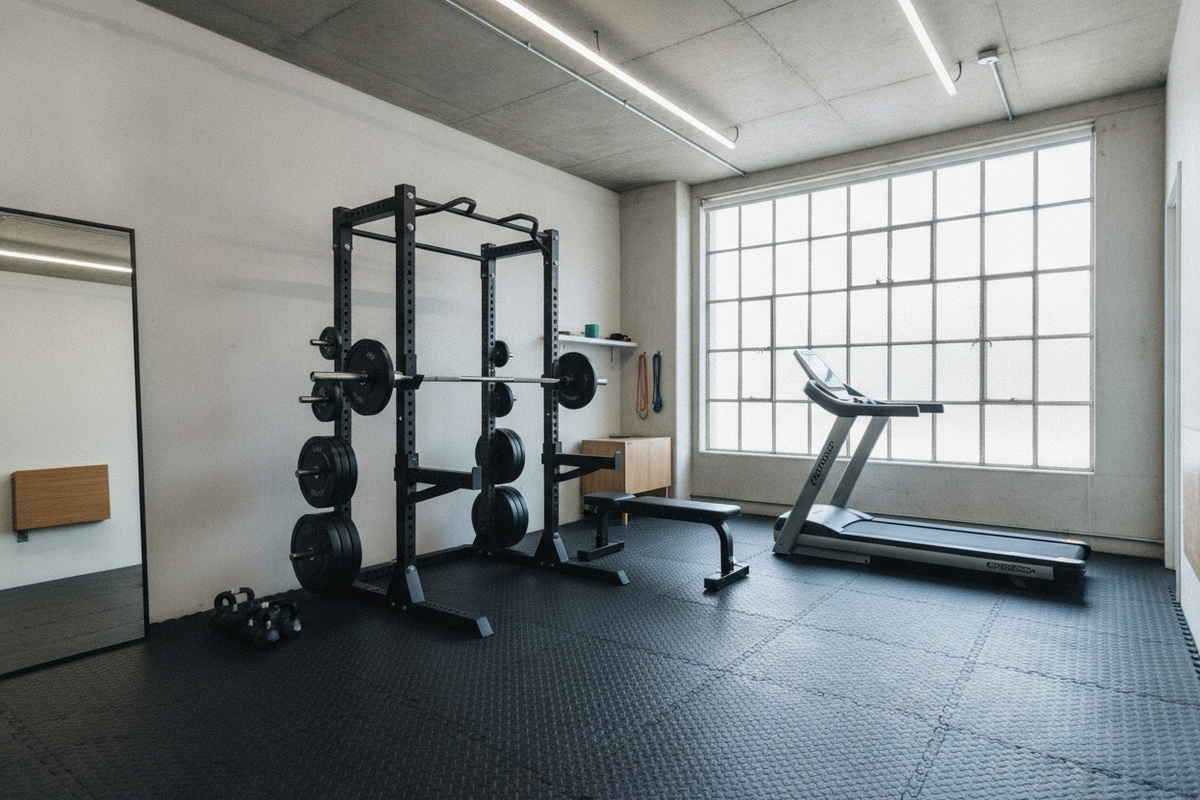
Securing a dedicated, high-density large exercise mat for home workouts creates a slip-resistant foundation for wide lateral steps and dynamic bridges. Broad, cushioned flooring distributes body weight across sensitive contact points while protecting hardwood or tile floors from friction and sweat accumulation.
Equipment Placement, Mat Care, and Home Training Layout
Maintaining a functional workout area streamlines movement transitions within your circuit. Position resistance bands of varying tensions, along with any balance blocks or benches, just outside your active floor space to keep the perimeter clear. Positioning your resistance bands and weights alongside a durable home gym flooring mat keeps your workout transition smooth and prevents clutter.
Regular maintenance of your training surface preserves both hygiene and grip. Sweeping away dust and wiping down the mat with a mild soap and water solution after intense sessions prevents moisture buildup and maintains surface friction for future workouts. By pairing proper exercise mechanics with a supportive, well-maintained training floor, you create a sustainable environment for consistent lower-body strength and stability.