Exercises That Target Hips: 6 Functional Movement Patterns, Biomechanical Cues, and Floor Mat Staging
Understanding Hip Biomechanics and Functional Shaping
Developing balanced lower-body strength requires an understanding of how the hip complex operates across multiple planes of motion. Rather than relying on isolated trends, effective training addresses the muscular architecture that stabilizes the pelvis, controls femur rotation, and transfers force between the upper and lower body. When you implement intentional resistance exercises to target hips, you reinforce structural integrity while promoting functional muscular development.
The Key Hip Stabilizers: Gluteus Medius, Minimus, and Deep Rotators
The hip joint is supported by primary movers alongside deeper stabilizing muscles. While the gluteus maximus provides sagittal extension, the gluteus medius and gluteus minimus control abduction and stabilize the pelvis during single-leg support. Beneath these lie deep external rotators—including the piriformis, obturator internus, and gemelli—which guide femoral tracking and prevent inward knee collapse during dynamic movement patterns.
Movement Planes: Combining Sagittal, Frontal, and Transverse Actions
Comprehensive hip training requires movement across all three anatomical planes:
- Sagittal Plane: Forward and backward actions such as hinges, bridges, and forward lunges.
- Frontal Plane: Side-to-side motions including lateral band walks and side-lying abductions.
- Transverse Plane: Rotational motions and rotational resistance, such as curtsy lunges and controlled hip pivots.
Engaging all three planes ensures that the hips can both produce power and resist unwanted rotational or lateral shearing forces during everyday activity and athletic performance.
6 Essential Exercises That Target Hips for Strength and Stability
Integrating targeted movements into a home training program builds resilient connective tissues and balanced pelvic alignment. For a deeper look at lateral routines, refer to our comprehensive hips exercise guide to refine your movement mechanics.
1. Deficit Curtsy Lunge
The deficit curtsy lunge challenges the gluteus medius and maximus through loaded eccentric deceleration across the transverse and frontal planes. By stepping down from a slight elevation or performing the step on a stable, non-slip mat surface, the working hip achieves a deeper stretch under control.
- Setup: Stand tall with feet hip-width apart.
- Execution: Step one leg back and diagonally behind the lead leg, lowering the rear knee toward the floor while keeping the front knee aligned over the middle toes.
- Key Cue: Maintain square hips facing forward rather than allowing the pelvis to twist open.
2. Lateral Banded Walk
Lateral banded walks maintain continuous tension on the hip abductors. Placing a resistance band around the forefeet or ankles increases gluteus medius recruitment compared to placing it above the knees.
- Setup: Position a mini-band around the feet and assume a slight athletic quarter-squat.
- Execution: Step laterally with control, leading with the heel and maintaining tension on the band without letting the trailing foot snap inward.
- Key Cue: Keep the torso stationary and avoid swaying from side to side.
3. Side-Lying Hip Abduction with Internal Rotation
This classic floor drill isolates the upper fibers of the gluteus medius when performed with strict alignment and deliberate tempo.
- Setup: Lie on your side with the bottom leg bent for stability and the top leg extended straight in line with the torso.
- Execution: Turn the top toe slightly downward (internal rotation) and raise the leg toward the ceiling without tilting the pelvis backward.
- Key Cue: Pause briefly at the top of the range before lowering under control.
4. Single-Leg Glute Bridge with Pause
Single-leg bridging isolates the hip extensors while demanding anti-rotational stability from the core and deep hip stabilizers to keep the pelvis level.
- Setup: Lie supine with knees bent and feet flat on a supportive floor mat. Lift one knee toward the chest.
- Execution: Drive through the planted heel to extend the hips upward until the torso and thigh form a straight line.
- Key Cue: Hold the peak contraction for two seconds, ensuring the non-working hip does not drop.
5. Elevated Clamshell with Core Bracing
Elevating the feet during a clamshell variation increases the active range of motion for the deep external rotators and gluteal fibers.
- Setup: Lie on your side with knees bent at ninety degrees and lift both feet slightly off the floor.
- Execution: Keeping the heels pressed together, open the top knee upward while bracing the abdominal wall.
- Key Cue: Do not allow the lower back to arch or the pelvis to rock backward during the lift.
6. Supported Single-Leg Romanian Deadlift
The supported single-leg Romanian deadlift develops posterior chain hinge strength while training the hip rotators to stabilize the pelvis in a single-leg stance.
- Setup: Stand on one foot with the opposite hand lightly resting on a wall or rack for balance.
- Execution: Hinge at the hips, sending the free leg straight back while lowering the torso parallel to the ground.
- Key Cue: Keep the hips square to the floor throughout the descent and drive through the planted midfoot to stand.
Home Gym Floor Mat Staging for Lateral and Floor-Based Hip Drills
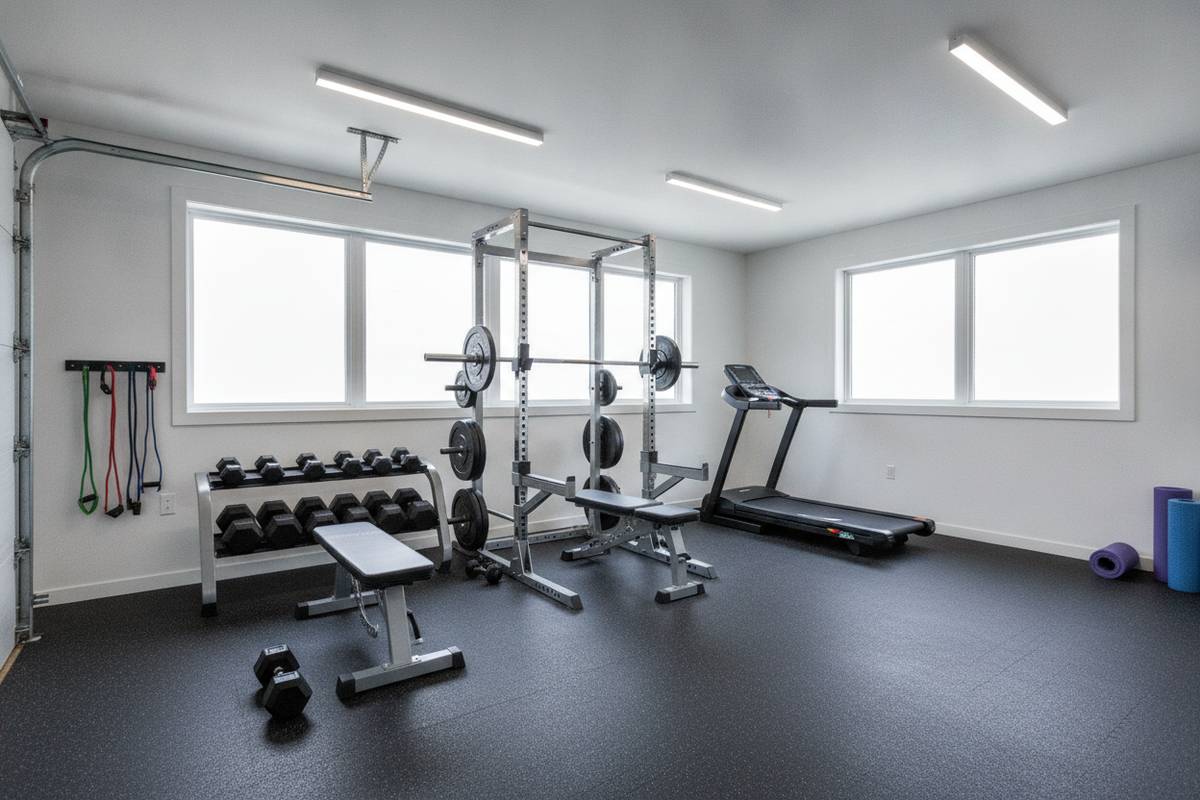
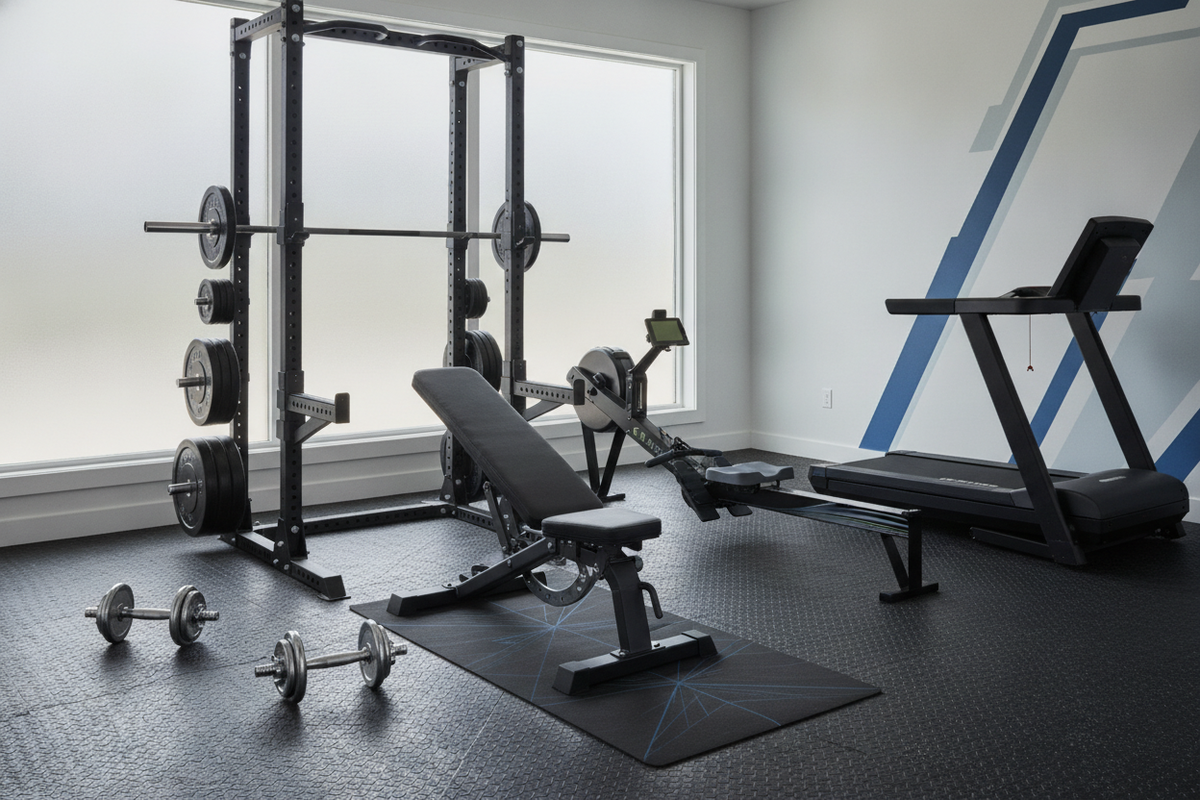
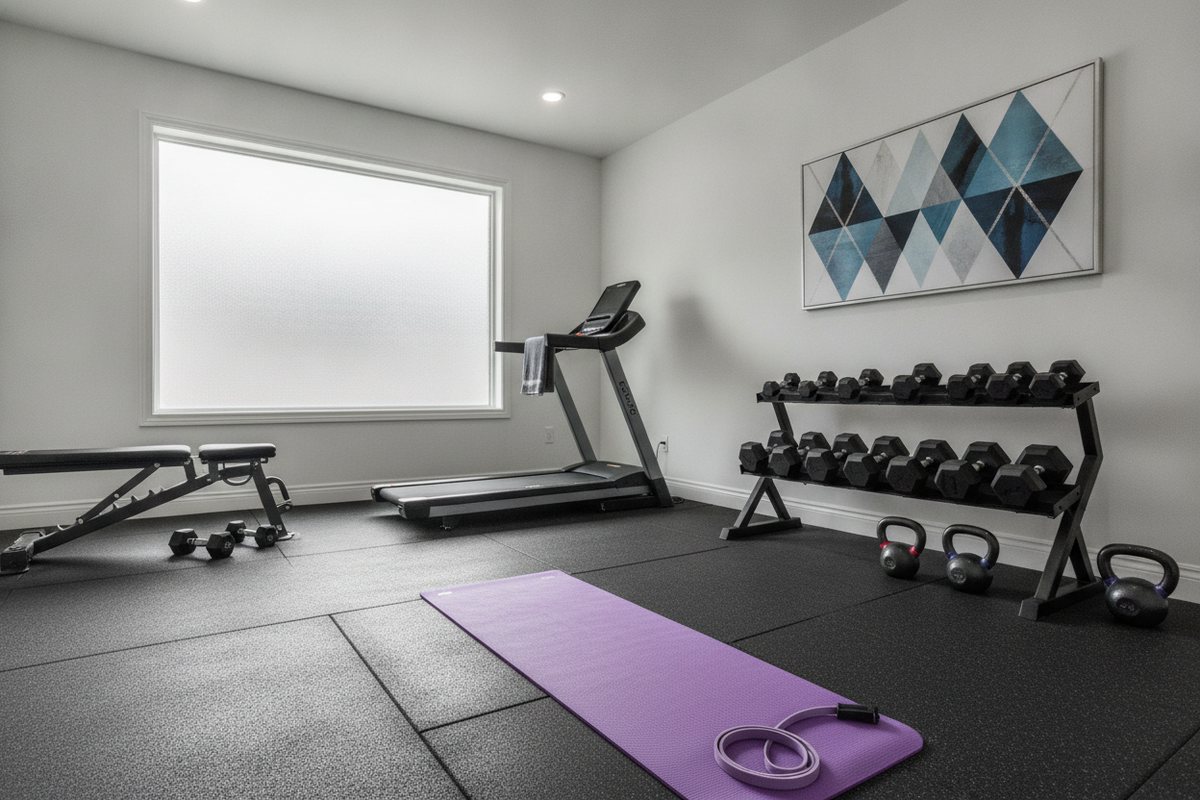
Executing functional hip routines at home requires a secure, shock-absorbing base. Dynamic lateral steps and floor-based abductions place distinct demands on your flooring setup. Incorporating a dedicated surface is a vital part of every exercise that guide for protecting joint comfort and subfloors.
Traction for Dynamic Lateral Bounds and Lunges
Lateral movements generate substantial shearing forces against the ground. Standard residential flooring, such as polished hardwood or slick tile, presents slipping hazards when stepping under load. A high-density, textured exercise mat provides the friction necessary to anchor your feet, allowing you to decelerate safely during curtsy lunges and lateral walks without the mat shifting underneath.
Cushioning Pressure Points During Side-Lying Drills
Floor-based exercises—including side-lying abductions, clamshells, and bridges—concentrate body weight directly onto bony prominences such as the greater trochanter and iliac crest. Performing these movements on hard subfloors can cause discomfort that disrupts exercise form. A resilient, high-density mat provides sufficient firm cushioning to relieve localized pressure while maintaining a stable surface that prevents sinking.
Programming Blueprint: Integrating Hip Workouts into Home Routines
To maximize the benefits of targeted hip movements, structure your routine based on movement quality, progressive resistance, and adequate recovery. For complementary lower-body programming ideas, review this exercise that guide to balance posterior chain volume.
Volume and Frequency Guidelines
Functional hip exercises can be programmed either as standalone accessory circuits, warm-up activations, or main lower-body training blocks:
- Activation & Warm-Up: Perform 1 to 2 sets of low-load movements (such as lateral band walks and elevated clamshells) for 12 to 15 controlled repetitions prior to compound lifting.
- Main Accessory Work: Include 3 to 4 sets of loaded movements (such as deficit curtsy lunges and single-leg deadlifts) in the 8 to 12 repetition range twice weekly.
- Tempo Focus: Utilize a controlled eccentric phase (2 to 3 seconds lowering) to maximize muscular tension and stabilizer recruitment.
Common Technical Errors and How to Correct Them
Maintaining proper form ensures that tension remains on the target muscles rather than shifting to the lumbar spine or knee joints:
- Pelvic Tilting: Avoid letting the non-working hip drop during single-leg drills; actively brace the core to keep the hip crests horizontal.
- Lumbar Extension: Prevent lower-back arching during bridging movements by initiating the lift from the hips rather than the spine.
- Knee Collapse: Ensure the knee tracks over the second toe during lunges and squats, avoiding inward buckling (valgus collapse).
Gym Flooring Care and Maintenance for Long-Lasting Grip
Proper maintenance of your home gym floor mat ensures consistent traction and hygiene over years of training:
- Regular Cleaning: Wipe down mat surfaces after workouts using a mild, non-abrasive soap solution and a microfiber cloth to remove sweat and dust.
- Avoid Harsh Solvents: Steer clear of bleach or petroleum-based cleaners that can degrade the mat's surface texture and reduce grip.
- Proper Storage: If using a roll-out or folding mat, store it flat or rolled loosely with the textured side outward in a dry, temperature-controlled space away from direct sunlight.