Deep Hip Muscles: How to Train Your Hip Stabilizers
Understanding Your Deep Hip Muscles
When fitness enthusiasts think about hip strength, the large gluteal muscle groups usually steal the spotlight. However, your deep hip muscles form the true structural base that governs joint motion beneath the surface. While the large prime movers generate force for sprinting, jumping, and lifting heavy weights, the stabilizing groups work constantly to maintain joint centering and control minute adjustments during every stride.
What are the deep hip muscles and what do they do?
The deep hip muscles are a collection of small, foundational tissues that sit beneath the larger glutes to stabilize and center the hip joint during static postures and dynamic movement. These tissues function much like the rotator cuff does for the shoulder. By holding the femoral head snugly inside the acetabular socket, your deep hip muscles create a stable axis around which larger movements can safely unfold.
Anatomically, the primary group consists of six deep external rotators: the piriformis, the superior and inferior gemelli, the obturator internus, the obturator externus, and the quadratus femoris. Together, these external rotators govern fine rotational control of the thigh bone. While the superficial gluteus maximus produces powerful extension, these deeper tissues fine-tune angle and position. Working alongside the deep fibers of the gluteus medius, these deep hip muscles provide steady pelvic stability throughout daily movement patterns and athletic training.
Without sufficient engagement from your deep hip muscles, the larger superficial muscle groups often attempt to take on stabilizing duties for which they are poorly suited. Over time, that compensation can compromise normal pelvic alignment and alter lower limb mechanics. Understanding how your deep hip muscles cooperate with prime movers is the first step toward building balanced, resilient hips in your home gym.
Why Hip Stabilizers Matter for Movement and Balance
The primary hip stabilizers act as a dynamic bridge between your pelvis, spine, and lower extremities. Whenever you run, hinge, step, or stand on one foot, these tissues adjust hip positioning in fractions of a second. If these deeper layers stay dormant, the entire kinetic chain can experience altered mechanics.
Why are hip stabilizers important for strength and balance?
Active hip stabilizers keep the pelvis level, preserve proper knee alignment, and prevent rotational collapse during dynamic movement. When your hip stability muscles fire on time, they keep the pelvis from dropping to the unsupported side whenever one foot leaves the floor.
Consider the mechanics of a heavy barbell squat or a walking lunge. As you descend, the femoral head must rotate smoothly while resisting inward collapse. Active hip stabilizers muscles recruit to secure the joint socket, maintaining clean knee alignment over the middle toes. If the stabilizing muscles of the hip fail to activate, the knee frequently caves inward into valgus drift, putting unwanted torque on surrounding connective tissues.
Furthermore, training your stabilizing muscles of the hip directly enhances single-leg balance. Whether climbing stairs, carrying groceries, or running on uneven trails, the body relies on the piriformis and deep rotators to anchor the pelvis. By prioritizing the deep hip muscles, you create dependable lower body stability that supports every standing drill. To explore more about balanced mechanics across opposing muscle groups, review this detailed hip adductor muscles guide to see how adductor balance complements rotator strength.
Exercises to Target the Stabilizing Muscles of the Hip
Targeting the deep hip muscles does not require heavy barbells or complex gym machinery. Because these are postural and stabilizing structures, they respond best to controlled tempo, precise alignment, and deliberate bodyweight exercises before adding external resistance.
Here are three reliable drills that isolate and awaken your deep hip muscles:
- The Side-Lying Clamshell: Lie on your side with knees bent at roughly ninety degrees and feet stacked. Keeping your pelvis perpendicular to the floor without rolling back, slowly lift your top knee while keeping your heels pinned together. This classic drill isolates the deep external rotators and deep fibers of the gluteus medius. A slow side-lying clamshell prevents the lower back from taking over and forces your deep hip muscles to generate genuine rotational control. You can place a light resistance band above your knees once bodyweight reps feel effortless.
- Quadruped Fire Hydrants: Set up on hands and knees with hands under shoulders and knees under hips. Keeping your torso motionless and your core brace firm, raise one bent knee out to the side like opening a gate. Controlled fire hydrants train the hip stabilizers muscles to support rotational torque across the hip joint without twisting the lower lumbar spine. Focus on keeping your weight distributed across your supporting knee and hands.
- Standing Single-Leg Airplane: Stand on one foot with a soft knee bend and hinge your torso forward into a horizontal plane. From this hip hinge, slowly rotate your open hip toward the floor, then gently open it toward the ceiling while maintaining steady single-leg balance on the working side. This movement challenges your hip stabilizers through active rotational control and strengthens full lower body stability.
Integrating these movements alongside targeted hip abduction exercises ensures you build both lateral abduction capacity and deep rotational control. When practicing any side-lying clamshell or fire hydrants variation, keep the range of motion strict so your deep hip muscles do the real work rather than momentum.
Creating a Stable Floor Setup for Hip Training
Isolating deep stabilizing tissues requires steady body contact and reliable grip. Many lifters struggle with floor drills simply because their training surface is either too hard on bony landmarks or too squishy to maintain steady balance.
What type of floor surface is best for floor-based hip drills?
A dedicated high-density mat or resilient gym flooring provides the best foundation by balancing firm traction with crucial joint cushioning. When performing side-lying floor drills, your greater trochanter presses directly into the floor, which can cause discomfort on unpadded tile or concrete. Using a high-density mat provides targeted joint cushioning without allowing your pelvis to sink out of clean pelvic alignment.
At the same time, overly soft foam pads present the opposite problem. When performing standing drills for single-leg balance, an excessively pillowy surface causes foot wobble, disrupting the neuromuscular signaling that your hip stability muscles need to stabilize the femoral head. A firm, non-slip surface allows your foot to root firmly into the floor, giving your hip stabilizers muscles a steady base to counteract rotational forces.
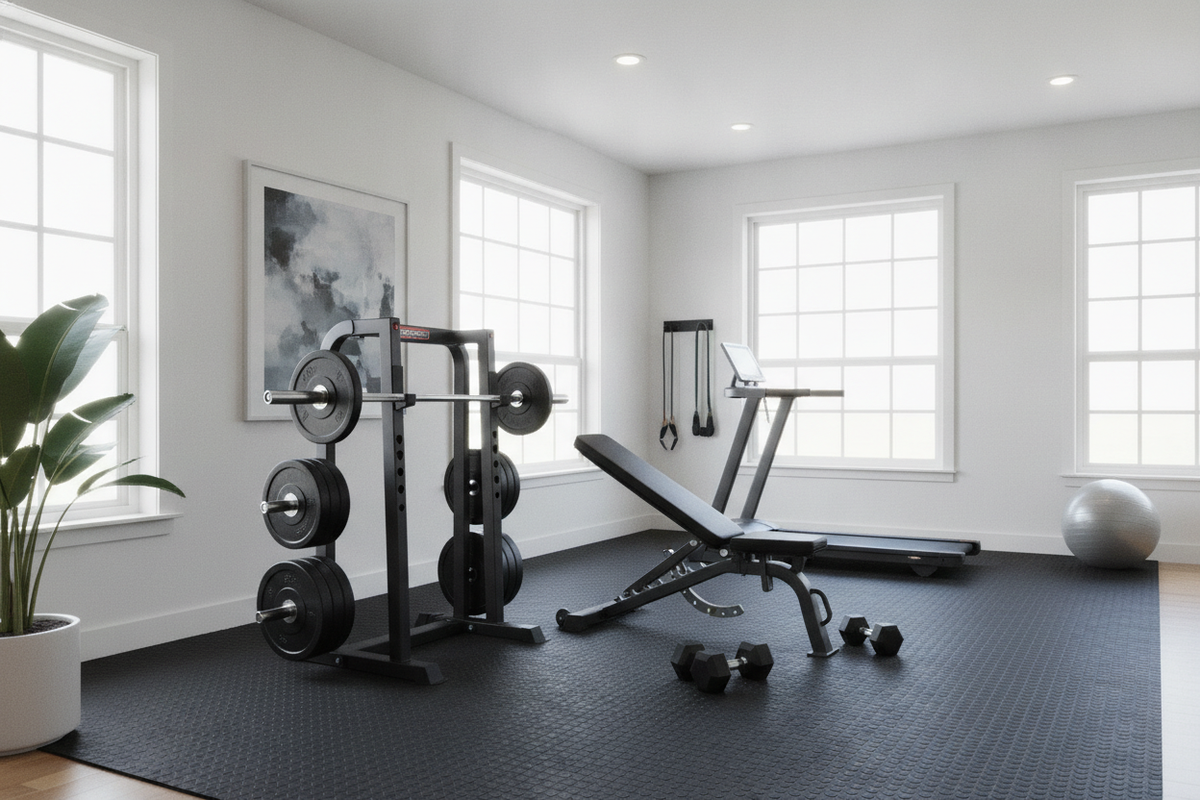
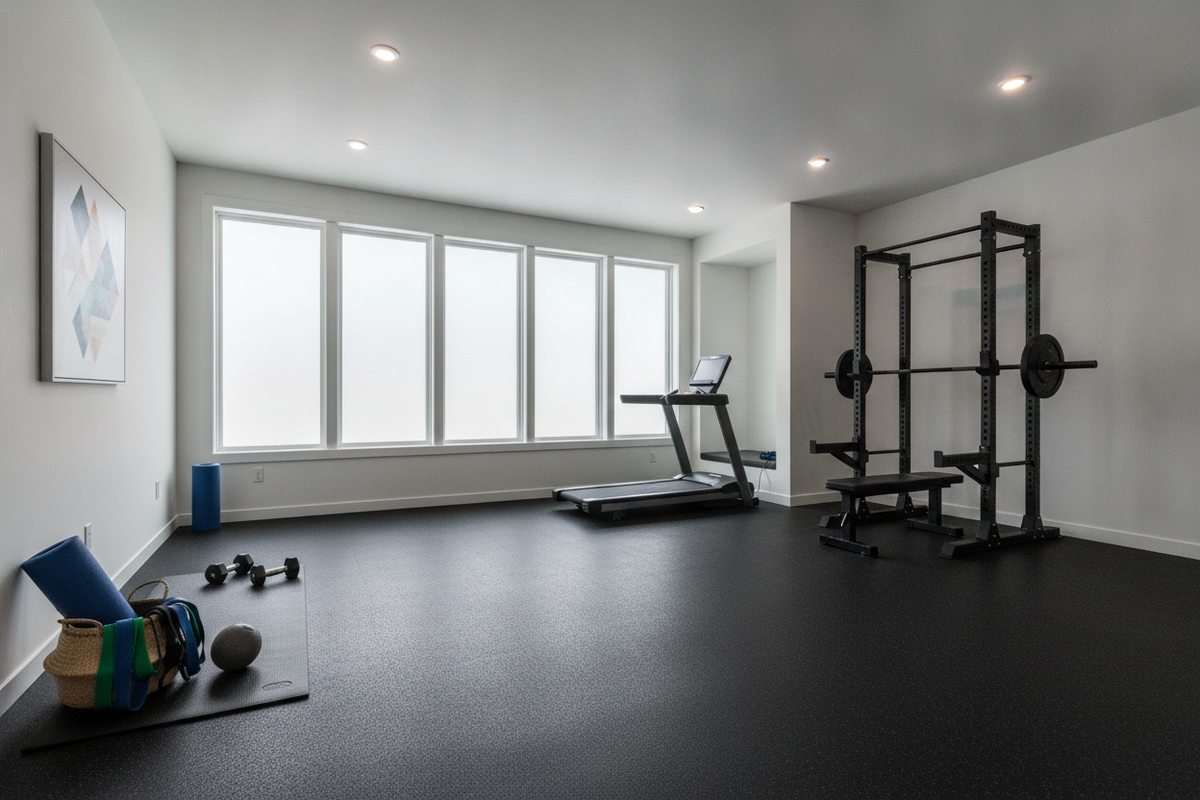
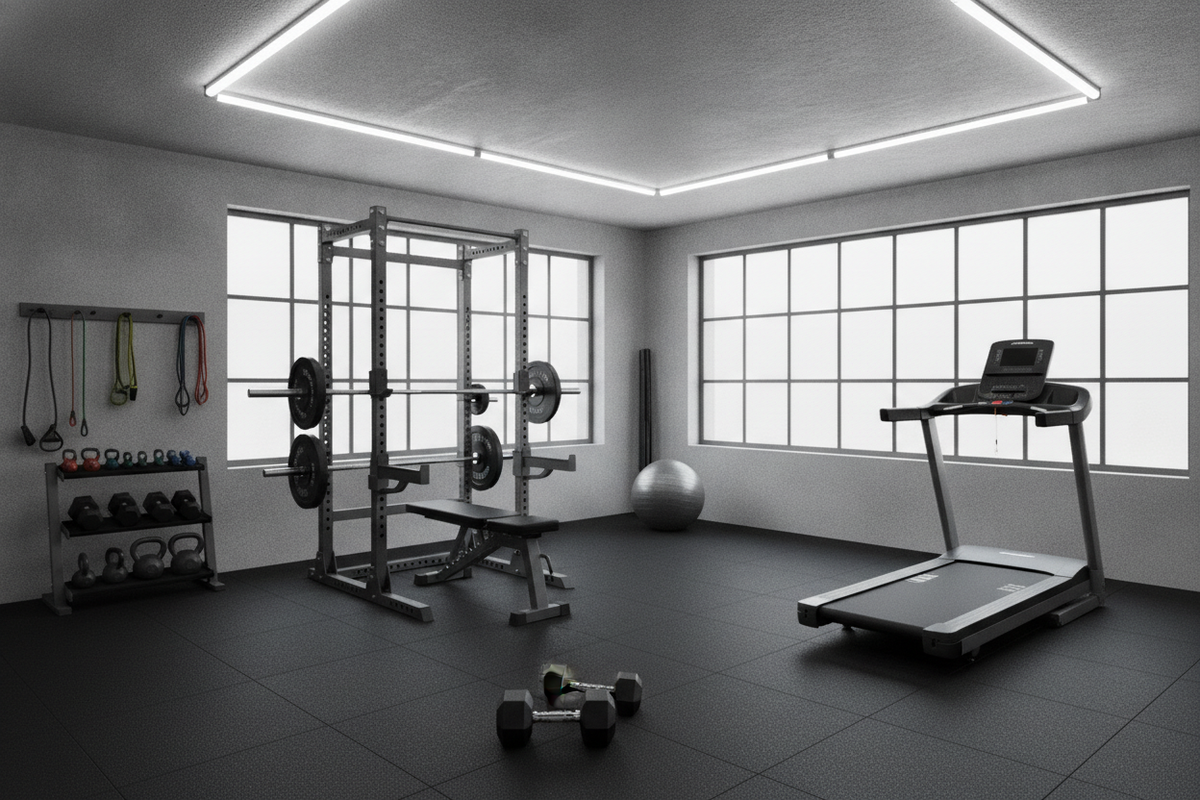
In a dedicated home workout space, rolling out a high-density exercise mat over protective gym flooring keeps your setup versatile. A quality exercise mat delivers the lateral traction required for resistance band work and protects subfloors from heavy wear. By maintaining a clean, non-slip surface in your home workout space, you can execute controlled fire hydrants and side-lying clamshell holds with full confidence in your joint cushioning. For a broader library of ground-based movement patterns, consult this helpful hip mobility exercises and stretches guide.
Sample Routine to Strengthen Hip Stability Muscles
To help you activate and strengthen your deep hip muscles consistently, use this straightforward floor routine as a pre-lift warmup or as a standalone corrective circuit three days per week.
1. Side-Lying Clamshell Holds
Lie on your side on your exercise mat with knees bent and hips stacked. Lift the top knee smoothly, pause at the top for three seconds to feel the deep external rotators engage behind the hip joint, and lower slowly. Complete two sets of twelve repetitions per side. If using a resistance band, select light tension so your pelvic stability remains rock-solid without twisting backward.
2. Quadruped Fire Hydrants with Rotation
Assume a stable tabletop position on your gym flooring. Lift one knee out to the side in a controlled arc, hold for two seconds, and return to the starting position without shifting weight into the opposite shoulder. Complete two sets of ten repetitions per side. This drill activates your stabilizing muscles of the hip while reinforcing neutral pelvic alignment.
3. Standing Single-Leg Balance and Airplane Hinge
Step onto the firm, non-slip surface of your gym flooring. Establish single-leg balance on your left foot while gripping the floor with your toes. Hinge forward into an airplane position, gently rotating your pelvis inward and outward through a small, controlled arc before returning upright. Perform two sets of six to eight slow hinges per leg to train your hip stabilizers in a functional standing posture.
By using slow, controlled tempos and prioritizing correct form over resistance, these bodyweight exercises awaken the dormant deep hip muscles that safeguard lower body stability. Pair regular hip work with a supportive exercise mat and reliable gym flooring in your home workout space to build durable pelvic stability, improve knee alignment, and protect your hip joint across every workout.