Anterior Gluteal Line Blueprint: Pelvic Anatomy, Muscle Biomechanics, and Home Floor Staging
Introduction: Understanding the Anterior Gluteal Line and Pelvic Architecture
The human pelvis serves as the mechanical bridge between the upper body and lower extremities. Within this osseous framework, the ilium forms a broad, flared surface that anchors critical postural and locomotive muscles. Among the defining surface landmarks of this region is the anterior gluteal line, a distinct curved ridge spanning the outer aspect of the pelvic wing.
Understanding the location and structural layout of the anterior gluteal line provides meaningful insight into hip function, lateral pelvic stabilization, and lower-body force transfer. Whether executing loaded hip hinges or performing floor-based activation drills, pelvic osseous contours dictate the origin lines of the major gluteal muscle groups, directly influencing biomechanical efficiency during training.
Anatomical Overview: The Gluteal Lines of the Pelvis and Hip Bone
The outer surface of the ilium, known as the gluteal surface of ilium, is divided into distinct anatomical zones by three curved ridges: the anterior gluteal line, the posterior gluteal line, and the inferior gluteal line. Together, these ridges are collectively referred to as the gluteal lines of pelvis or the gluteal lines of hip bone.
- Anterior Gluteal Line: The longest and most pronounced of the three ridges. It begins near the upper border of the iliac crest, arches downward and backward across the gluteal surface of the ilium, and terminates near the upper boundary of the greater sciatic notch.
- Posterior Gluteal Line: A shorter and more vertically oriented ridge situated posteriorly. The posterior gluteal line of ilium descends from the external lip of the iliac crest to end in front of the posterior inferior iliac spine.
- Inferior Gluteal Line: The least prominent ridge, curving horizontally just above the acetabular margin, defining the lower boundary of the deep hip stabilizer attachments.
These bony lines are not merely passive topographical markers; they demarcate functional partitions where dense fibrous fascia and muscle bellies adhere directly to the periosteum of the pelvic girdle.
Biomechanics and Muscle Attachments: Translating Osseous Landmarks to Movement
The spatial relationship between the anterior and posterior gluteal line zones dictates how force is generated across the hip joint. The primary muscles anchoring to these sections include:
- Gluteus Medius: Originates across the expansive region situated between the anterior gluteal line and the posterior gluteal line. This muscle provides essential lateral stability during single-leg stance, hip abduction, and pelvic leveling during locomotion.
- Gluteus Minimus: Originates directly below the anterior gluteal line, occupying the space between the anterior and inferior lines before tapering into the greater trochanter of the femur. It assists in hip abduction and internal rotation.
- Gluteus Maximus: Anchors posterior to the posterior gluteal line along the upper iliac crest, sacrum, and coccyx, functioning as the primary hip extensor and external rotator.
When the pelvis is subjected to mechanical loading, the structural integrity of these muscle attachments allows for balanced force distribution, preventing excessive lateral pelvic tilt and maintaining alignment across the lumbo-pelvic-hip complex.
Lower-Body Movement Archetypes: Training the Posterior Chain and Hip Stabilizers
Translating pelvic anatomy into effective gym programming involves selecting movements that recruit both the primary prime movers and the stabilizing musculature along the iliac crest.
Compound Hip Extension and Hinging
Compound multi-joint movements such as conventional deadlifts, Romanian deadlifts, and hip thrusts recruit the gluteus maximus along its posterior origin while challenging the gluteus medius to maintain femoral tracking. When structuring multi-joint hip hinge sessions that recruit gluteal musculature along the pelvic ridge, refer to our posterior guide for comprehensive training protocols.
Unilateral and Lateral Abduction Drills
To specifically target the muscular compartments defined by the anterior gluteal line, unilateral movements are essential. Single-leg split squats, step-ups, side-lying leg raises, and banded lateral walks require the gluteus medius and minimus to actively stabilize the pelvis against gravitational torque. For floor-based activation drills targeting lateral hip stabilizers without additional load, consult our bodyweight posterior guide to optimize movement tempo and positioning.
Home Gym Floor Staging: Subfloor Protection and Traction for Hip Loading
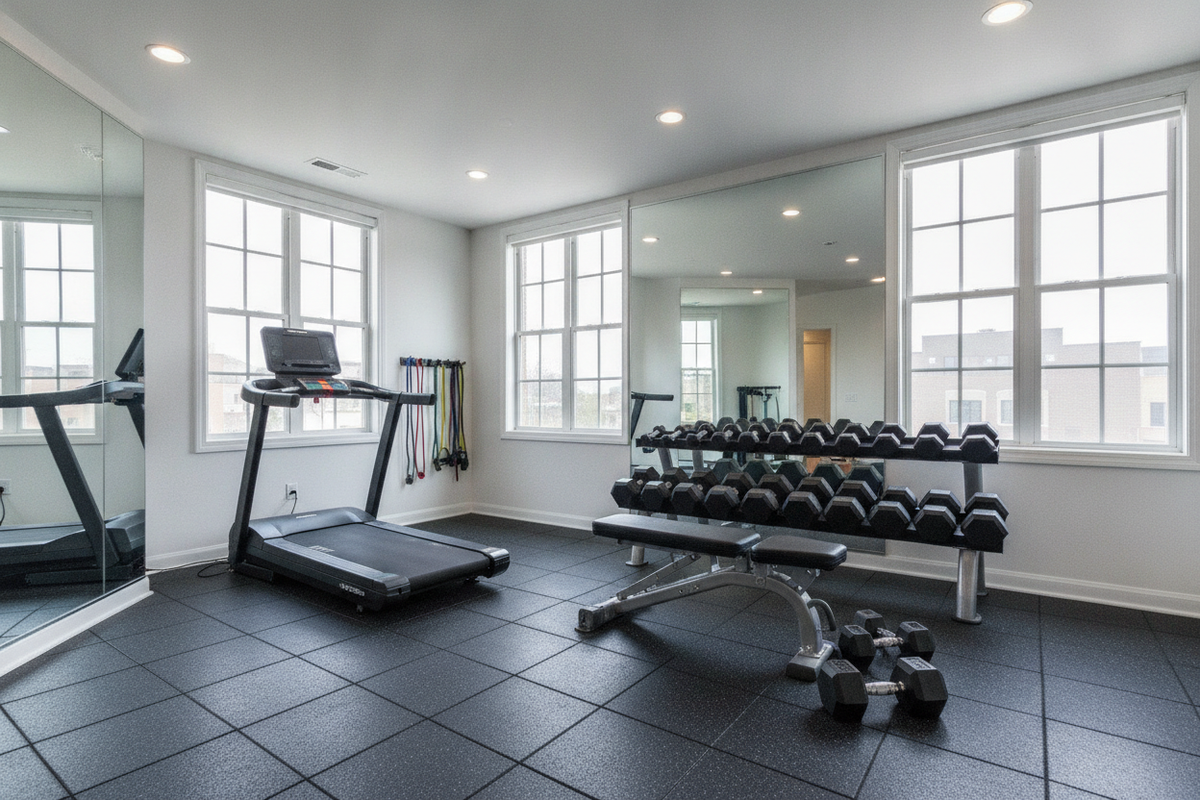
Executing hip hinges, heavy thrusts, and floor-based glute drills at home requires deliberate attention to the training surface. The physical demands of lower-body training place concentrated loads on both the lifter's contact points and the underlying subfloor.
- Ground Reaction Traction: Heavy bilateral and unilateral movements demand non-slip footing. Textured, high-density rubber matting ensures that shoes remain firmly anchored during deep hip flexion and lockout, eliminating horizontal shearing forces.
- Pelvic Point Cushioning: Floor-based glute bridges, side planks, and quadruped hip extensions place direct pressure on the lateral iliac crest and greater trochanter. Layering a dense exercise mat over the primary floor provides necessary cushioning without sinking into an unstable cushion.
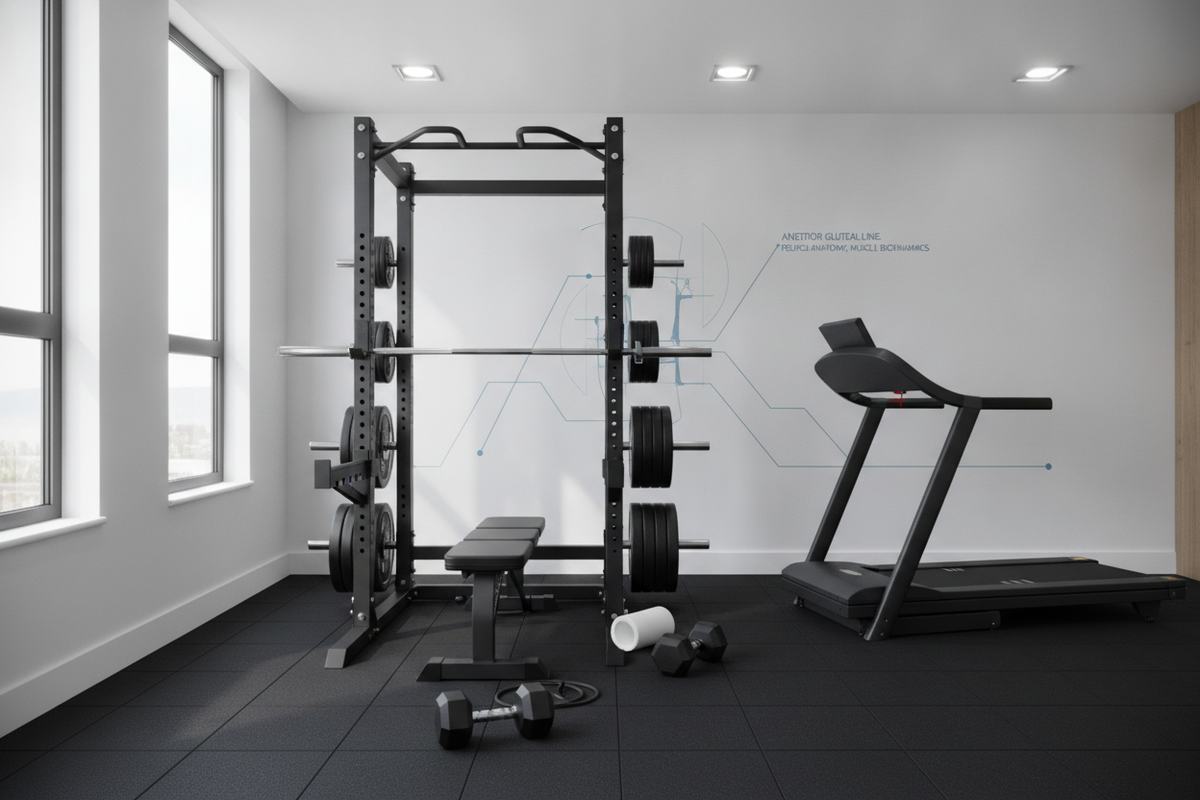
- Subfloor Impact Attenuation: Heavy deadlifts and barbell hip thrusts concentrate significant weight across a small surface area. Interlocking rubber tiles or heavy-duty rolled flooring distribute load evenly, protecting residential concrete or hardwood from direct contact and vibrational fatigue.
Floor Care and Training Zone Organization
Maintaining a dedicated space for posterior chain training ensures a safe, clean, and durable workout environment. Sweat, chalk, and repeated foot traffic can degrade traction over time if surfaces are not properly maintained.
Regularly sweep or vacuum the training perimeter to remove abrasive debris that could cause micro-tears in rubber flooring. Clean mat surfaces using a pH-neutral cleaner mixed with warm water, avoiding harsh solvents that can degrade synthetic rubber binders. Additionally, position heavy plate trees and storage racks along peripheral load-bearing walls, keeping the primary floor clear for uninhibited lateral movement drills and floor exercises.