
5 Glute Focussed Exercises: Functional Movement Blueprints, Pelvic Alignment Mechanics, and Home Floor Staging
The Biomechanics of Posterior Chain Recruitment: Why Glute Activation Matters
The gluteal complex consists of three primary muscles: the gluteus maximus, gluteus medius, and gluteus minimus. Together, these muscles extend the hip, stabilize the pelvis, control femur abduction, and assist in both internal and external hip rotation. When hip mechanics work efficiently, the gluteal complex acts as the main engine for lower-body power and upright posture. However, prolonged sitting, habitual movement patterns, and poor mind-muscle connection frequently lead to compensatory movement strategies.
In many functional patterns, individuals become quad-dominant or rely excessively on the lumbar erectors to simulate hip extension. When the gluteus maximus fails to fire at the start of a movement, the lower back often arches to compensate, shifting mechanical strain onto the lumbar spine. For dynamic athletes, endurance athletes, and lifters, weak gluteal recruitment can cause pelvic tilting, inward knee collapse during gait cycles, and reduced lifting efficiency. Reviewing a runner-specific exercise guide highlights how targeted hip stabilization directly supports lower-body mechanics across repetitive motion patterns.
5 Essential Glute Focussed Exercises: Step-by-Step Movement Blueprints
Executing glute focussed exercises effectively requires strict joint positioning, mindful tempo, and continuous pelvic control rather than simply moving external resistance from point A to point B. Below are five foundational movement blueprints designed to train every aspect of the gluteal complex.
1. Supine Glute Bridge with Posterior Pelvic Tilt
The supine bridge isolates hip extension while minimizing hamstring and lower back dominance.
- Setup: Lie supine on a firm, cushioned surface with knees bent at roughly ninety degrees and feet flat on the floor, hip-width apart.
- Execution: Before lifting the hips, engage the abdominal wall and gently tuck the tailbone upward to achieve a slight posterior pelvic tilt. Drive through the midfoot and heels to raise the hips until thighs and torso form a straight line. Squeeze the glutes firmly at the top for a two-second pause, then lower under control.
- Key Checkpoint: Avoid hyperextending the lower back at the top of the bridge. The movement finishes when the glutes are fully contracted, not when the rib cage flares toward the ceiling.
2. Side-Lying Clamshell with Spinal Stacking
This movement isolates the gluteus medius and deep hip rotators to improve lateral pelvic stability.
- Setup: Lie on your side with hips stacked at a forty-five-degree angle and knees bent at ninety degrees. Rest your head on your lower arm and place the top hand on your hip bone to monitor movement.
- Execution: Keeping the heels glued together and the pelvis locked in place, rotate the top knee upward toward the ceiling. Pause briefly at the top of the range before slowly lowering back to the starting point.
- Key Checkpoint: Do not allow the top hip to roll backward as the knee opens. Maintain vertical alignment through the pelvis throughout every repetition.
3. Quadruped Hip Extension and Fire Hydrant Sequence
Combining quadruped extensions with lateral hip abduction targets both the gluteus maximus and gluteus medius within a single multi-planar sequence.
- Setup: Begin on all fours with hands positioned beneath the shoulders and knees directly beneath the hips on a cushioned training surface.
- Execution: For the hip extension, keep the knee bent at ninety degrees and drive the sole of the foot toward the ceiling, contracting the glute max without arching the lumbar spine. Return to the starting position, then immediately abduct the same leg outward to the side (fire hydrant) while keeping the torso parallel to the floor.
- Key Checkpoint: Maintain equal weight distribution across both hands to prevent excessive leaning toward the supporting hip.
4. Romanian Deadlift (RDL) with Strict Hip-Hinge Mechanics
The Romanian deadlift trains the posterior chain through eccentric loading, building gluteus maximus strength and hip-hinge proficiency.
- Setup: Stand tall with feet hip-width apart, holding a barbell, dumbbells, or kettlebells in front of the thighs. Keep shoulders pinned back and down.
- Execution: Maintain a soft, unlocked knee position. Push the hips straight back as if trying to touch a wall behind you, allowing the torso to hinge forward naturally while keeping the weights close to the shins. Once you feel maximum tension in the glutes and upper hamstrings, drive the hips forward to return to standing.
- Key Checkpoint: The shins must remain relatively vertical. Avoid turning the hinge into a conventional squat by letting the knees travel forward.
5. Rear-Foot-Elevated Split Squat with Forward Torso Lean
This unilateral movement challenges balance, hip stability, and single-leg strength.
- Setup: Stand facing away from a stable bench or elevated block. Place the laces of the rear foot on the bench and step the lead foot out into a comfortable lunge stance.
- Execution: Descend by bending both knees, allowing the torso to pitch forward at approximately twenty to thirty degrees over the front thigh. Drive through the front heel to return to the top, keeping constant tension on the working glute.
- Key Checkpoint: The forward torso angle increases hip flexion, which places the mechanical load onto the gluteus maximus rather than concentrating it solely on the front quadriceps.
Programming a Glute-Focused Workout: Structure, Cues, and Weekly Balance
To design an effective glute-focused workout routine, organize exercises systematically from floor-based activation drills to heavy compound hinges and unilateral stabilizers. Activation drills, such as supine bridges and clamshells, prepare the nervous system and warm up deep hip stabilizers. Follow these with compound movements like the Romanian deadlift or hip thrust, and finish with unilateral variations such as split squats or quadruped sequences.
For balanced programming, incorporate glute-focused sessions two to three times per week, allowing adequate recovery between workouts. Those looking to combine conditioning with targeted hip work can pair these movements with a glute finisher workout routine to reinforce motor patterns under fatigue.
Home Gym Surface Architecture: Floor Staging for Bridges, Hinges, and Single-Leg Work
Floor-intensive lower-body training requires proper surface staging. Ground-based exercises like bridges, quadruped extensions, and side-lying clamshells place concentrated pressure on the knees, wrists, and pelvic bones. Working directly on hard subfloors like concrete or hardwood can cause discomfort that disrupts focus and compromises form.
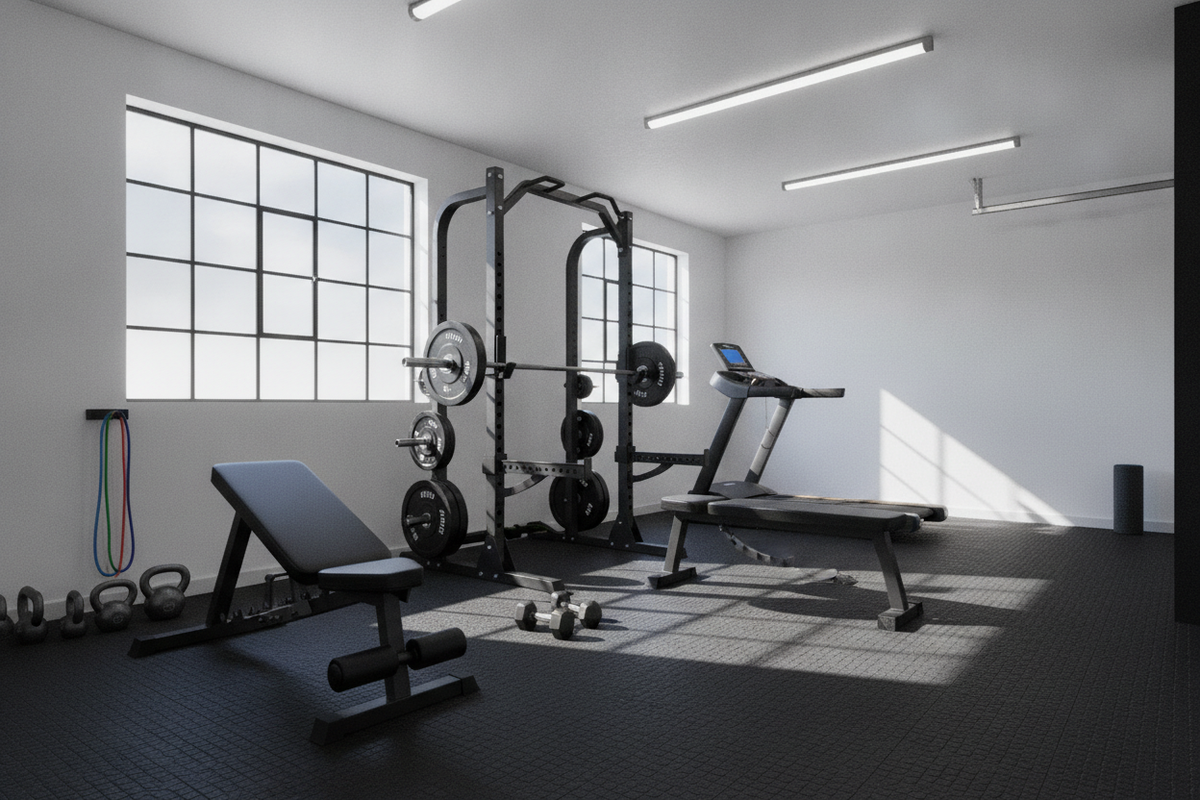
Equipping your training area with a high-density home exercise mat provides essential joint cushioning while maintaining a firm base of support. Unlike overly soft foam pads that compress unevenly, high-density exercise flooring offers the rigidity needed for stable footing during heavy Romanian deadlifts and rear-foot-elevated split squats. Additionally, reliable floor traction prevents the lead foot from slipping during unilateral lunges and stops the heels from sliding away during supine bridges.
Surface Maintenance and Care for Floor-Intensive Training Spaces
Because glute workouts involve frequent transitions between standing lifts and floor-based drills, keeping your exercise mat clean and well-maintained preserves surface traction and equipment longevity:
- Post-Workout Wipe Down: Wipe the mat surface with a damp microfiber cloth and mild, pH-neutral soap solution after floor-intensive sessions to clear away dust and sweat.
- Avoid Abrasive Cleaners: Steer clear of harsh chemical cleaners or stiff brushes that can degrade the non-slip top texture of the mat over time.
- Air Drying: Allow the flooring surface to dry completely before rolling it up or placing heavy free weights back on top.
By pairing proper biomechanical cues with a well-staged workout area, you can build a resilient, strong posterior chain. Explore the structured workout hub for additional training frameworks and home gym setup guides.


