5 Exercises for Pelvic Misalignment: Corrective Movement Blueprints, Postural Reset Mechanics, and Floor Mat Staging
Understanding Pelvic Misalignment and Postural Mechanics
The pelvis serves as the central foundation of the kinetic chain, bridging forces between the upper torso and lower extremities. When the pelvis shifts out of its neutral resting position—whether tilting forward into an anterior pelvic tilt, tucking excessively into a posterior tilt, or rotating laterally—the surrounding muscle groups must compensate. Overactive hip flexors and lower back extensors often pair with underactive gluteal and deep abdominal stabilizers, creating postural imbalances that impact daily walking mechanics and loaded gym exercises.
Addressing these movement faults requires consistent exercises for pelvic misalignment designed to retrain muscular recruitment patterns. By focusing on neuromuscular re-education rather than aggressive stretching alone, you can encourage the pelvis to sit in a balanced orientation during both stationary and dynamic movement patterns.
5 Targeted Exercises for Pelvis Alignment and Stability
Executing exercises for pelvis alignment requires intentional pacing, strict control, and direct tactile awareness. The following five movement blueprints emphasize pelvic stabilization, hip disassociation, and core integration.
1. Half-Kneeling Posterior Pelvic Tilt Tucks
The half-kneeling position creates an optimal environment to lengthen shortened hip flexor tissue while engaging the opposing gluteus maximus.
- Setup: Place your back knee on a supportive, high-density mat with the front foot planted flat, establishing two clean right angles at both knees.
- Execution: Without arching the lower back or lunging forward, actively contract the glute of the trailing leg and gently draw your belt buckle upward toward your navel.
- Focus: Maintain a vertical torso and hold the posterior pelvic tuck for several deep breaths before releasing with control.
2. Supine 90/90 Heel Taps with Lumbar Grounding
Controlling the ribcage-to-pelvis relationship is essential for reversing anterior pelvic pull. Performing targeted floor core exercises trains the deep transverse abdominis to stabilize the pelvis under changing leverage.
- Setup: Lie flat on your back with your hips and knees bent to ninety degrees, keeping your shins parallel to the ground.
- Execution: Press your lower back firmly into the floor mat to eliminate any gap beneath your lumbar spine. Slowly lower one heel toward the mat, moving strictly from the hip socket without letting your lower back lift.
- Focus: Return the leg to the starting 90-degree position and alternate sides while sustaining constant downward abdominal pressure against the floor.
3. Single-Leg Isometric Glute Bridge Hold
Lateral hip shifts and rotational asymmetries often stem from uneven glute recruitment. Single-leg bridging restores unilateral extension strength while challenging the pelvis to resist twisting.
- Setup: Lie supine with knees bent and feet flat on your mat, hip-width apart. Lift one knee toward your chest.
- Execution: Drive through the planted foot's midfoot and heel, elevating the hips until your torso and working thigh form a continuous diagonal line.
- Focus: Keep both front hip bones level across the horizontal plane, avoiding any dipping or rotation on the non-working side.
4. Side-Lying Clamshell to Leg Extension Complex
The gluteus medius plays a crucial role in stabilizing the lateral pelvic ring during single-leg stance and gait. This two-part drill strengthens the lateral hip abductors without inviting spinal rotation.
- Setup: Lie on your side with hips stacked, knees bent at forty-five degrees, and your head supported along your arm.
- Execution: Keep your feet together and rotate the top knee upward without rolling your hips backward. From the top of the clamshell, extend the top leg fully backward into slight hip extension before returning to the start.
- Focus: Maintain a neutral lumbar spine and ensure the motion originates entirely from the hip musculature.
5. Quadruped Bird-Dog with Anti-Rotation Bracing
Cross-body stability drills connect the opposite shoulder and hip stabilizers, strengthening the posterior sling to prevent rotational pelvic torquing.
- Setup: Position yourself on all fours with wrists beneath shoulders and knees under hips.
- Execution: Brace your midsection and simultaneously extend one arm forward and the opposite leg straight back until both are parallel to the floor.
- Focus: Avoid letting the working hip flare upward or the lower back sag toward the mat. Imagine balancing a block across your lower back throughout the entire repetition.
Surface Grip and Floor Mat Staging for Alignment Drills
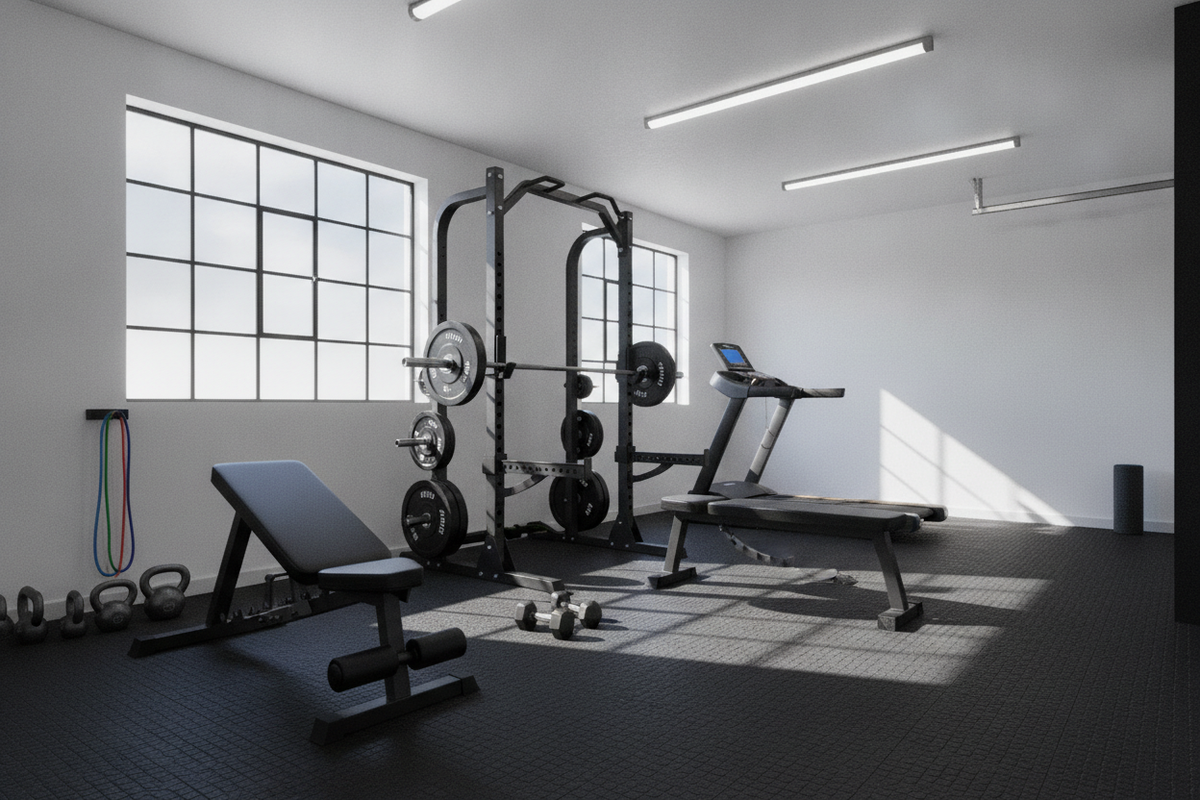
Proper floor staging directly affects your ability to execute pelvic adjustment exercises with precision. Alignment drills rely heavily on grounding cues, where the sensory feedback between your joints, skin, and the floor informs your movement corrections.
A dedicated, large-format high-density exercise mat offers two critical advantages for pelvic correction work:
- Joint Protection Without Instability: Soft mattresses or overly spongy foam pads can allow the knees, hips, and wrists to sink unevenly, introducing micro-rotations that defeat the purpose of alignment drills. High-density rubber or dense composite foam cushions bony contact points while maintaining a firm base.
- Traction and Grounding: Slippery floors force the surrounding stabilizing muscles to tense defensively, preventing you from isolating deep hip stabilizers. High-traction textured mats secure your anchor points during kneeling and bridging movements.
Common Pelvic Correction Pitfalls and Compensation Checks
Executing pelvic misalignment exercises requires strict vigilance against compensation patterns. When primary stabilizers fatigue, surrounding secondary muscles quickly take over.
To maintain proper form, monitor these common checkpoints:
- Lumbar Hyperextension: Watch for excessive lower back arching during hip extension exercises. Integrating clear spinal alignment cues ensures movement comes from the hip joint rather than the lumbar spine.
- Rushing Movement Tempo: Corrective positioning relies on motor control and muscle activation, not momentum. Perform each repetition with deliberate pauses at peak contraction.
- Uneven Weight Distribution: In kneeling or quadruped stances, notice if you lean heavily onto one side. Keep your weight centered evenly across all active contact points.
Integrating Pelvic Alignment Work into Daily Home Training
Consistency is key when retraining posture. Incorporate these corrective movements into your regular schedule to reinforce balanced movement mechanics over time.
Consider structuring your routine around these implementation principles:
- Pre-Workout Activation: Perform two to three sets of pelvic tucks, bird-dogs, or glute bridges before general strength workouts or functional movement routines to prime stabilizer muscles.
- Daily Movement Breaks: If you spend long hours sitting at a desk, utilize brief floor mat sessions during the day to reset hip flexor tension and reactivate dormant glute fibers.
- Gradual Progression: Focus first on movement quality and symmetry before adding resistance bands or increasing hold durations.