Why Your Home Gym Is Failing Without a Power Cage (And How to Fix It)
If you are serious about building strength at home, you eventually hit a ceiling. You can only do so many pushups, and dumbbells only go so heavy before they become unwieldy to position for a press. To trigger real adaptation in your muscles, you need to move heavy loads. However, lifting heavy alone in a garage or basement introduces a very real fear: getting crushed under a barbell. This is where the cage power rack transforms from a luxury item into a non-negotiable necessity. It serves as the centerpiece of any functional training space, bridging the gap between a casual workout corner and a facility capable of building elite-level strength.
The primary function of this equipment is safety, but its value goes far beyond just catching a falling bar. A properly set up rack acts as a mechanical spotter, a pull-up station, and a customizable anchor point for dozens of accessories. When you stop worrying about failing a lift, your training intensity increases. You push for that extra rep because you know the steel safety pins are there to catch you if gravity wins. That psychological shift is often the difference between stagnation and a new personal record.
The Moment I Realized I Needed Steel Support
I spent the first two years of my home training journey using independent squat stands. They were cheap and easy to move, but they were unstable. One Tuesday evening, I was attempting a heavy bench press alone. I didn't have a spotter, and I was feeling overconfident. On the third rep, my triceps quit. The bar stalled halfway up. I couldn't rack it, and I couldn't press it. I had to perform the "roll of shame," dragging a loaded barbell down my chest and stomach to sit up. It was painful, humiliating, and dangerous. I ordered a full cage the next morning. The difference was immediate. The first time I failed a squat inside the cage, the bar simply settled onto the safety straps with a dull thud. I stepped out, unloaded the weight, and reset. No panic, no injury. That peace of mind is what you are actually buying.
Turning a Rack into a Complete Cage Gym
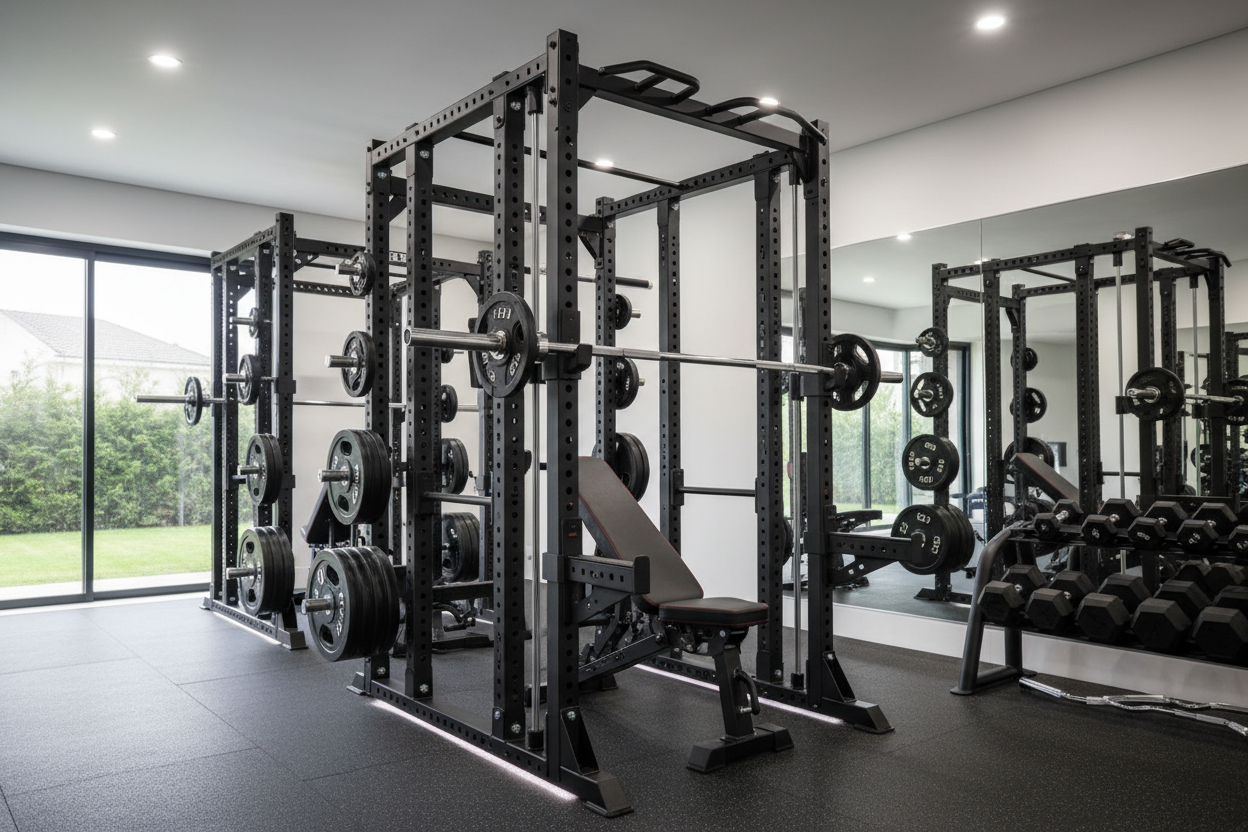
Many beginners mistake the rack for a piece of equipment solely designed for squats and bench presses. While those are the pillars of strength training, a well-equipped cage gym offers versatility that rivals commercial facilities. The uprights are essentially an Erector Set for adults. You can attach dip bars, landmine pivots for rotational work, and pulley systems for isolation exercises.
When you look at the footprint, it seems large, but it is actually a space-saver. By utilizing the vertical space and the frame itself, you eliminate the need for a separate pull-up tower, a dip station, and a plate tree. Everything hangs off the central unit. If you add a high-low cable pulley attachment, you suddenly have access to tricep pushdowns, face pulls, and seated rows, all within the same 4x4 foot footprint. This density of utility is why seasoned lifters prioritize the cage over treadmills or multi-station machines.
Understanding Construction and Stability
Not all steel is created equal. When shopping for cage fitness equipment, you need to look at the gauge of the steel and the dimensions of the uprights. Commercial gyms usually use 11-gauge steel, which is thick and incredibly durable. For home use, 12-gauge or 14-gauge is common, but if you plan on lifting over 400 pounds, sticking to 11-gauge is a wise insurance policy.
You should also look for hole spacing. The "Westside" hole spacing pattern is the gold standard for home gyms. This features holes spaced only 1 inch apart through the bench press zone, allowing you to set the safety pins at the exact height of your chest. Standard 2-inch spacing often leaves you in a predicament where one setting is too high (limiting your range of motion) and the next is too low (offering no protection). Precision matters when you are under the bar.
The Ecosystem: Power Cage and Weights
The rack is useless without the iron. Balancing your budget between the power cage and weights is critical. A common mistake is blowing the entire budget on a high-end rack and having nothing left for a quality barbell and plates. The barbell is the object you actually touch; the rack is just the structure. You want a bar with decent knurling and reliable spin on the sleeves.
Regarding plates, you have a choice between iron and bumper plates. If your cage is on a concrete floor, iron is fine, but it is loud. Bumper plates (rubber-coated) are quieter and protect your foundation if you do deadlifts outside the rack. However, keep in mind that bumper plates are thicker. If you are exceptionally strong, you might run out of sleeve space on the bar with bumpers. A mix of both often works best—bumpers for the floor, iron for the mass.
Safety Mechanisms Explained
There are three main types of safety systems you will encounter. Pin-and-pipe safeties are the most basic. They are strong but annoying to adjust and can damage your barbell knurling if you drop weight on them aggressively. Safety straps are increasingly popular; they are made of reinforced nylon, are easy to adjust, and protect your barbell from metal-on-metal contact. Flip-down safeties or spotter arms offer a middle ground, providing a flat surface that is easy to engage. Regardless of the type, the rule remains: never lift without them set. It takes ten seconds to adjust them, and that time investment protects your longevity in the sport.
Latent Benefits of the Cage
Beyond safety and versatility, there is a structural benefit to owning a cage. It allows for band work. You can loop resistance bands around the bottom of the rack and over the bar to create "accommodating resistance," where the lift gets heavier as you lock it out. This is a staple technique for breaking through plateaus. Additionally, the top crossmembers serve as anchor points for suspension trainers (like TRX) or gymnastic rings, opening up a world of bodyweight stability training that complements heavy lifting.
Building a home gym is a process of curation. You start with the essentials and expand. But the foundation of that environment dictates what is possible. A yoga mat allows for movement; a power cage allows for transformation. It changes the atmosphere of the room from a place where you exercise to a place where you train.
FAQ
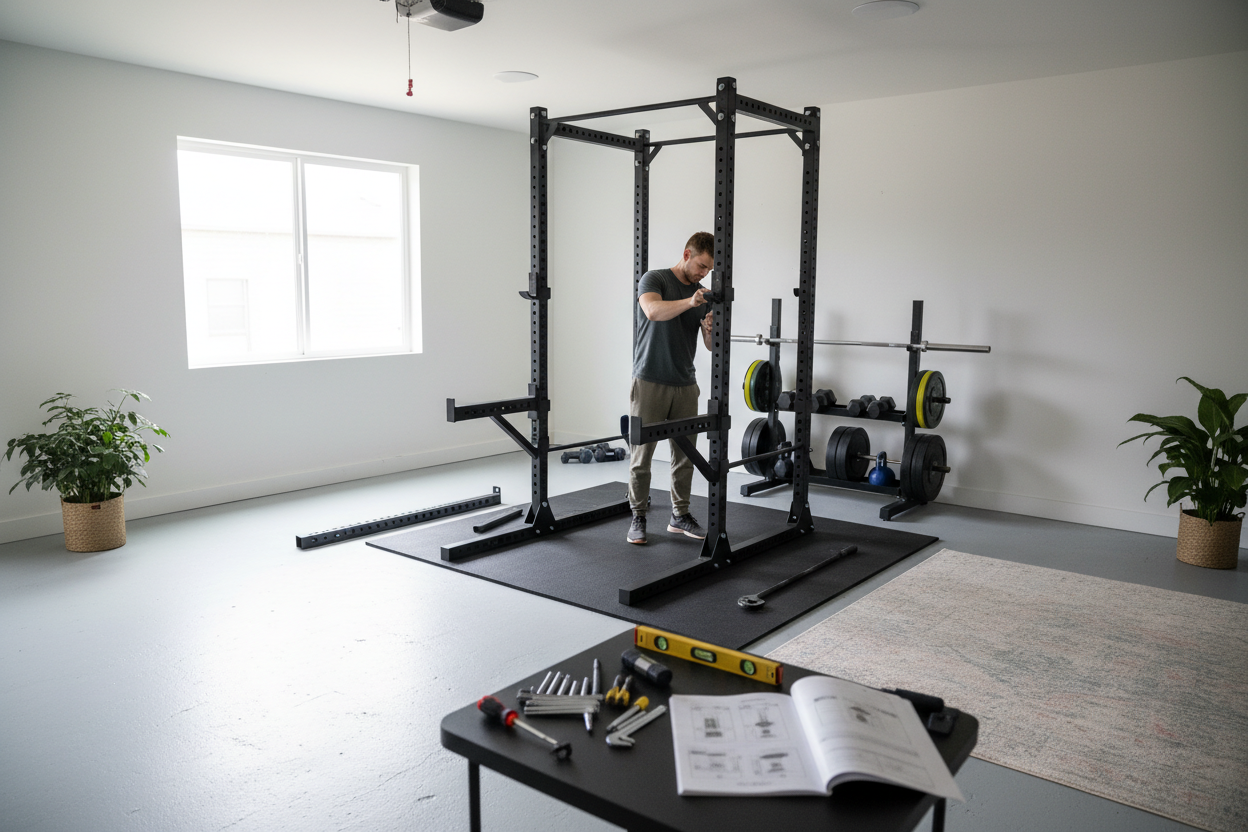
Do I need to bolt my power cage to the floor?
Ideally, yes. Bolting the rack to the floor provides maximum stability, especially if you are doing kip-heavy movements like dynamic pull-ups or using heavy bands. However, many modern "flat-footed" racks are designed to be stable without bolting, provided you weigh down the back with plate storage.
What is the minimum ceiling height needed for a power cage?
Most standard power racks are between 80 and 90 inches tall. You generally need at least a few inches of clearance above the rack for assembly and pull-ups. If you have low ceilings (like in a basement), look for "short" models specifically designed to fit under 7-foot ceilings.
Can I use a half rack instead of a full cage?
A half rack takes up less visual space and is often easier to move plates around, but it offers slightly less safety since you cannot be fully enclosed by the uprights. A half rack is a great option if you are tight on space, but a full cage remains the superior choice for maximum safety during solo heavy lifting.