Stop Wasting Time: Why the Weight Room Rack Is the Only Gym Equipment You Actually Need
If you walk into any serious training facility, from a Division I collegiate weight room to a high-end garage gym, your eyes usually land on the same centerpiece. It isn't the treadmill, the elliptical, or the shiny machine that isolates your inner thigh. It is the cage of steel where the real work happens. While it might look intimidating to beginners, the power rack—often referred to generally as a weight room rack—is arguably the safest and most versatile tool for building strength.
Many people shy away from this equipment because they associate it exclusively with powerlifters moving massive amounts of iron. That is a misconception. The rack is actually designed for control. It provides a defined space where you can push your physical limits without the risk of being crushed by a barbell. Whether you are looking to build muscle, increase athletic performance, or simply get stronger for daily life, understanding how to utilize this steel frame changes the trajectory of your fitness journey.
The Safety Factor: Lifting Without Fear
I learned the value of a proper setup the hard way. Years ago, I was training alone in a basement gym equipped with nothing but a flimsy bench and a standalone pair of uprights. I decided to go for a personal best on the bench press. The weight went down fine, but halfway up, my triceps quit. I didn't have a spotter, and I didn't have safety bars. I ended up having to do the "roll of shame," sliding a heavy barbell down my torso to my hips so I could sit up. It was bruising, embarrassing, and incredibly dangerous.
That incident prompted me to invest in a proper weight room rack for my home setup. The primary function of this equipment is the safety pin or safety strap system. These horizontal bars can be set at various heights inside the cage. If you are squatting and can't stand back up, you simply lower the bar onto the pins. You walk away uninjured. This safety net allows you to train at higher intensities and attempt heavier weights because the fear of failure is removed from the equation. You cannot make significant progress if you are constantly holding back to ensure you don't get stuck.
Versatility Beyond the Squat
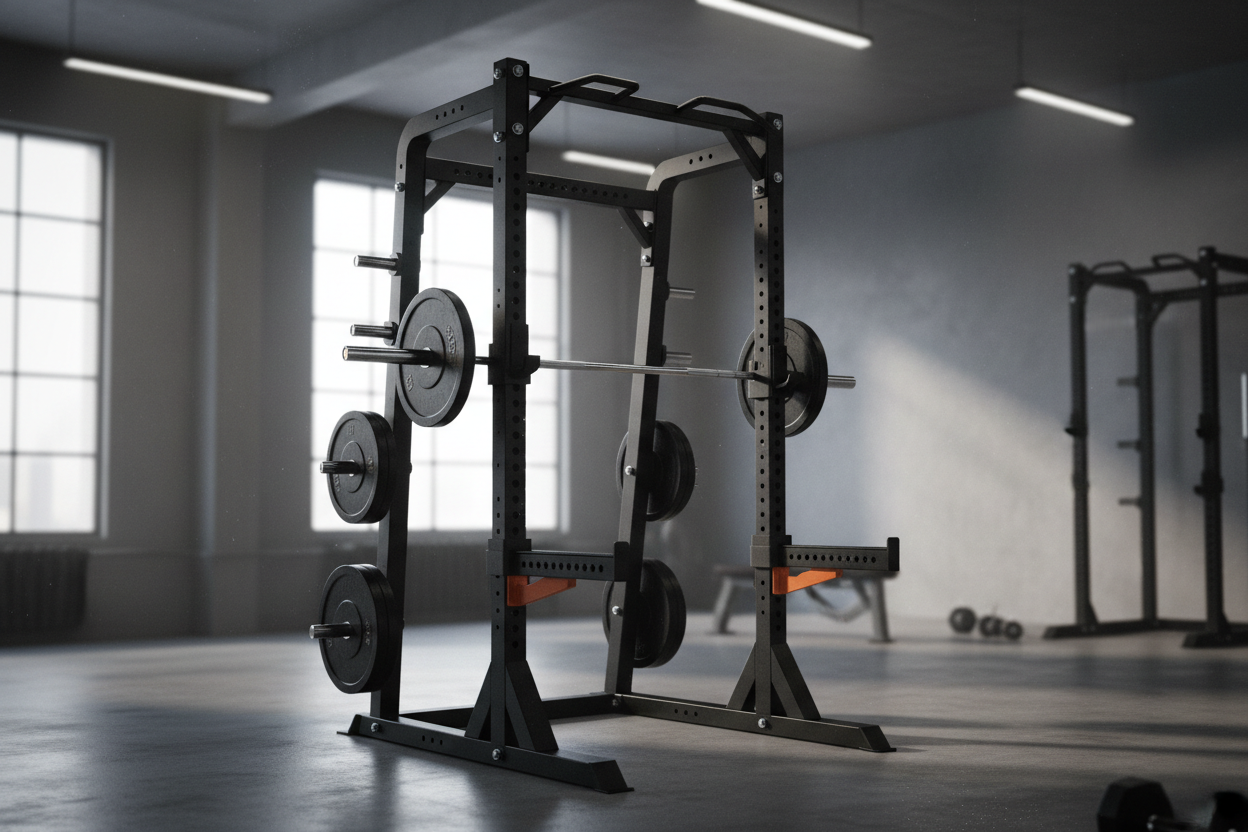
Calling it a "squat rack" does a disservice to what the equipment actually offers. A well-built rack serves as a complete gym in a roughly 4-foot by 4-foot footprint. By adjusting the J-hooks (the hooks that hold the barbell) and the safety pins, you can perform nearly every major compound movement required for full-body strength.
For the upper body, the rack facilitates the bench press, overhead press, and rack pulls. Rack pulls are particularly useful for those with lower back issues, as you can set the pins higher to limit the range of motion on a deadlift. Most modern racks also come equipped with a pull-up bar connecting the top uprights. This allows for bodyweight training, suspension trainer attachment, or hanging leg raises for core development.
The Attachment Ecosystem
Manufacturers have realized that the uprights of a rack are essentially Lego blocks for adults. You can now customize a standard weight room rack with endless attachments. Dip bars can be mounted to the side for tricep and chest work. Landmine attachments allow you to insert a barbell for rotational core work and rows. Some setups even include cable pulley systems that bolt onto the back, effectively replacing dedicated cable machines.
This modularity is why garage gym owners prioritize the rack above all else. You buy the frame once, and you expand its capabilities over time as your budget and training needs evolve. You don't need a room full of single-use machines; you just need one robust frame and a few clever add-ons.
Selecting the Right Steel for Your Goals
Not all racks are created equal. When browsing for equipment, you will see terms like "gauge" and dimensions like "2x2" or "3x3." This refers to the thickness and size of the steel tubing. A commercial-grade weight room rack usually features 11-gauge steel, which is thick enough to withstand heavy abuse and remain stable. Thinner steel, often found in budget big-box store equipment, can wobble under load, which is the last thing you want when you have 200 pounds on your back.
Hole spacing is another subtle but critical feature. Look for "Westside hole spacing" in the bench press zone. This means the holes on the uprights are spaced only 1 inch apart near the bottom half of the rack. This precise spacing allows you to set the safety pins exactly where you need them—just below your chest level—so they catch the bar if you fail, but don't get in the way while you are pressing.
The Mental Shift
Stepping inside the cage creates a psychological shift. It separates your training from the distractions of the gym floor. There are no mirrors to stare into (unless you add them), and there is no phone holder. It is just you, the bar, and gravity. This isolation encourages focus. When you are contained within those four posts, the environment demands intention. You aren't just moving limbs; you are executing a lift.
If you have been relying on Smith machines or dumbbells, transitioning to a barbell inside a rack will humble you. The machine stabilizes the weight for you; the rack forces you to use your own stabilizer muscles. This results in a higher caloric burn and more functional strength that carries over to real-world activities. It might feel awkward at first, but the learning curve is worth the payoff in stability and raw power.
Making the Investment
Whether you are outfitting a garage or deciding which station to use at your local health club, prioritize the rack. It offers the highest return on investment regarding exercise variety and safety. You can perform a full-body workout without ever leaving that 16-square-foot area. Stop wandering around the gym looking for open machines. Head straight for the steel cage, set your pins, and start lifting with purpose.
Frequently Asked Questions
What is the difference between a power rack and a half rack?
A power rack (or full cage) has four upright posts and you stand inside it to lift, offering maximum safety with spotter pins on both sides. A half rack usually has two main uprights and you lift in front of it; while it saves space, it offers slightly less safety for failed lifts compared to being fully enclosed.
How much height do I need for a rack in my home?
Standard racks are usually between 80 and 90 inches tall. You need to measure your ceiling height carefully, leaving a few inches of clearance for pull-ups. If you have low ceilings (like in a basement), many manufacturers offer "short" versions specifically designed to fit under 7-foot ceilings.
Do I need to bolt the rack to the floor?
While many heavy-duty racks are stable enough to stand alone, bolting them down is highly recommended for safety, especially if you plan on doing kipping pull-ups or using heavy bands. If drilling into concrete isn't an option, look for a rack with a "flat foot" base or weight storage pegs to weigh it down.

