
Stop Wasting Time Waiting for Equipment: Creating the Ultimate Heavy-Duty Home Gym
There is a distinct sound in a commercial gym that everyone recognizes. It isn’t the clanking of iron plates or the thud of a deadlift hitting the platform. It is the awkward silence of someone hovering three feet away from you, waiting for you to finish your set in the only squat rack available. If you are serious about strength training, the logistics of a public gym often become the biggest hurdle to your progress. The solution isn't just buying a set of dumbbells; it is establishing a dedicated space where safety and versatility meet.
Building a home setup requires a shift in mindset. You aren't just buying gear; you are investing in infrastructure. The centerpiece of this infrastructure is invariably the power rack. It serves as your spotter, your storage, and your primary training station. Without a solid cage, you are limited to exercises that don't require safety bails, which severely caps your strength potential. When you finally decide to pull the trigger on a home gym, the goal should be to replicate everything you can do at a commercial facility within a footprint that fits in your garage or basement.
Why Weight Capacity Is More Than Just a Number
A common misconception among new home gym owners is that equipment ratings are simply targets to hit. You might think that because you only squat 300 pounds, a rack rated for 500 is sufficient. While technically true, weight capacity is often a proxy for general stability and build quality. A rack that is built to withstand half a ton of pressure is going to feel significantly more rigid during a 200-pound bench press than a budget rack that is nearing its structural limit.
Rigidity matters. When you unrack a heavy barbell, the last thing you want is the entire structure shifting or swaying. This is why equipment like the ritfit 1000 lb capacity power cage has become a staple in serious home setups. The high weight rating indicates the use of heavy-gauge steel and quality welding. It provides a psychological advantage as much as a physical one. Knowing that the steel surrounding you can handle five times what you are lifting allows you to focus entirely on the movement pattern and muscle contraction rather than worrying if the J-hooks will snap.
I learned this lesson the hard way a few years ago. I started with a flimsy, two-post squat stand because it was cheap and saved space. During a particularly heavy set of squats, I failed a rep and had to dump the bar backward. The stand nearly tipped over from the impact, and the bar rolled dangerously close to my drywall. It was a wake-up call. I realized that safety equipment isn't just for the worst-case scenario; it's the foundation that gives you the confidence to push for that extra rep. Upgrading to a full cage with proper safety bars completely changed my training intensity because the fear of injury was mitigated by the hardware.
The Necessity of Versatility in Small Spaces
Space is the most valuable currency in a home gym. Unless you have a massive warehouse, you likely cannot fit a separate leg press, chest fly machine, and lat tower. Your power rack needs to be a Swiss Army knife. A standard cage handles the big compound movements—squats, bench press, overhead press, and rack pulls—but a complete physique requires accessory work, particularly for the back and rear delts.
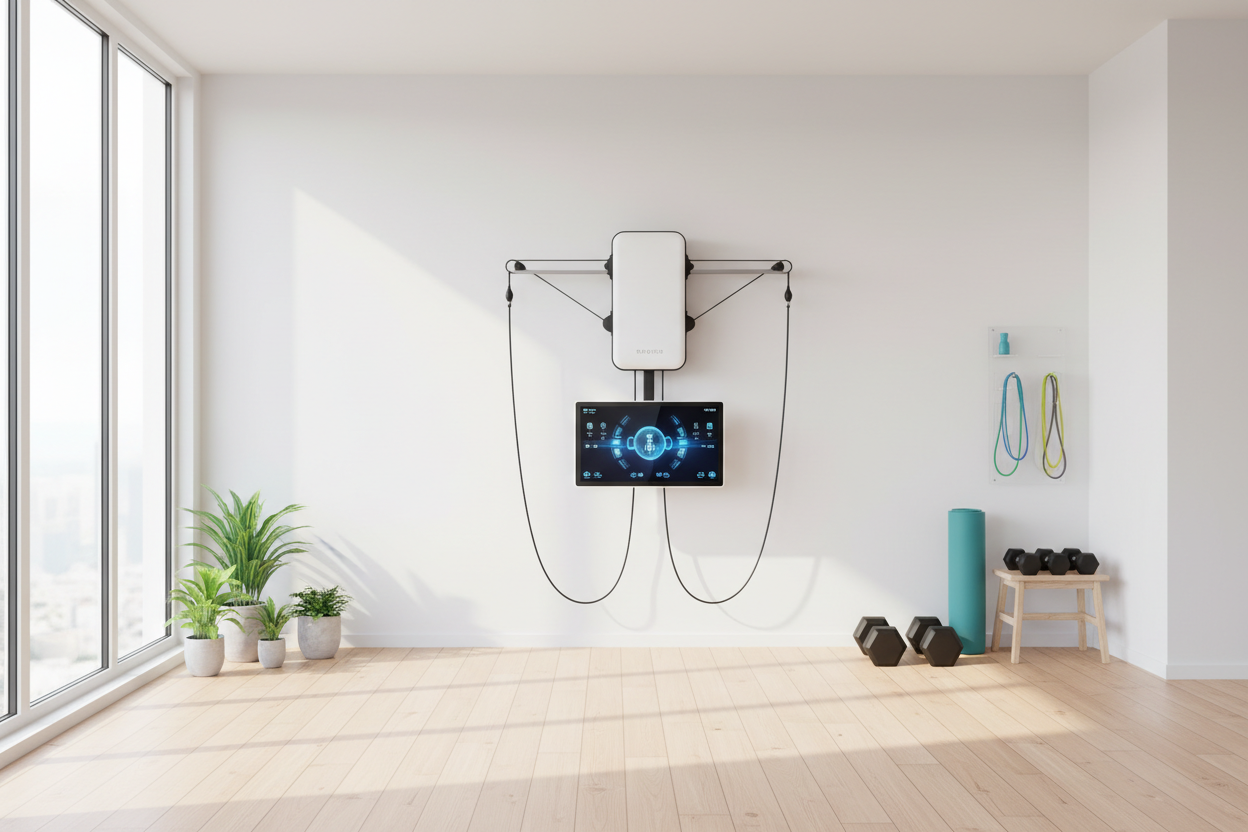
This is where attachments transform a basic steel box into a comprehensive fitness machine. A rack that only holds a barbell leaves a massive gap in your programming, specifically regarding vertical pulling movements. Pull-ups are great, but they don't offer the scalable resistance or the angle variety needed for complete back development. Integrating a cable system directly into the rack is the most efficient use of square footage.
Opting for a ritfit power cage with lat pull down functionality solves the "back day" dilemma. Instead of needing a separate machine with a massive footprint, the pulley system runs along the back of the cage. This setup allows for lat pulldowns, tricep pushdowns, face pulls, and low-row movements. The ability to superset a heavy bench press with a high-repetition face pull without moving your feet is a luxury even some commercial gyms can't offer. It keeps your heart rate up and maximizes work density, which is crucial when you are trying to squeeze a workout into a busy schedule.
Key Features to Look for in a Power Cage
When evaluating which cage will anchor your gym, look beyond the price tag. The details in the manufacturing determine the longevity of the rack. Check the hole spacing on the uprights. "Westside" spacing, which features holes spaced 1 inch apart through the bench press zone, allows for precise J-hook placement. This ensures you aren't un-racking the bar from a position that compromises your shoulder health.
Another critical factor is the ecosystem of attachments. A good cage grows with you. You might start with just the rack and a bench, but eventually, you will want to add dip handles, landmine attachments, or band pegs. Ensure the manufacturer supports the product line with compatible add-ons. The gauge of the steel is also paramount. 14-gauge steel is common in budget racks, but moving toward 12-gauge or thicker provides that "bolted to the floor" feeling that inspires confidence.
Structuring Your Home Training Routine
Once your cage is assembled, your training split can evolve. Without the constraints of gym hours or equipment availability, you can focus on a Push/Pull/Legs split or an Upper/Lower split with high efficiency. A typical session might start with a heavy compound movement inside the cage, using the safety pins to test your limits. Following the heavy work, you can utilize the cable system for hypertrophy work.
For example, on a leg day, you might perform:
- Barbell Back Squats (inside the cage for safety)
- Romanian Deadlifts (using the safety bars for rack pulls)
- Cable Pull-Throughs (using the low pulley attachment)
- Bulgarian Split Squats (with one foot resting on the bench inside the rack)
This entire workout takes place within a 4x6 foot area. There is no walking across the gym to find the cable machine, only to find it occupied by someone texting. The flow of the workout is seamless.
The Long-Term Investment
Building a home gym is front-loaded with cost and effort. You have to clear the space, buy the mats, assemble the heavy steel, and dispose of the cardboard. However, the return on investment is calculated in consistency. The barrier to entry for a workout drops to zero. You don't have to pack a bag, drive, or wait. You just step into your garage and lift.
Choosing equipment that combines high weight capacity with functional versatility ensures you won't outgrow your setup in a year. Whether you are powerlifting, bodybuilding, or just trying to stay healthy, a robust power cage is the anchor that makes it all possible. It turns a spare room into a sanctuary of self-improvement.
Frequently Asked Questions
Do I need to bolt my power cage to the floor?
While bolting the cage down offers maximum stability, especially for kipping pull-ups or heavy band work, most high-capacity cages are heavy enough to remain stable during standard lifting. If you plan on lifting very heavy or using dynamic movements, bolting it down or using a platform is safer.
How much ceiling height do I need for a power cage with a lat pulldown?
You generally need at least 84 to 90 inches of ceiling clearance to accommodate the top of the pulley system and to perform pull-ups comfortably without hitting your head. Always check the specific assembled height of the product and add a few inches for clearance during assembly.
Can I assemble a heavy-duty power cage by myself?
It is possible to assemble a cage alone, but it is significantly easier and safer with a second person to hold the uprights in place while you secure the bolts. Expect the process to take two to four hours, and use a ratchet set rather than the small wrench provided in the box for a tighter fit.
