Stop Dropping Expensive Gear for Weightlifting on Bare Concrete
I remember the exact moment I realized I’d screwed up my home gym build. I was chasing a deadlift PR in my garage, the sweat was stinging my eyes, and I let 405 pounds drop from the hips. The sound wasn't the satisfying thud of a professional facility; it was a sickening, high-pitched crack. I hadn't just dropped my gear for weightlifting; I had shattered the top layer of my garage’s concrete slab.
Most of us start this journey because we are tired of the commute or the rising membership fees. You spend hours researching the best knurling and the most durable plates, but you forget the foundation. If you don't protect your floor, you aren't just risking your security deposit or your home's resale value—you're actively destroying the very equipment you just spent a fortune on.
Quick Takeaways
- Concrete is surprisingly brittle under high-impact loads; rubber is your insurance policy.
- Cheap foam puzzle mats are useless for anything involving a barbell.
- A 6x8 foot footprint is the minimum safe zone for Olympic lifting.
- Invest in a high-tensile strength barbell before you buy fancy accessories.
The Concrete Crusher: Why Your Floor Fails First
Garage concrete is designed to hold the static weight of a car, not the dynamic, concentrated impact of a falling iron plate. When you drop a loaded bar, that energy has to go somewhere. Without a buffer, it travels through the plate, through the bar, and directly into the floor. This is how you end up with 'spiderweb' cracks that eventually turn into potholes.
I spent years finding the best gym for weightlifting in my city just to avoid this headache. The convenience of a home setup is unmatched, but only if you treat your garage with the same respect a commercial owner would. If you’re dropping weight on bare concrete, you’re basically using a hammer to tenderize your foundation every single morning. It’s a fast track to a very expensive repair bill that could have been avoided with a few hundred bucks in rubber.
Stop Skimping on Mats (It Costs You More Later)
I see it in every 'budget' home gym thread: someone buying those colorful foam puzzle mats from a big-box store. Don't do it. Those are made for playrooms and light stretching. The second you try to pivot your foot during a clean or set down a heavy kettlebell, those tabs will rip, and the mat will slide right out from under you. It’s a safety hazard, plain and simple.
You need high-density, sulfur-free rubber. I’m talking about a large exercise mat for home gym use that stays put because of its own sheer weight. You want something that doesn't compress into a pancake when you stand on it with a loaded bar. High-density rubber absorbs the vibration, kills the noise (your neighbors will thank you), and provides the friction you need so your feet don't slip during a heavy set of overhead presses.
What Size Mat Actually Works for Heavy Deadlifts?
A single 4x6 horse stall mat is the classic 'cheap' fix, but it’s rarely enough. If you’ve ever actually lifted, you know that a barbell is over seven feet long. If you use a narrow mat, your plates are going to be hanging off the edges, or worse, half-on and half-off, which creates an uneven, dangerous pulling surface. I’ve seen bars roll off a single mat and take a chunk out of a wall.
For a real lifting area, I always recommend a 6x8ft exercise mat. This gives you enough width so that even if your drop isn't perfectly centered, the plates stay on the rubber. It also gives you enough depth to step back from your rack and perform lunges or cleans without stepping onto the cold, hard concrete. It’s the sweet spot for a dedicated lifting 'zone' that actually protects your gear.
The Barbell: The Core of Your Gear for Weightlifting
Once the floor is safe, the bar is your next big spend. This is the only piece of equipment you should never buy used unless you really know what you're looking for. A cheap bar will have sleeves that don't spin, which puts massive torque on your wrists and elbows. Even worse, low-grade steel will take a 'permanent set'—meaning it stays bent—after just a few heavy sessions in a rack.
Look for a bar with at least 190,000 PSI tensile strength. You want a decent whip if you're doing Olympic movements, but if you're mostly powerlifting, look for something stiffer. Don't get distracted by fancy colors; focus on the coating. Zinc or Cerakote will survive a humid garage much longer than basic decorative chrome, which will start to flake off and cut your hands within a year.
Forget the Flashy Weightlifting Gears (Buy This Instead)
It’s easy to get sucked into buying 'weightlifting gears' like specialized cable attachments, chains, or those weird neck-training harnesses you see on Instagram. Ignore them. Your budget should go toward iron and rubber. If you have extra cash, get a set of quality bumper plates. Even if you aren't doing snatches, bumpers are quieter and much more forgiving on your equipment than raw iron.
Whether you are focusing on heavy squats or specific glute exercises weightlifting programs, stability is everything. You don't need a vibrating platform or a specialized glute-drive machine if you have a solid floor and a bar that doesn't wobble. Master the basics on a surface that doesn't move, and you'll see more progress than any 'as-seen-on-TV' accessory could ever provide.
When to Finally Graduate to a Real Power Rack
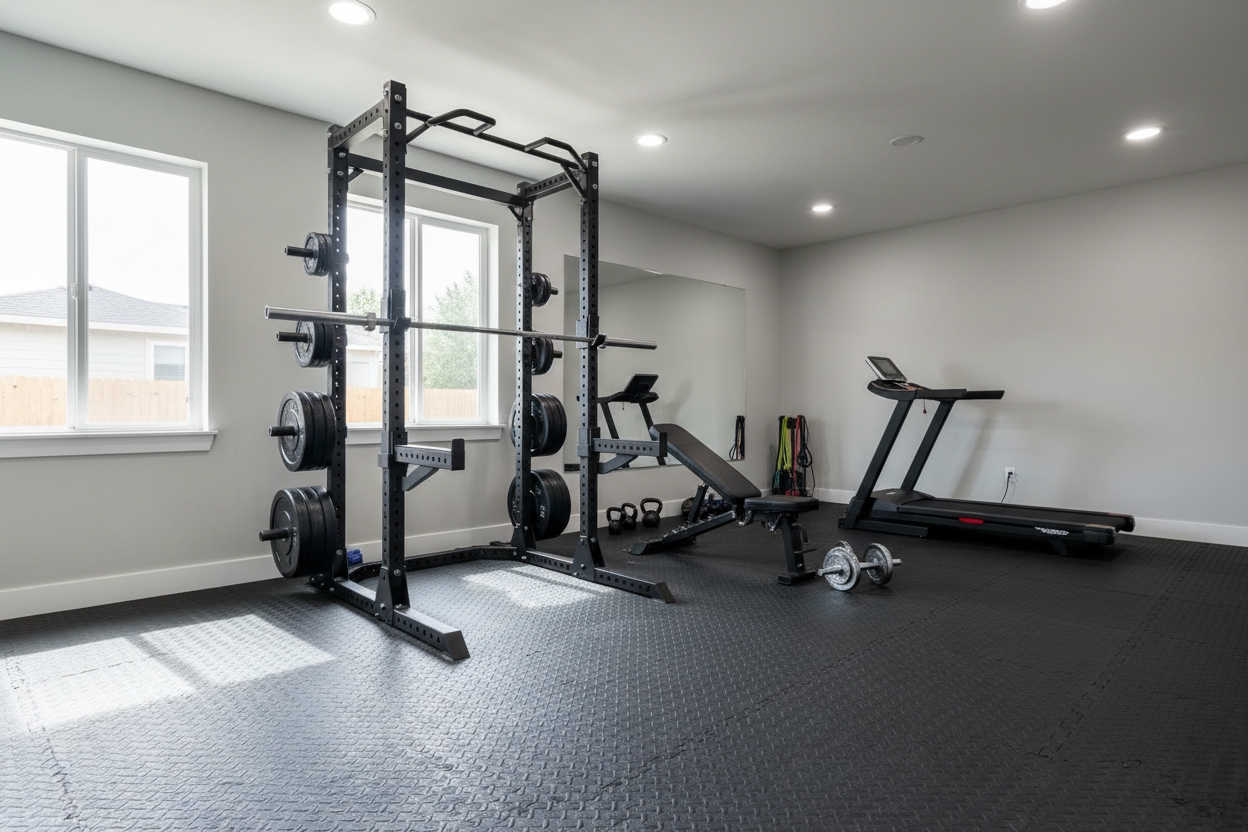
The final piece of the puzzle is the rack. If you're still using a pair of independent squat stands, you're living on the edge. A real power rack with safety spotters allows you to push to failure without needing a human spotter. Look for 11-gauge steel—anything thinner will feel like a playground set when you try to re-rack 300 pounds.
Check the hole spacing, too. 'Westside' spacing (1-inch gaps through the bench zone) is a lifesaver for finding the perfect height for your safety bars. A rack should be an anchor. If you can shake it with one hand, it’s not heavy enough. Bolting it to the floor (through your mats!) is the gold standard for stability.
Personal Experience: My First 'Bargain' Bar
I once bought a '1,000-lb capacity' barbell from a local sporting goods store for $80. I thought I was a genius. Three months later, I was doing rack pulls, and I noticed the bar didn't look straight. I rolled it across the floor, and it hopped like a wounded animal. The steel was soft, the sleeves were gritty, and I ended up spending more money to replace it than if I’d just bought a quality bar to begin with. Learn from my cheapness: buy the right gear once.
FAQ
Is 3/4 inch rubber enough to protect concrete?
For most lifters, yes. If you are regularly dropping 500+ pounds from overhead, you might want to stack an extra layer or build a plywood platform, but 3/4 inch high-density rubber is the industry standard for a reason.
How do I stop my mats from smelling like a tire shop?
That 'new rubber' smell is real. Mop them with a mixture of water and a little bit of mild dish soap or Simple Green. Leave the garage door open for a few days. The scent fades, but high-quality vulcanized rubber will always have a faint smell.
Can I just use carpet scraps?
No. Carpet offers zero impact protection for the concrete and will slide around, making it a major trip hazard. It also soaks up sweat and starts to rot. Stick to rubber.