Scaling Home Training Routines With Autoregulation
I remember standing in my freezing 10x10 basement gym at 5:30 AM, staring at a printed spreadsheet that demanded five sets of heavy squats. I had slept maybe four hours, my lower back felt like rusted iron, and my grip was completely shot. But the paper said 315 pounds, so I loaded the bar. Two reps in, my form collapsed, and I spent the next three weeks nursing a strained lumbar. That was the day I realized rigid spreadsheets are a trap for everyday lifters.
When you are balancing a full-time job, family stress, and unpredictable sleep, forcing yourself to follow static home training routines is a fast track to injury and burnout. You need a system that adapts to your daily physiology, not the other way around.
This is where autoregulation comes in. By learning to read your body's biofeedback and adjusting your volume and intensity on the fly, you can guarantee progress without running yourself into the ground. Let's break down how to ditch the rigid plans and start lifting smarter.
Quick Takeaways
- Autoregulation prevents burnout by matching your daily workout intensity to your actual recovery level.
- Use the RPE (Rate of Perceived Exertion) scale to judge effort without needing a spotter.
- Assess your grip strength and resting heart rate daily to gauge central nervous system fatigue.
- Scale volume down on low-energy days to facilitate recovery instead of forcing heavy lifts.
The Problem with Static Workout Plans
Most popular workout programs are written for college athletes or fitness influencers who have eight hours a night to sleep and a dedicated recovery protocol. They assume your stress levels, nutrition, and sleep quality are identical every single day. For the rest of us, life gets in the way. You might have a sick kid keeping you up until 3 AM, or a stressful project deadline that floods your system with cortisol.
When you blindly follow inflexible home workout regimens under these conditions, you are not stimulating muscle growth; you are just digging a deeper recovery hole. Your central nervous system can only handle so much systemic stress. If your spreadsheet demands 85 percent of your one-rep max for five sets, but your nervous system is already fried, that 85 percent is going to feel and act like 100 percent.
This rigid approach almost always leads to a plateau. You push through the fatigue, your form breaks down slightly, and eventually, you tweak a shoulder or a knee. I have seen dozens of clients hit this exact wall. They buy a set of 5-52.5 lb adjustable dumbbells, clear out a 6x6 foot space in their living room, and go hard for three weeks before burning out entirely. The equipment gathers dust because the program was too demanding for their actual lifestyle. Autoregulation solves this by giving you permission to pivot.
Understanding RPE and RIR at Home
To autoregulate effectively, you need a way to measure your effort that does not rely strictly on the weight on the bar. This is where the Rate of Perceived Exertion (RPE) and Reps in Reserve (RIR) scales become your best tools. RPE is a scale from 1 to 10 that gauges how hard a set felt. An RPE 10 means absolute failure—you could not have done another rep if your life depended on it. An RPE 8 means you had exactly two reps left in the tank.
RIR is just the inverse of RPE. If you stop a set at RIR 2, you are leaving two reps in the tank (which equals RPE 8). When you train at home, you often do not have a spotter or an endless rack of bumper plates to test your absolute max safely. RPE allows you to get an effective stimulus using whatever weight you have available. If you only have 50-pound dumbbells, you might have to do 15 reps to hit an RPE 8 on goblet squats, whereas a barbell would let you hit that same RPE in 6 reps.
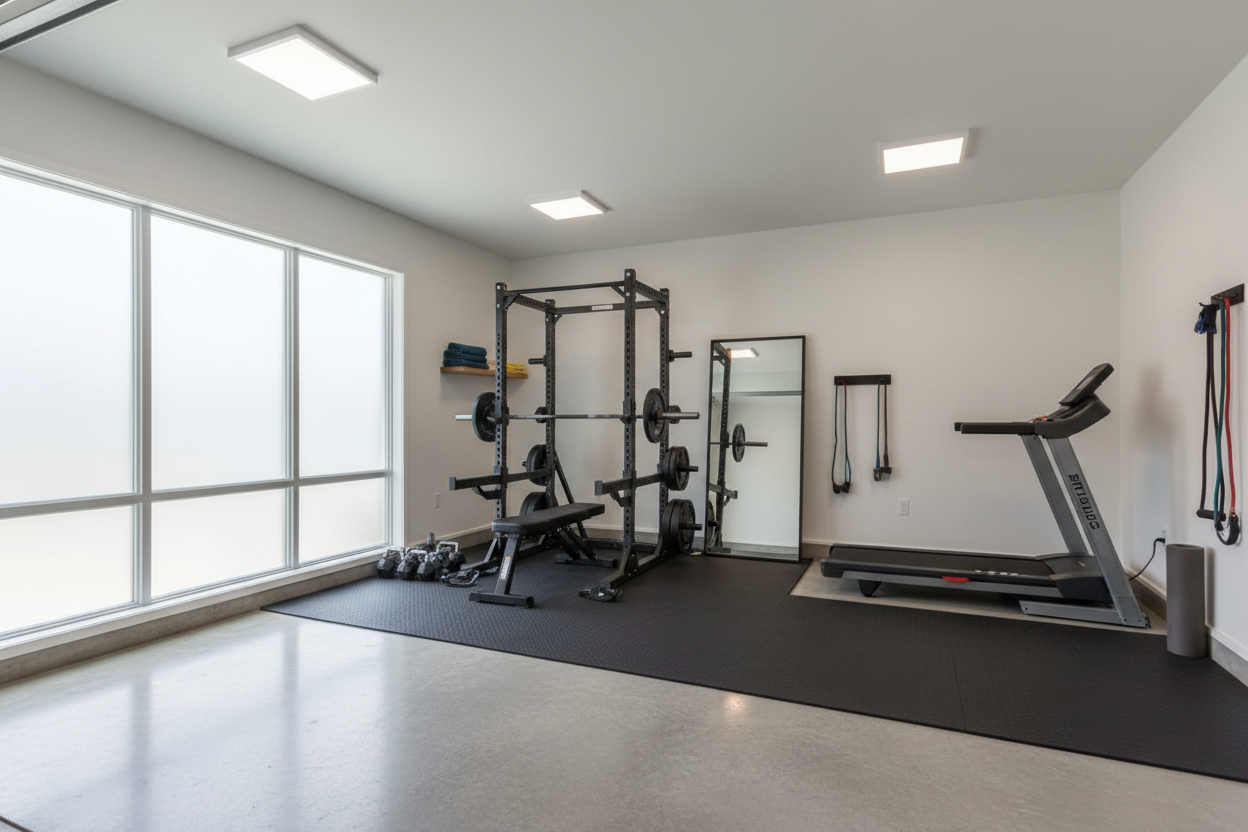
Accuracy is everything with RPE. If you are distracted, you will underestimate your effort and stop too early. This is why dedicating space to build the ultimate home workout station is so critical. You need an environment free from tripping over toys or slipping on hardwood floors so you can tune into your muscles. When your environment is dialed in, you can honestly ask yourself after a set: "Could I have done two more reps with perfect form?" If the answer is yes, you hit RPE 8. If the answer is "I could have done five more," you need to increase the reps or slow down the eccentric tempo.
Reading Your Biofeedback Before You Lift
Autoregulation starts before you even pick up a weight. You have to learn how to read your body's biofeedback during your warmup. I teach my clients to check three specific metrics: resting heart rate, grip strength, and joint stiffness.
First, check your resting heart rate right when you wake up. If your normal baseline is 60 beats per minute, but you wake up at 72 bpm, your sympathetic nervous system is working overtime. That is a massive red flag that your body is fighting off stress, fatigue, or illness. Next, test your grip. Grab a heavy dumbbell or just hang from a pull-up bar. The central nervous system heavily dictates grip strength. If the bar feels unusually thick or your hands feel weak, your CNS is fatigued.
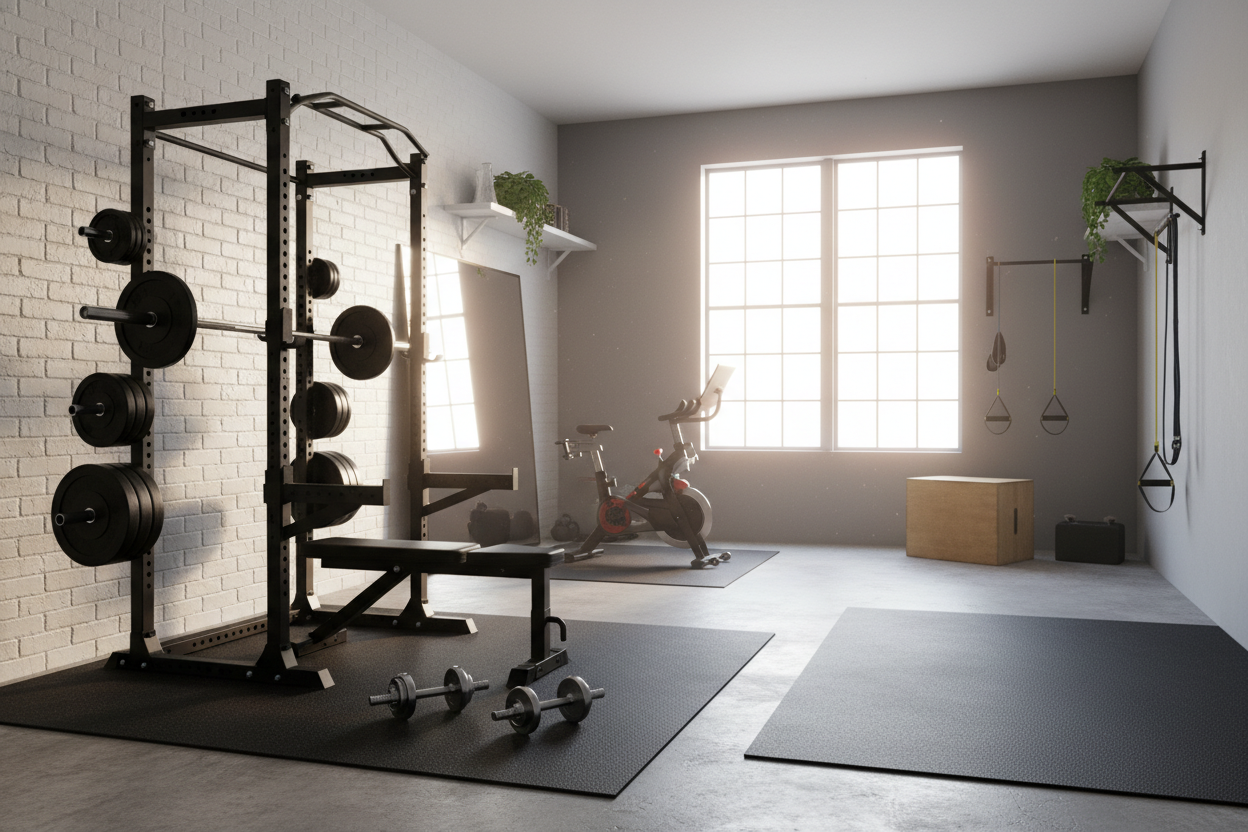
Finally, physically test your joint readiness. I always have clients get down on a large exercise mat for a dedicated five-minute mobility flow. This isn't just about warming up; it is an assessment. Do some deep bodyweight squats, arm circles, and thoracic rotations. Pay attention to how your knees, lower back, and shoulders feel. Are they gliding smoothly, or do they feel like rusty hinges?
If your heart rate is normal, your grip is crushing, and your joints feel greased, you are green-lit for a heavy session. If two or more of these indicators are off, you need to adjust your plan for the day. Listening to this biofeedback takes ego out of the equation.
Adjusting Volume vs. Intensity Based on Readiness
Once you have assessed your daily readiness, you have to actually change your workout. You have two main dials you can turn: volume (sets and reps) and intensity (weight and RPE). Most people think that if they feel bad, they should just skip the workout entirely. That is a mistake. You can almost always do something, but you have to pull the right levers.
If you are following a standard program that calls for 4 sets of 8 reps at an RPE 8, but your biofeedback is screaming fatigue, you do not push through it. Instead, you drop the volume first. Cut the workout from four sets down to two. You still get the movement practice, you still flush blood into the muscles, but you generate half the systemic fatigue.
Alternatively, you can drop the intensity. Keep the 4 sets of 8 reps, but drop the weight by 20 percent so that the sets feel like an RPE 5 or 6. This turns a heavy strength day into a light technique and recovery day. The key is to never grind through heavy, high-volume work when your body is compromised. Doing so requires days of extra recovery and ruins your workouts for the rest of the week.
I learned this the hard way testing a highly-rated adjustable kettlebell system. I was determined to do 100 heavy swings every day for a month. By day twelve, my grip was failing and my hamstrings were painfully tight. I refused to adjust the volume or intensity because I wanted to stick to the challenge. The downside of that stubbornness was a tweaked hamstring that took six weeks to heal. If I had just autoregulated and dropped the weight by 10 pounds on the days I felt trashed, I would have finished the month safely.
High Readiness Days: Pushing the Limits
When your biofeedback is entirely positive—you slept eight hours, your grip is strong, and your joints feel fantastic—it is time to push the pace. These are the days you capitalize on your recovery and drive real adaptation.
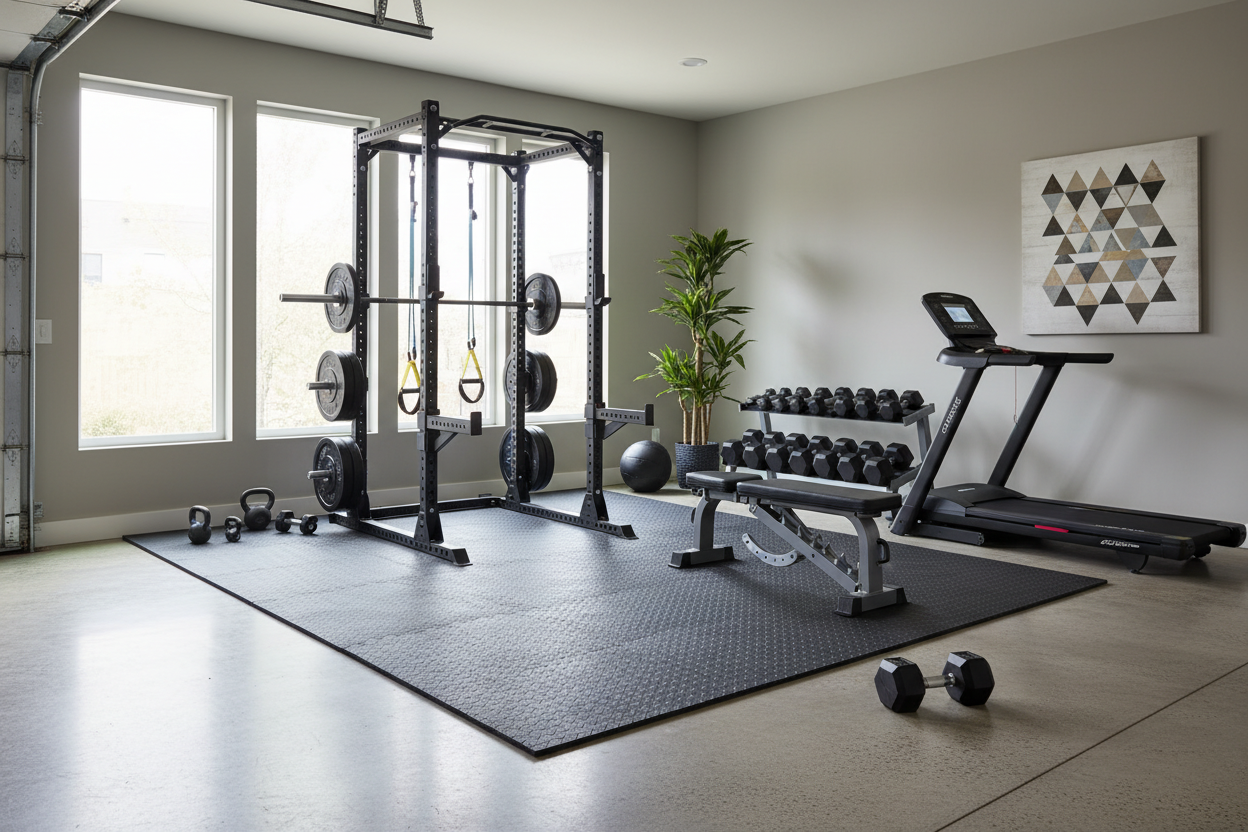
If your program calls for 3 sets of 10, but you hit 10 reps and feel like you have five left in the tank, keep going. Push that set to an RPE 9 or even an RPE 10 (mechanical failure) on safe isolation movements. High-readiness days are also exactly when you should load up the best weight training machines in your garage and safely test your absolute limits without worrying about barbell balance or dropping weights on your floor. Add an extra set, increase the load, and take advantage of the energy peak.
Low Readiness Days: The Minimum Effective Dose
On the flip side, low readiness days require you to swallow your pride. If you slept terribly and your lower back is tight, your goal shifts from making gains to facilitating recovery. This is where you employ the minimum effective dose.
Drop your working weights to about 60 to 70 percent of what you normally lift. Focus purely on the eccentric stretch, movement quality, and getting a light sweat going. Do not push past an RPE 6. The goal here is blood flow. Light, controlled movement pumps nutrients into the muscles and clears out metabolic waste much faster than sitting on the couch doing nothing. You leave the gym feeling better than when you walked in.
Structuring Your Autoregulated Week
To make autoregulation work long-term, you need to structure your week around movement patterns rather than strict loads. I like to set up my clients with a four-day template: an upper body push day, a lower body squat day, an upper body pull day, and a lower body hinge day.
Instead of writing "Squat: 225 lbs for 5x5," I write "Squat Pattern: 3-5 sets, RPE 7-9." This gives the trainee a window. If they feel great, they hit 5 sets at RPE 9. If they feel terrible, they hit 3 sets at RPE 7. The movement gets done, but the stress matches their capacity.
For home gyms, having a versatile space makes this fluid programming much easier. I always recommend laying down a thick 6x8ft exercise mat as the foundation for your space. It provides enough grip for heavy, high-readiness barbell work, but is comfortable enough for the mobility flows and bodyweight variations you will rely on during low-readiness recovery days.
Stop letting a piece of paper dictate your physical limits. Start listening to your body, adjusting your dials, and watching your consistency—and your results—skyrocket.
FAQ
How do I know if I am accurately judging my RPE?
It takes practice. Every few weeks, take a safe exercise like a dumbbell goblet squat and push it to absolute failure. Count how many reps you get. If you thought you were at an RPE 8 but managed to squeeze out five more reps, you were actually at an RPE 5. Calibrate your scale regularly.
Can I autoregulate if I only have bodyweight and bands?
Absolutely. Instead of adjusting the weight, you adjust the leverage, tempo, or total repetitions. On a low readiness day, swap standard push-ups for incline push-ups to lower the intensity, or reduce your total sets from four to two.
What is the biggest mistake beginners make with autoregulation?
Using it as an excuse to be lazy. Autoregulation isn't about skipping workouts because you "don't feel like it." It is about honestly assessing physical fatigue. If your heart rate is normal and your grip is strong, but you just feel unmotivated, you still need to put the work in.