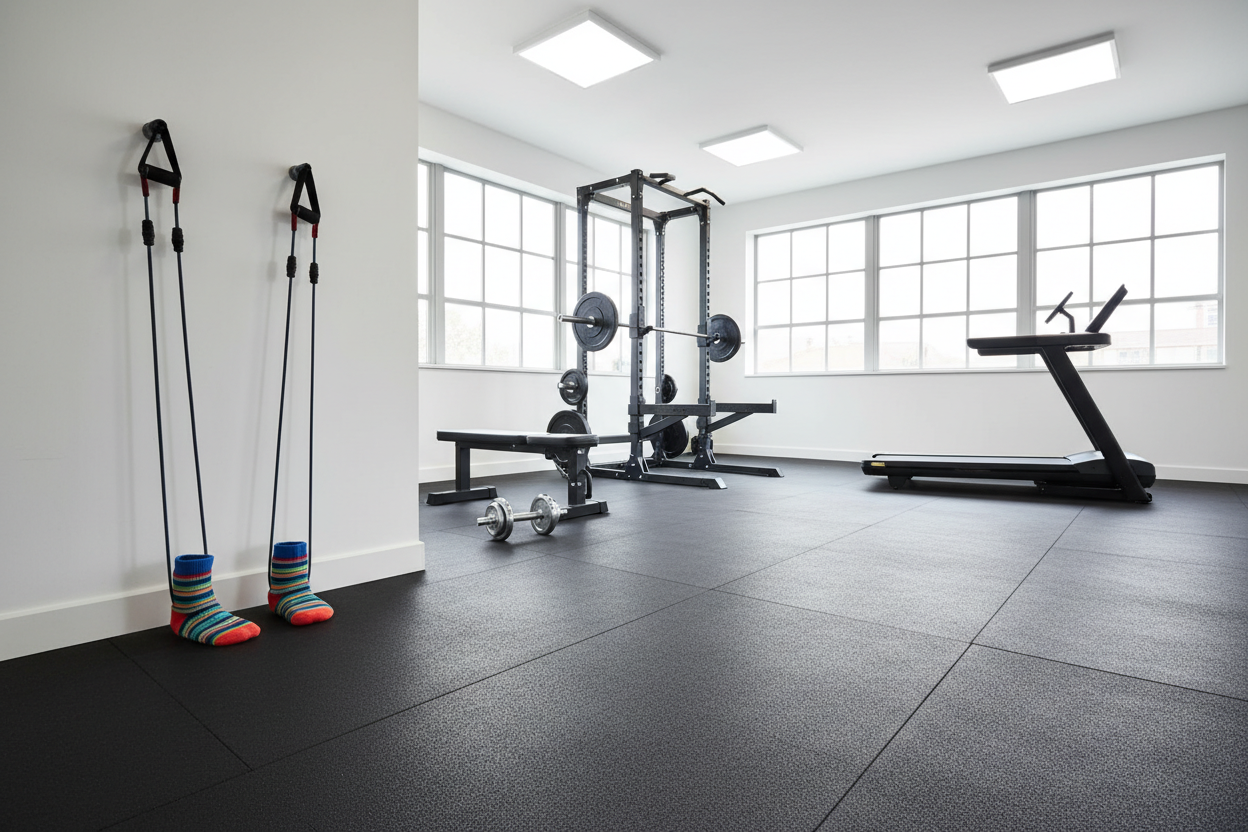
My Go-To shoulder exercise at home without equipment Uses Socks
I have spent thousands of dollars on Rogue power racks, machined iron plates, and high-end barbells. But I also know the frustration of being stuck in a hotel room or a rental with zero gear and a set of shoulders that are starting to look like flat pancakes. Most advice for a shoulder exercise at home without equipment is total garbage. You will see people suggesting 500 arm circles or 'shadow boxing' with no resistance. That is not training; that is just moving your arms around like a windmill.
Quick Takeaways
- Gravity is the main obstacle for bodyweight shoulder isolation.
- Friction-sliding mimics expensive cable machines using just your floor.
- Downward pressure is the 'weight' in this movement.
- Core stability is non-negotiable to prevent lower back strain.
- Eventually, you will need iron to keep growing.
Why Gravity Is the Enemy of Big Shoulders
The fundamental problem with bodyweight training is that gravity only pulls in one direction: straight down. This works great for your chest and triceps during a pushup because you are pushing against that downward force. But your lateral deltoids—the muscles that actually give your shoulders that wide, capped look—function by raising your arms out to the side. When you are standing up, gravity is pulling your arms down, not providing resistance against the outward movement.
This is why so many people struggle with how to train shoulders without weights. They try pike pushups, which are great for the front delts and triceps, but they completely miss the side heads. To hit the lateral delts without a dumbbell, you have to find a way to create horizontal resistance. If you do not have a cable stack or a set of bands, you are usually out of luck. Most bodyweight moves just end up being a chest workout in disguise because the larger muscles take over the second the angle gets difficult.
The 'Floor Slider' Hack for Constant Tension
To solve the lateral resistance problem, we have to stop fighting gravity and start using friction. This is where the sock method comes in. By placing your hands on a hardwood or laminate floor while wearing a pair of thick socks (or using a towel), you can create a 'sliding' resistance. When you press your hand into the floor and slide it away from your body, the friction of the floor acts as the load. It is a brilliant way to figure out how to work shoulders without weights while maintaining constant tension throughout the entire range of motion.
Think of it like a commercial cable crossover machine. In a gym, the cable provides a constant pull regardless of where your arm is. On your living room floor, the friction between your sock and the wood does the exact same thing. The harder you press down into the floor, the 'heavier' the exercise becomes. It is self-regulating resistance that targets the lateral delt in a way that a standard pushup never could. I have used this in tiny apartment kitchens and hotel hallways, and it beats the hell out of doing endless reps of nothing.
How to Execute the Sock-Slide Lateral Raise
Start by getting into a modified plank position on a smooth floor. Your knees should be down for better control, and your hands should be directly under your shoulders. Wear socks on your hands—yes, it looks ridiculous, but it works. Depress your shoulder blades, pulling them down toward your back pockets. This is crucial to ensure the trap does not take over the movement.
Pick one arm to be the working arm. While keeping a slight bend in the elbow, press your palm firmly into the floor and begin sliding it out to your side in a wide arc. You are not just 'moving' your arm; you are trying to crush the floor beneath you as you slide. Go out until your arm is roughly parallel to your torso, then—and this is the hard part—pull it back to the starting position while maintaining that same downward pressure. The return trip is where the most growth happens.
Fixing the Core-Sag Mistake
The most common error I see is the 'banana back.' As your arm slides out, your center of gravity shifts. If your core is weak or disengaged, your hips will sag toward the floor. This kills the tension in your shoulder and puts a massive amount of shearing force on your lumbar spine. You need to keep your ribs locked to your pelvis. If you feel your lower back arching, shorten your range of motion. It is better to do a half-rep with a flat back than a full-rep that trashes your spine.
Programming Friction Into Your Home Routine
Since you cannot exactly 'add weight' to a floor slide, you have to manipulate other variables to keep making progress. I recommend high-volume sets: think 3 to 4 sets of 12-15 slow, controlled reps per side. Focus on the tempo. Take three seconds to slide the arm out and three seconds to pull it back. This increased time under tension is what triggers hypertrophy when you are stuck with good shoulder workouts without weights.
You can easily turn this into a full-body session. I often pair these lateral slides with a high-rep leg circuit. If you are looking for a complete zero-gear plan, you should also learn how to build your legs at home without weights using similar tension-based principles. Alternating between a brutal shoulder isolation and a heavy quad burner is a great way to keep your heart rate up while actually building muscle instead of just burning calories.
What to Do When the Floor Is Not Enough Anymore
Let's be honest: friction training has a ceiling. Once you can do 20 perfect reps with maximum downward pressure, you have officially outgrown your floor. You can only press down so hard before the movement becomes clunky. At this point, you need to start looking at actual equipment if you want to keep adding slabs of muscle to your frame. Bodyweight training is a bridge, not the final destination for most people chasing a serious physique.
The first logical step is an adjustable weight bench. Having a stable platform allows you to perform seated lateral raises, which removes the core-stability bottleneck and lets you focus entirely on the delt. While the floor slide is great for mimicking weight lifting machines, eventually you will want the real thing. Transitioning to dumbbells and a bench allows for progressive overload that is measurable and repeatable, something that is hard to track when you are just 'pressing harder' into a hardwood floor.
Personal Experience
I first tried this when I was living in a 400-square-foot studio in Chicago. I had no room for a rack, and I was tired of my shoulders looking narrow. I thought the sock thing was a gimmick until I actually tried to do 15 reps with max pressure. My side delts were screaming in a way that pushups never achieved. My biggest mistake was trying it on a floor that hadn't been cleaned in weeks—I hit a sticky spot, my hand stopped, but my body kept moving. I nearly face-planted. Clean your floors before you try this, or you will end up with a bruised ego and a sore wrist.
FAQ
Can I do this on carpet?
Not with socks. If you only have carpet, use a plastic furniture slider or even a smooth plastic container lid. The goal is to reduce friction just enough so you can move, but keep enough that it provides resistance.
Is this safe for my rotator cuffs?
Yes, as long as you do not over-extend. Keep the slide in line with your shoulders or slightly forward. If you feel a 'pinch' in the joint, you are likely sliding too far back or losing your scapular depression.
How often should I do this?
Shoulders can handle a lot of frequency because they recover relatively quickly. You can throw these sock-slides into your routine 2-3 times a week. Just watch your volume if you are also doing a lot of heavy pushing movements like dips or overhead presses.