
Monthly Home Workout Plan: The 4-Week Phase Guide
I remember staring at my living room ceiling at 11 PM, exhausted but determined to squeeze in a workout. I had a pair of 20-pound dumbbells, a cramped 6x6 foot floor space, and absolutely zero structure. I would just do push-ups and lunges until my arms and legs gave out. Unsurprisingly, my progress completely stalled after three weeks. That is when I realized that a monthly home workout plan requires the exact same periodization you would use in a commercial facility. Random sweating does not equal progressive overload.
When I started training clients in their own living rooms and garages, I noticed they all made the same mistake. They treated every single workout as a standalone event. To actually build muscle and shed fat, you need to string those workouts together into a logical sequence. We call this a mesocycle. It is a four-week block designed to introduce a stimulus, push your limits, and then let you recover.
Quick Takeaways
- Stop doing random daily workouts; structure your routine into a four-week mesocycle.
- Week 1 is for establishing your baseline reps and mastering exercise form.
- Week 2 and 3 incrementally increase volume and intensity to force muscle adaptation.
- Week 4 is a mandatory deload phase, dropping volume by roughly 40 percent to allow for joint and central nervous system recovery.
- Track your Rate of Perceived Exertion (RPE) and rest times, not just the number on the scale.
The Problem with 'Winging It' at Home
Most home trainees fall into the trap of entertainment-based fitness. You pull up a random video online, follow along for 45 minutes, and wake up sore the next day. While this burns calories, it fails to trigger long-term structural changes in your body. Your muscles only grow when they are forced to do slightly more work than they did last time. If you constantly change the exercises, your body never gets the chance to adapt.
This is where the concept of a mesocycle saves your progress. A mesocycle is simply a training phase, typically lasting about 30 days, focused on a specific goal like hypertrophy or strength endurance. By keeping the exercise selection identical for four weeks, you give yourself a measurable baseline. You can actually see if you are getting stronger.
When you wing it, you also risk severe central nervous system burnout. Doing high-intensity interval training or heavy lifting every single day without planned recovery leads to nagging injuries. Your elbows start aching, your knees feel stiff, and your motivation plummets. Structuring your month ensures you hit the gas pedal when you are fresh and pump the brakes before you crash.
Week 1: Baseline and Adaptation
The first seven days of your cycle are not about destroying your muscles. Week 1 is an introduction phase. Your primary goal is to master the movement patterns and establish your baseline rep counts. If you are doing goblet squats, you need to find out exactly how many reps you can do with perfect form before your technique breaks down.
I always tell my clients to leave two reps in the tank during this first week. If you can physically perform 15 push-ups, stop at 13. This prevents excessive muscle soreness that could derail your workouts later in the week. You are priming your joints and tendons for the heavier volume that is coming in Weeks 2 and 3.
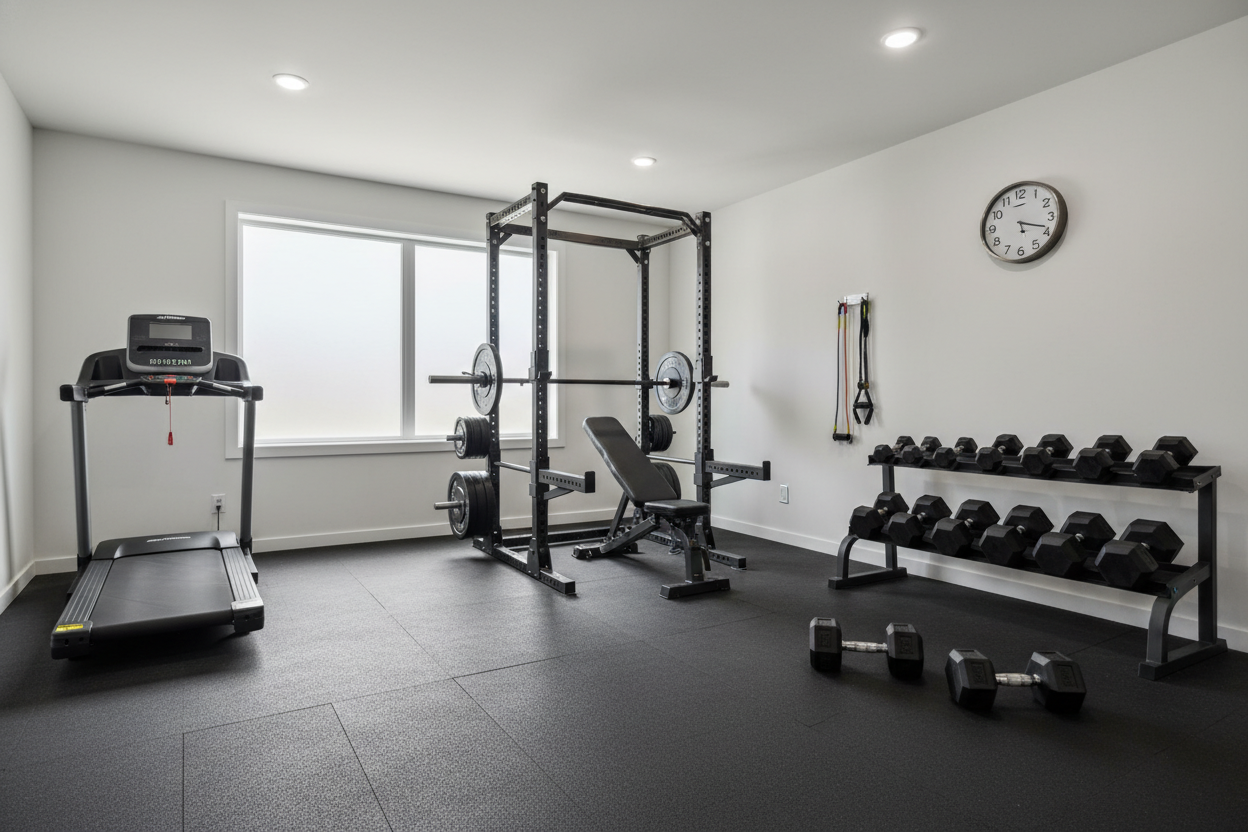
This is also the time to optimize your environment. Working out on a slippery hardwood floor or a thin yoga mat is a recipe for disaster, especially when you start pushing harder later in the month. Defining a dedicated, safe workout space with large home gym mats gives you the traction needed for explosive movements and protects your joints during floor work. Get your equipment organized, figure out exactly where your bench or dumbbells will sit, and memorize your routine.
Week 2: The Volume Escalation
Now that your body is familiar with the movements, Week 2 is where the real work begins. We escalate the volume. Volume is simply the total amount of work you do, calculated by multiplying your sets, reps, and weight. Since most people have limited equipment at home and cannot easily add a 5-pound plate to a barbell, we increase volume by adding sets or reps.
If you performed 3 sets of 10 reps for reverse lunges in Week 1, your goal in Week 2 is to hit 3 sets of 12 reps, or 4 sets of 10 reps. The exercises remain exactly the same, but the total workload increases. This incremental bump is the trigger for muscle hypertrophy. Your body senses the extra demand and starts synthesizing new muscle tissue to handle it.
During my own home gym testing phase, I relied heavily on a pair of 5-52.5 lb adjustable dumbbells. They were incredibly space-efficient, though the bulky handle design made certain movements like triceps kickbacks feel awkward. While testing them, I realized my left shoulder was lagging behind my right during overhead presses. Week 2 is the perfect time to identify these imbalances. By using unilateral moves, you can easily add an extra set of volume to your weaker limb, ensuring symmetrical growth before the intensity peaks.
Week 3: Pushing Peak Intensity
Welcome to the hardest seven days of your cycle. Week 3 is where you empty the tank. Your body is fully adapted to the movement patterns, your joints are primed, and your volume has steadily increased. Now, we push your sets very close to muscular failure. You should be fighting for those last few reps, with your Rate of Perceived Exertion hitting a 9 or 9.5 out of 10.
Because you might max out the weights you own, you have to manipulate tempo to increase the challenge. Try a 3-1-1-1 tempo: lower the weight for 3 seconds, pause for 1 second at the bottom, explode up for 1 second, and squeeze for 1 second at the top. A 30-pound dumbbell feels like 60 pounds when you slow down the eccentric phase and eliminate momentum.
Safety becomes critical here. When you train near failure with exercises like jump squats or heavy dumbbell deadlifts, your form can get sloppy. You need a surface that absorbs impact and prevents slipping when you are dripping sweat. I strongly recommend setting up on a durable 6x8 exercise mat. It provides the necessary shock absorption for your knees and keeps your equipment from wrecking your floors when your grip inevitably gives out.
Week 4: The Strategic Deload
After three weeks of progressive overload, your body is carrying a lot of accumulated fatigue. Week 4 is the strategic deload. Many people skip this because they fear losing their gains, but skipping the deload is exactly what causes plateaus. Muscle grows while you recover, not while you lift.
During this week, you will perform the exact same exercises, but you will drop your total volume by about 40 percent. If you did 5 sets of pull-ups in Week 3, you only do 3 sets in Week 4. You also pull back the intensity, stopping 3 or 4 reps short of failure. The goal is to stimulate blood flow, flush out metabolic waste, and keep your joints moving without taxing your central nervous system.
By the end of Week 4, you should feel energetic, strong, and eager to lift heavy again. This recovery phase heals micro-tears in your muscle fibers and restores your mental drive. Setting the stage for your next monthly workout plan at home is just as crucial as the workouts themselves. You are clearing the fatigue so you can start the next cycle stronger than you began this one.
Tracking Metrics That Actually Matter
Throw the bathroom scale in the closet. Daily weight fluctuations will only mess with your head. Instead, track the metrics that dictate actual fitness progress. Get a cheap notebook or use a note app on your phone to log your workouts.
Write down the exercises, the weight used, and the exact number of reps performed. More importantly, log your Rate of Perceived Exertion (RPE) for each set. If a set of 15 squats felt like an 8/10 effort in Week 1, but feels like a 6/10 effort in Week 4, you have gotten significantly stronger, even if your body weight has not changed.
Also, pay attention to your rest times. Completing 4 sets of push-ups with 60 seconds of rest is vastly different than completing them with 90 seconds of rest. Keep your rest intervals consistent so your rep tracking remains accurate.
Setting Up Your Next 30-Day Cycle
Once you finish Week 4, it is time to start the process over. However, doing the exact same exercises for another month can lead to staleness and repetitive strain. You want to keep the same basic movement patterns (squat, hinge, push, pull, core), but rotate the specific variations.
For example, if you did dumbbell front squats in cycle one, switch to Bulgarian split squats for cycle two. If you did flat floor presses, swap them for incline push-ups with your feet elevated on a chair. This slight variation hits the muscle fibers from a new angle and forces your nervous system to learn a new coordination pattern.
Maintain the 4-week structure: baseline, volume, intensity, and deload. By stringing these cycles together, you create a year-long roadmap for continuous progress right in your own living room.
Frequently Asked Questions
How long should these daily workouts take?
A well-structured home session should take between 35 and 50 minutes. If you are resting properly and pushing the intensity, you do not need to train for two hours. Efficiency is the massive advantage of training at home.
Do I need heavy weights to see results?
No. While heavy weights are great for absolute strength, you can build significant muscle using lighter weights by slowing down your tempo, utilizing paused reps, and taking your sets closer to muscular failure.
What should I do if I miss a workout day?
Just pick up where you left off. Do not try to cram two workouts into one day to catch up. The 30-day cycle is a flexible framework, not a rigid prison. If your mesocycle takes 33 days to complete instead of 28, you will still see the exact same results.