Mat Leg Workout Blueprint: 8 Floor Exercises, Tension Mechanics, and Mat Staging
Why Floor-Based Mat Leg Workouts Deliver Deep Muscular Tension
Training the lower body on the floor eliminates the heavy axial loading that often accompanies traditional barbell and machine routines. A well-constructed mat leg workout focuses on continuous time-under-tension, deliberate joint angles, and muscular isolation. By removing heavy external compressive loads from the spine, a leg workout on mat setups allows exercisers to direct mechanical tension straight into the target muscle fibers of the glutes, adductors, hamstrings, and quads.
Floor training relies heavily on lever lengths, directional pulses, and isometric holds rather than external momentum. When performing a leg exercise on mat surfaces, ground contact provides immediate sensory feedback. This tactile base helps keep the pelvis stable, prevents unwanted torso sway, and isolates smaller stabilizing muscles like the gluteus medius and minimus that are frequently overlooked in upright bilateral lifts. For those seeking joint-conscious lower-body strength, learning how to legs leg exercise guide provides an excellent structural companion to floor training principles.
8 Essential Floor Mat Leg and Glute Exercises
The following eight mat leg exercises combine foundational Pilates mechanics and functional resistance patterns to target every angle of the lower body. For each movement, focus on deliberate tempo, steady breathing, and pelvic control.
1. Side-Lying Straight Leg Raises with Toe Internal Rotation
Lie on one side with the bottom arm extended under your head for neck support. Stack your hips vertically, ensuring the top hip does not roll backward. Extend the top leg straight, slightly rotate the toe downward toward the mat, and lift the heel toward the ceiling. This slight internal rotation directly targets the gluteus medius. Raise the leg without tilting the pelvis, hold for a brief pause at the peak, and lower under control.
2. Elevated Clamshells with Isometric Top Pause
Remain in a side-lying posture with knees bent at a ninety-degree angle and feet aligned with your spine. Elevate both feet several inches off the floor while keeping the lower knee grounded. Open the top knee while keeping the feet pressed together. Hold the open position for two seconds to create peak tension in the deep external rotators of the hip before smoothly closing the knee.
3. Quadruped Donkey Kicks with Controlled Hip Extension
Assume an all-fours position on the mat with wrists under shoulders and knees beneath hips. Brace your abdominal wall to prevent arching the lumbar spine. Keeping one knee bent at ninety degrees, drive the bottom of your foot toward the ceiling. Focus solely on extending through the hip joint rather than flexing the lower back. Squeeze the gluteus maximus at the top of the range before returning to the starting position.
4. Quadruped Fire Hydrants with Dynamic Circles
From the quadruped position, lift one bent knee out to the side until it aligns with hip height. Maintain a level torso without leaning heavily into the supporting wrist or knee. Once elevated, initiate small, controlled circular rotations with the knee joint to engage the hip abductors and rotators dynamically across continuous movement planes.
5. Single-Leg Glute Bridge with Pelvic Leveling
Lie supine on the mat with knees bent and feet flat on the ground hip-width apart. Extend one leg straight out or toward the ceiling. Press down through the heel of the grounded foot to lift your pelvis upward. Focus on keeping both anterior superior iliac spines level to ensure the hamstrings and glutes perform the extension symmetrically without pelvic dip.
6. Prone Hamstring Curls and Alternating Flutter Swims
Lie face down with your forehead resting on folded hands and your pelvis pressed firmly into the mat. Keeping your thighs grounded or slightly hovered, curl your heels toward your glutes by flexing the hamstrings. Transition directly into rapid, alternating flutter kicks with straight legs to build endurance across the posterior chain.
7. Side-Lying Inner Thigh Pulses (Adductor Lifts)
Lie on your side and cross your top leg over the bottom leg, placing the top foot flat on the floor in front of your pelvis. Extend the bottom leg straight out with the foot flexed. Lift the bottom leg several inches off the mat using the medial adductor muscles. Perform controlled micro-pulses at the peak height to isolate the inner thigh without pelvic compensation.
8. Kneeling Quadriceps Hinge
Kneel upright on a supportive mat with knees hip-width apart and toes untucked. Keep a straight line from your knees through your hips to your shoulders. Brace your core and slowly hinge backward from the knee joints, loading the quadriceps eccentrically. Maintain a neutral torso throughout the descent, then engage the quads to pull yourself back to the upright starting position.
Biomechanics of Mat Lower Body Training: Levers, Tempo, and Core Bracing
Because floor mat leg exercises utilize bodyweight rather than loaded bars, increasing exercise intensity depends on biomechanical manipulation. Lengthening the lever arm—such as extending a bent knee into a fully straight leg—increases torque around the hip joint, demanding greater muscular recruitment.
Tempo manipulation is equally essential during mat glute exercises. Employing a three-second eccentric lowering phase combined with a two-second isometric hold at peak contraction recruits deep muscle motor units. Continuous core bracing stabilizes the lumbo-pelvic complex, ensuring the targeted leg musculature handles the workload rather than allowing the lower back to compensate.
Structuring Your Routine: Short Burnouts vs. Full Lower-Body Splits
You can program these mat leg workouts in several formats depending on your training objectives and schedule:
- Quick Burnout Finisher: Select three exercises (such as clamshells, donkey kicks, and adductor lifts) and perform each for forty-five seconds continuously per leg at the conclusion of an active workout session.
- Dedicated Mat Lower-Body Session: Perform all eight exercises in sequence for three rounds. Complete ten to twelve repetitions per side for each movement, resting thirty seconds between sets.
- Mobility and Strength Integration: Pair these strengthening drills with post-session mobility flows, such as a workout exercise mat guide routine, to release tight hip flexors and improve overall range of motion.
Home Gym Floor Staging: Cushioning Hips, Knees, and Wrists
Executing an effective glute workout on mat surfaces requires adequate physical protection for bony prominences. During side-lying raises, the greater trochanter of the femur presses directly into the floor. In quadruped and kneeling hinge drills, the patellae and wrists support substantial body mass. Thin yoga mats often fail to dissipate this point pressure on hard surfaces.
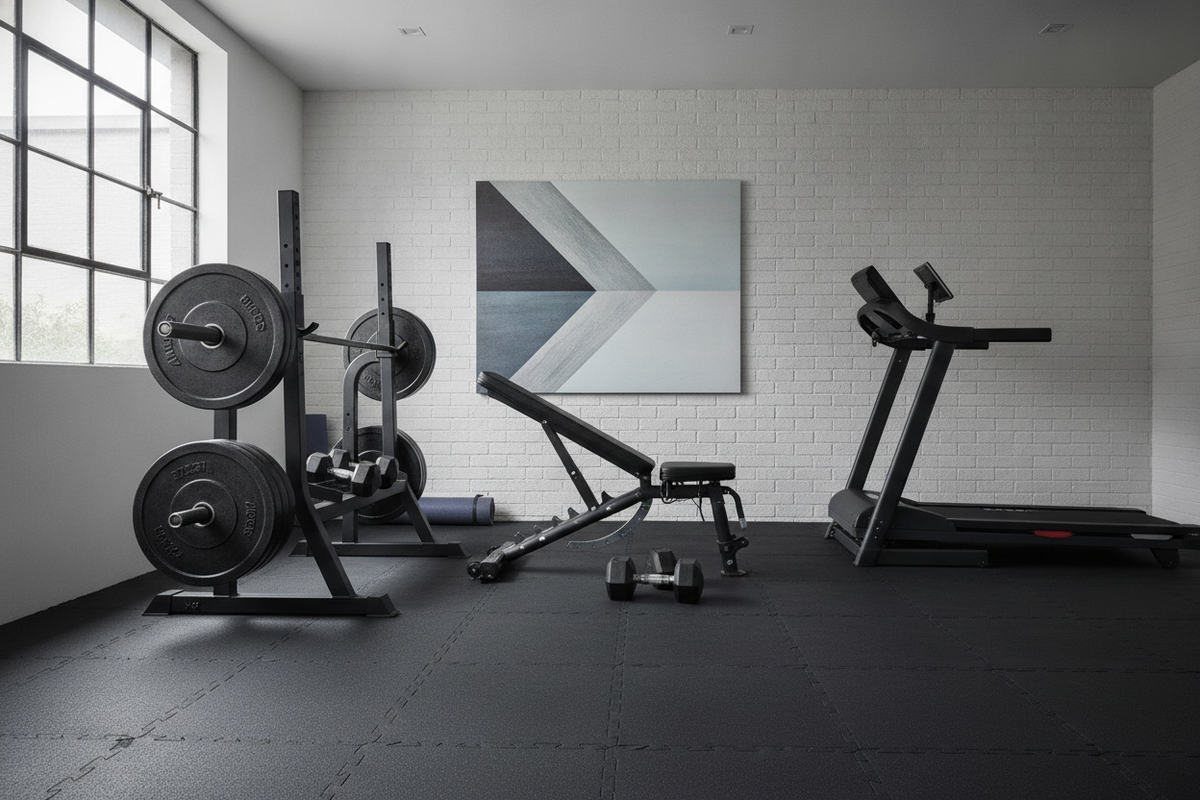
Setting up your floor space with dedicated options from an exercise mat collection ensures sufficient thickness and high-density foam support. A large surface area is equally important for sweeping dynamic exercises. Using a 6x10ft exercise mat yoga mat gym flooring for home workout layout gives you ample room to transition smoothly between side-lying, quadruped, and supine movements without slipping off the cushioned perimeter.
Mat Maintenance and Multi-Zone Room Care
Keeping your floor training surface pristine preserves its traction and extends equipment life. Sweating directly onto mats during high-repetition leg sequences can create slippery contact points. Wipe down your mat with a gentle, non-abrasive cleanser and a microfiber towel after each training session.
If you train on top of carpet, tile, or polished hardwood, verify that the base layer features an anti-skid textured pattern. A reliable surface like the 6x10ft yoga mat exercise mat gym flooring for home workout provides broad traction across mixed flooring surfaces, keeping your staging secure as you cycle through dynamic floor-based leg exercises.