Home Gym Rubber Flooring Explained: Avoid Costly Mistakes
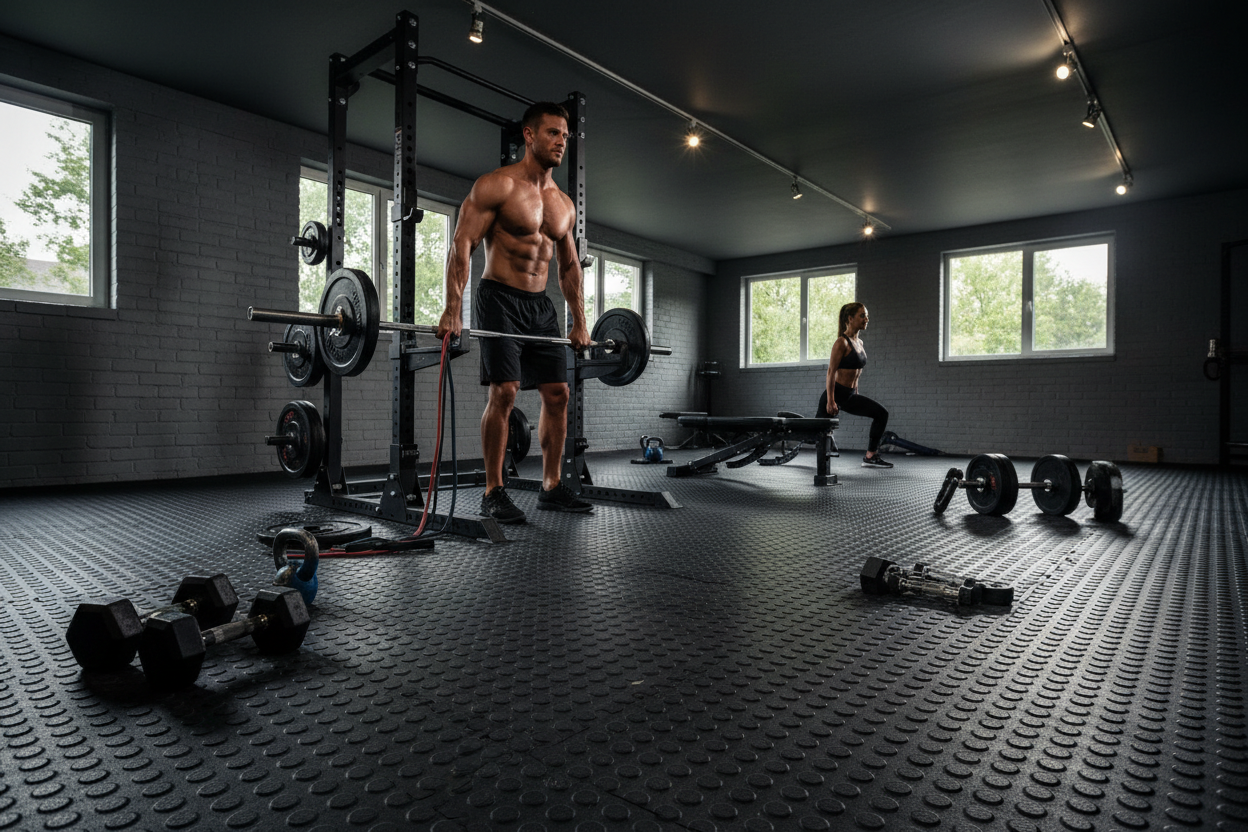
There is nothing quite like the panic of dropping a heavy barbell and hearing the sickening crack of your garage floor. For many lifters, building the ultimate training space starts with the racks and weights, but the true foundation of any serious setup is home gym rubber flooring.
Whether you are trying to protect your concrete, reduce the noise of deadlifts echoing through your house, or simply create a safer, high-traction surface, choosing the right base is critical. In this guide, we will break down exactly what you need to know to make the right investment for your space, ensuring your floor outlasts your toughest training phases.
Key Takeaways
- Thickness dictates protection: 3/8-inch (8mm) is the standard for general fitness, while 3/4-inch is mandatory for heavy Olympic lifting.
- Format matters: Rolled rubber offers a seamless look, interlocking tiles are DIY-friendly, and stall mats provide maximum durability on a budget.
- Subfloor prep is non-negotiable: Even the best rubber needs a flat, clean surface to prevent shifting and moisture buildup.
- Odor fades over time: High-quality vulcanized rubber smells less, but proper ventilation is key during the first few weeks of installation.
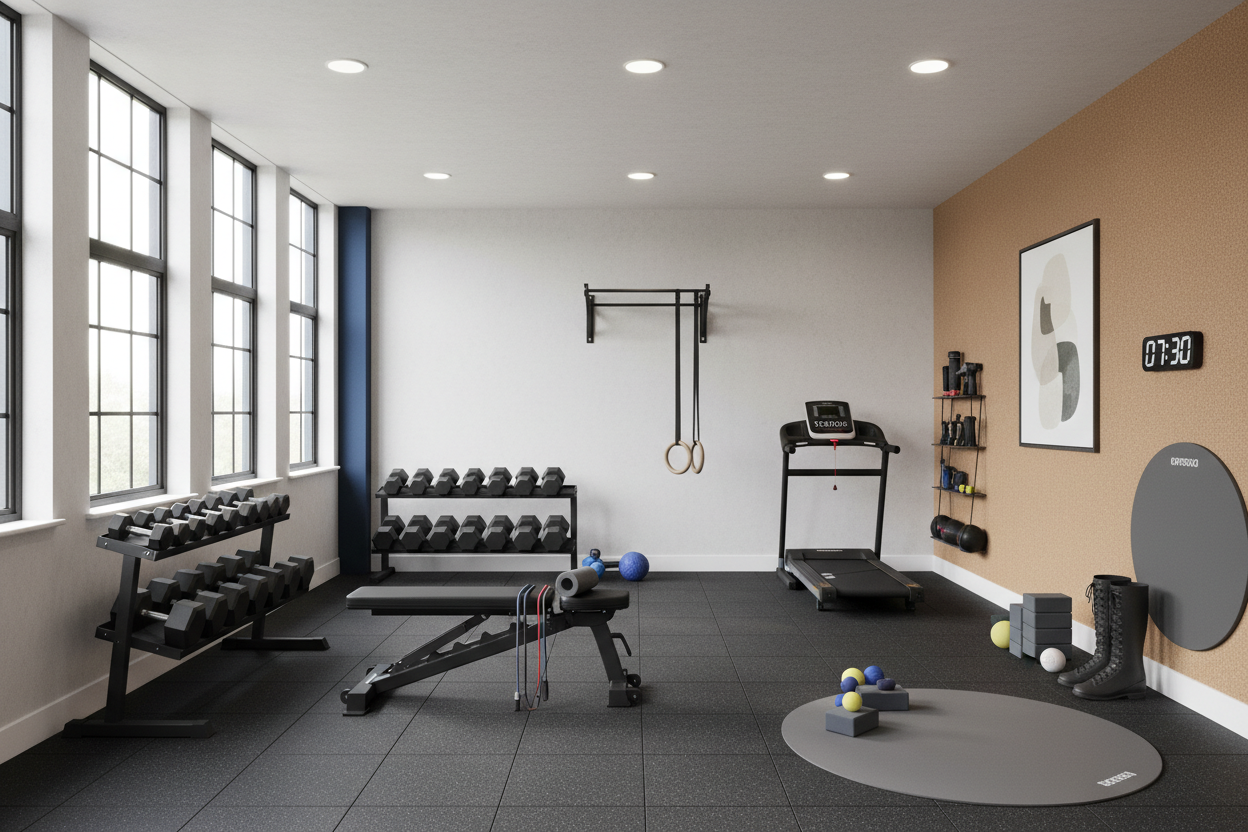
Choosing the Right Thickness and Format
Not all rubber is created equal. The biggest mistake most home gym owners make is buying cheap, thin foam tiles masquerading as heavy-duty rubber. When evaluating rubber flooring for home gym setups, your primary decision comes down to thickness and format.
Rolled Rubber vs. Interlocking Tiles
Rolled rubber provides a premium, commercial-gym aesthetic with minimal seams, making it highly resistant to moisture and dust settling underneath. It is ideal for larger, permanent spaces. Interlocking tiles, on the other hand, are incredibly easy to install and replace if a single section gets damaged. They are perfect for odd-shaped rooms or renters who may need to pack up and move their gym in the future.
Planning Your Layout and Installation
Proper space planning ensures you do not overspend or end up with awkward gaps. When sourcing flooring for at home gym spaces, always measure your total square footage and order 10% extra to account for cutting, trimming around walls, or navigating support pillars.
Basements vs. Garage Gyms
Garage gyms often deal with sloped concrete and moisture. If you are laying rubber directly on a garage floor, consider a moisture barrier underneath to prevent mold. In climate-controlled basements, you can usually lay the rubber directly over the existing hard flooring, provided it is perfectly level and free of debris.
Long-Term Durability and Upkeep
A high-quality rubber floor for home gym use should last a lifetime if maintained properly. Vulcanized rubber is non-porous, meaning it will not absorb sweat, spilled pre-workout, or chalk dust, making it highly hygienic.
Cleaning and Odor Control
Avoid harsh chemical cleaners that can degrade the rubber over time. A simple mop with warm water and a pH-neutral cleaner is all you need. To combat the infamous new rubber smell, keep your gym well-ventilated with fans running and doors open for the first two weeks after installation.
From Our Gym: Honest Take
We have tested just about every flooring option under the sun in our own testing facility. I originally outfitted my personal garage gym with 8mm interlocking tiles because they were cheap and easy to haul in the back of my SUV. Big mistake. Within six months of heavy deadlifts and dropping dumbbells, the seams began to separate, creating a tripping hazard right where I step back from the squat rack.
I eventually ripped them out and upgraded to 3/4-inch vulcanized horse stall mats. The difference is night and day. The knurling on my deadlift bar no longer chips the concrete underneath, and the noise reduction is incredible. The caveat? They weighed 100 pounds each, smelled like a tire factory for a month, and required a heavy-duty utility knife and serious elbow grease to cut to size. But for the sheer indestructible nature of the floor, the upfront hassle was 100% worth it.
Frequently Asked Questions
How thick should rubber flooring for a home gym be?
For general strength training, HIIT, and machine use, 3/8-inch (8mm) is the industry standard. If you regularly drop heavy barbells from hip height or overhead (like in Olympic weightlifting or CrossFit), you need at least 1/2-inch to 3/4-inch thickness to protect the subfloor.
Can I put rubber flooring directly over concrete?
Yes, rubber can go directly over concrete. However, if your basement or garage is prone to moisture, it is highly recommended to put down a thin plastic vapor barrier first to prevent condensation from getting trapped under the rubber.
Does home gym rubber flooring expand and contract?
Yes. Rubber is sensitive to temperature changes, especially in uninsulated garages. It is best practice to let the rubber acclimate in your gym space for 48 hours before making any final wall-to-wall cuts.
