Exactly How to Start Powerlifting at Home (Without Going Broke)
I remember the day I finally quit my local big-box gym. I spent forty-five minutes waiting for a squat rack while some guy did shrugs inside it with a barbell pad. That was the moment I realized how to start powerlifting at home wasn't just a luxury—it was a necessity for my sanity and my strength. You don't need a massive commercial space or a six-figure salary to build a world-class total in your garage.
Quick Takeaways
- Prioritize a rack with internal safeties; training alone means you need a mechanical spotter.
- Standard iron plates work exactly like calibrated ones but cost 70% less.
- A quality 20kg barbell is your most important investment—don't cheap out here.
- Floor protection is non-negotiable if you want to keep your security deposit or your foundation intact.
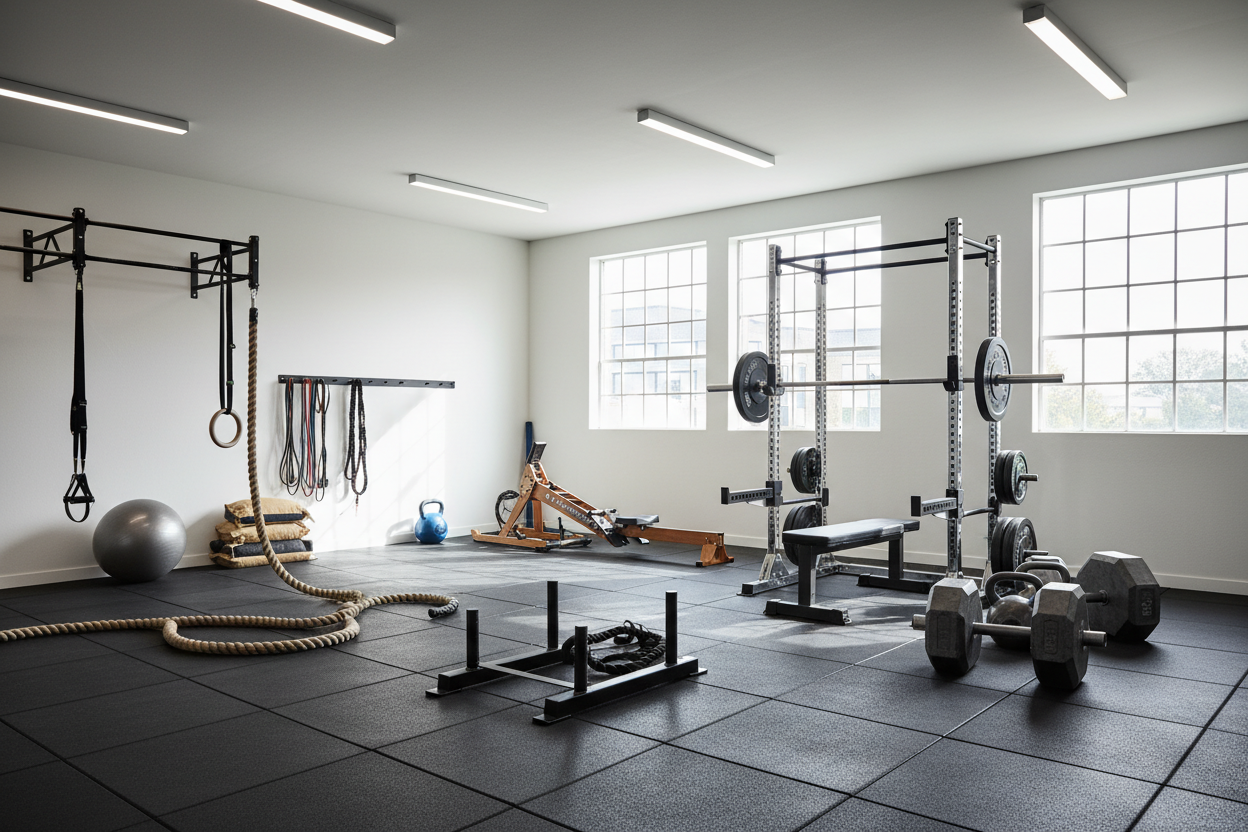
Why Garage Powerlifting Actually Beats a Commercial Gym
Commercial gyms are designed for general fitness, not for the specific demands of the Big Three. They hate the sound of deadlifts, they ban chalk because it's 'messy,' and they usually have one decent rack for three hundred members. In your garage, you are the head coach and the facility manager. You can blast whatever music actually gets you hyped, use as much chalk as you need to secure your grip, and you never have to ask 'how many sets you got left?'
The atmosphere of a home gym is what you make it. For me, it's about the focus. There are no distractions, no ego-lifting for a crowd, and no commute. When you're training for a meet, that consistency is what adds pounds to your total. You can hit your openers at 10 PM on a Tuesday if that's what your schedule demands.
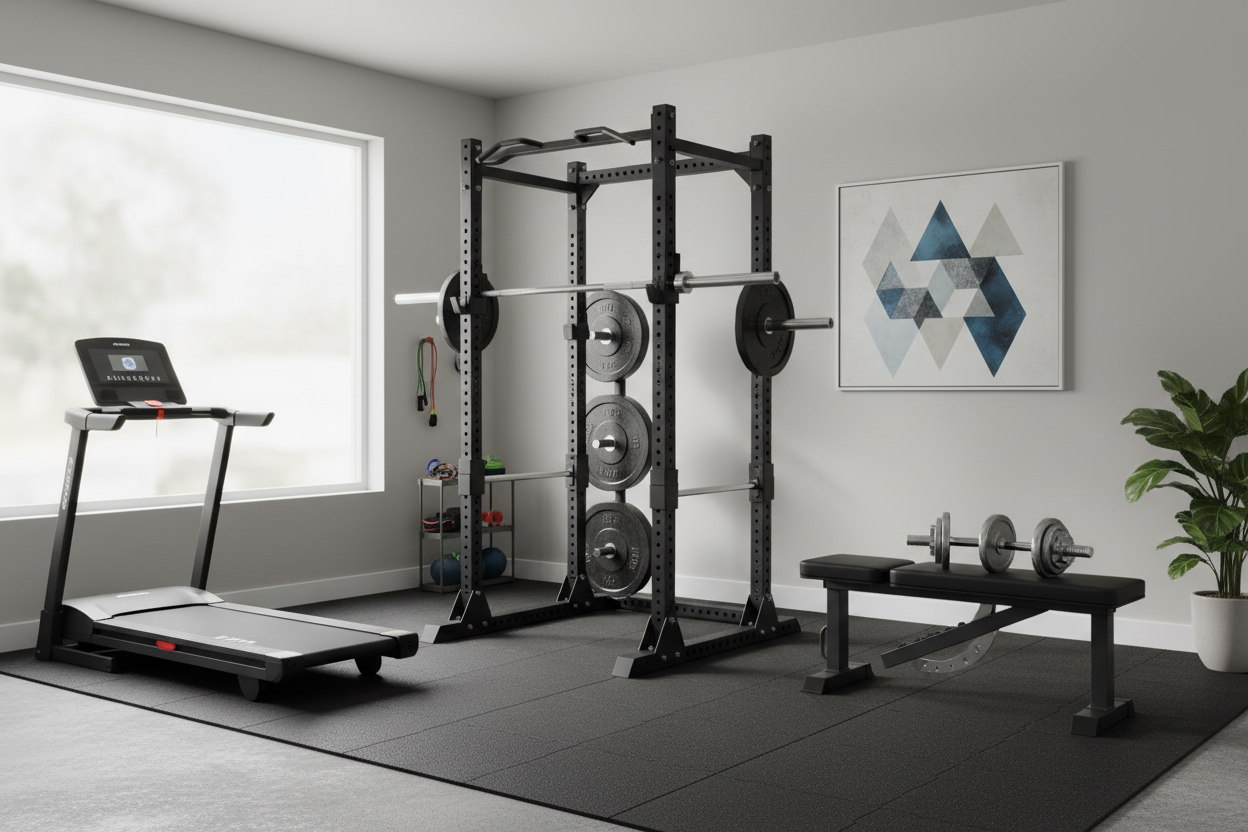
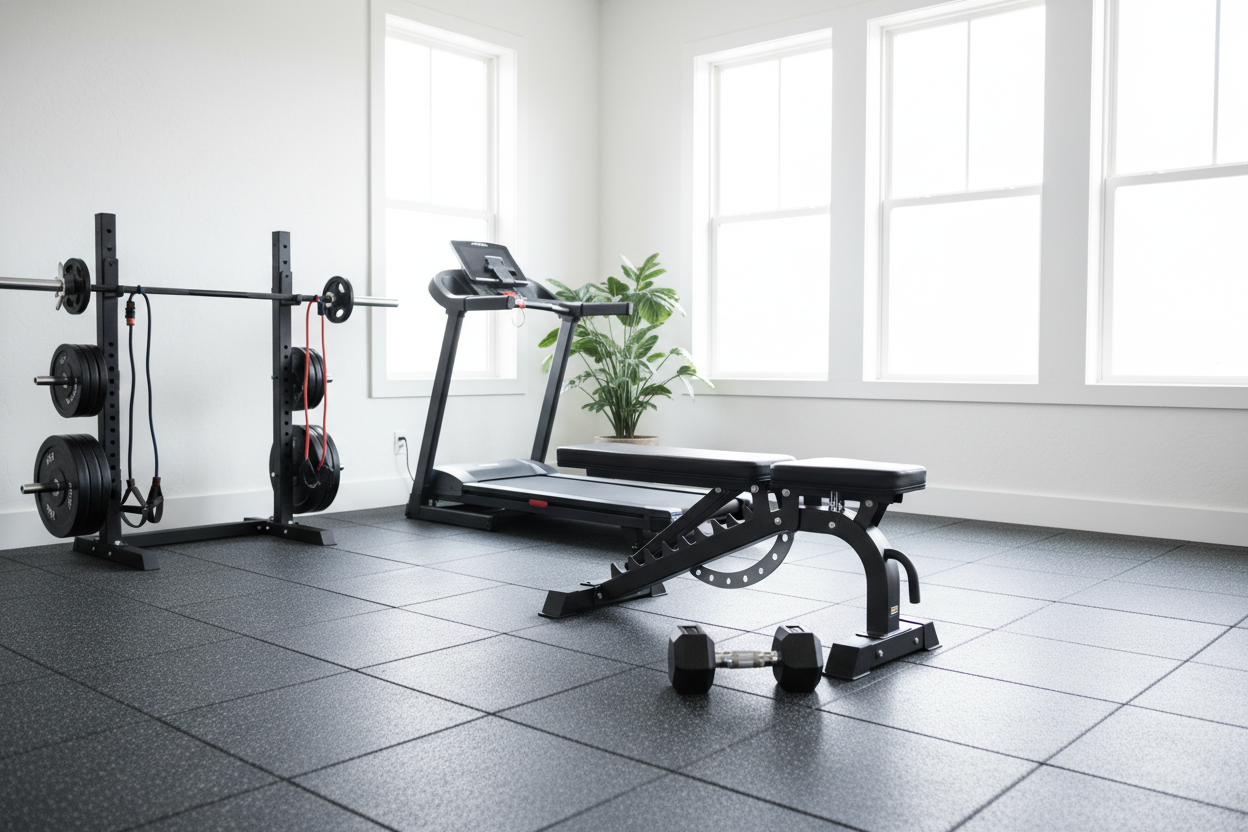
The Bare Minimum Gear to Safely Train the Big Three
Stop looking at the $3,000 custom-painted racks on Instagram. To start, you need a power rack with 11-gauge steel. Look for something with at least 2x3 or 3x3 tubing and a weight capacity of at least 1,000 lbs. Even if you aren't squatting 1,000 lbs yet, you want that structural integrity when you're slamming a heavy bar back into the J-cups. A basic flat bench is next—make sure it's 17 inches tall to meet competition standards.
Your barbell is the soul of your gym. Don't buy a 'utility bar' from a sporting goods store. You want a dedicated power bar with aggressive knurling and no center knurl if you're worried about your neck, though most powerlifters prefer the center knurl to keep the bar from sliding during low-bar squats. For plates, iron is king. They take up less room on the sleeve than bumper plates, allowing you to load more weight as you get stronger.
Protecting Your Floor from Heavy Deadlifts
Concrete is a lot more fragile than it looks. If you're pulling 400+ lbs and dropping it—even controlled—you will eventually spider-crack your garage floor. I learned this the hard way after three months of heavy pulls left my rental garage looking like a tectonic plate shift. Using a large exercise mat for home gym setups is the bare minimum for shock absorption. It saves your equipment from getting beat up and keeps the noise levels low enough that your neighbors won't call a noise complaint every time you hit a PR.
Figuring Out How to Start Powerlifting for Beginners
When you're learning how to start powerlifting for beginners, your biggest hurdle isn't the weight—it's your ego. The temptation is to test your one-rep max every Friday. Resist that. Powerlifting is built on sub-maximal volume and technical proficiency. You should be filming every single set from the side and the rear to check your hip crease on squats and your bar path on bench.
Focus on a proven linear progression program. These programs work because they force you to master the movements at lighter weights before the intensity gets grueling. If your form breaks down at 135 lbs, it's going to be a disaster at 315 lbs. Build the habit of 'perfect reps' early, and the strength will follow naturally.
Building the Habit Before Buying the Accessories
I see beginners show up with $200 lifting shoes, a lever belt, and stiff knee sleeves before they've even finished their first month of training. Gear is a tool, not a crutch. You should learn how to create intra-abdominal pressure without a belt first. You should build the ankle mobility to squat in flats before you rely on a heel lift. If you find yourself struggling to stay consistent without the 'fun' of new gear, check out how to start exercise at home for beginners to help lock in your routine.
Earn your accessories. Tell yourself you'll buy that high-end belt once you hit a double-bodyweight deadlift. It makes the gear feel like a trophy rather than just another Amazon purchase. Plus, it ensures you're actually committed to the sport before you drop another grand on specialty bars and calibrated steel.
Personal Experience: The 'Cheap Rack' Mistake
My first home setup was built on a budget of 'whatever I could find at the thrift store.' I bought a thin-walled squat stand that wobbled every time I touched it. One afternoon, I missed the J-cup on a re-rack with 275 lbs. The whole stand tipped, and I nearly ended up in the ER. I sold that stand the next day for $40 and bought a real, four-post power rack. My advice? Buy once, cry once. If you can't afford a safe rack yet, keep saving until you can.
Powerlifting at Home FAQ
How much space do I actually need?
A standard 8x8 foot area is the sweet spot. This gives you enough room for a 7-foot Olympic bar and about 6 inches of clearance on either side so you aren't smashing your drywall during plate changes.
Is it okay to use iron plates on concrete?
No. Even with a mat, iron on concrete is loud and destructive. Always use at least 3/4-inch stall mats or a dedicated lifting platform to protect the weights and the floor.
Do I need a spotter for home benching?
If you have a power rack with safety pins or flip-down safeties, you don't need a human spotter. Set the pins just below your chest height so that if you fail, you can deflate your lungs and let the bar rest on the pins without crushing your neck.