Diagram of Spine and Hips: Lifter Guide
When planning heavy strength training or refining floor exercises, studying a diagram of spine and hips is one of the most effective ways to understand how your body produces force. Many lifters encounter movement sticking points or unwanted lower back tension simply because they treat the trunk and pelvis as disconnected parts. In reality, the spine and hips form an integrated mechanical bridge that transfers loads from the floor through the upper torso.
Visualizing a clear diagram of spine and hips reveals how bone structures, joints, and muscular anchors align. By learning what an image of spine and hips represents, you can improve exercise execution, protect your joints during training, and configure your home gym space with appropriate surfaces for heavy lifting and floor work.
Understanding the Diagram of Spine and Hips
A standard diagram of spine and hips illustrates the junction where the axial skeleton connects to the appendicular skeleton. At the top of this junction sit the five lumbar vertebrae, labeled L1 through L5. Below them sits the wedge-shaped sacrum, which slots directly into the pelvic girdle between the two large hip bones known as the ilia.
When viewing an image of spine and hips, notice the central position of the sacroiliac joint on either side of the sacrum. This joint links the base of the spine directly to the pelvis. Rather than providing wide mobility, this junction acts as an anchor for stability. Directly below the pelvic flare sits each hip joint, forming a true ball and socket joint where the rounded head of the femur articulates inside the acetabular cup. Recognizing these distinct structures in a diagram of spine and hips helps clarify where movement should happen and where rigidity is needed.
Lumbar Spine and Hip Anatomy in Motion
Studying lumbar spine and hip anatomy clarifies the stark contrast in movement capabilities across these regions. The anatomy of lower spine and pelvis dictates that the hip joint is built for multi-planar mobility, allowing flexion, extension, abduction, adduction, and rotation. In contrast, the lumbar spine is structurally designed to resist excessive rotation and extreme bending under load.
During a classic hip hinge or a standard deadlift setup, lifters aim to maintain a neutral spine while rotating primarily through the hips. When hip mobility is limited, the body naturally looks for compensation elsewhere. In many cases, the lumbar spine flexes or hyperextends to fake range of motion. Understanding the anatomy of lower spine and pelvis helps lifters recognize that forward bending under load should originate from the acetabular joint rather than through rounding of the lower back segments.
If you have ever felt your back taking on work meant for your hips during bridges, consulting a hip lower back guide can help you see why the lumbar column often steps in when glute drive stalls. Maintaining pelvic control prevents unwanted lumbar compensation throughout dynamic lower-body routines.
Your Back Is Full of What Joints? A Structural Map
Many lifters ask: your back is full of what joints, and how do they function alongside the hips? The spinal column contains dozens of small articulations. Between adjacent vertebral bodies sit fibrocartilaginous pads known as intervertebral discs, which allow subtle shifting and cushioning. Along the posterior arches of the vertebrae are paired synovial connections called facet joints.
So when considering how your back is full of what joints, remember that facet joints guide and constrain spinal movement segment by segment. They allow controlled flexion and extension but restrict extreme twisting, particularly in the lumbar region. Meanwhile, the adjacent sacroiliac joint possesses minimal rotational play, transferring downward force from the torso into the pelvis.
Compare this to the true ball and socket joint of the hip, which possesses a deep socket designed to withstand high compressive loads while rotating through broad arcs. In an educational diagram of spine and hips, you can trace how forces travel up from the feet, through the femurs, into the pelvis, across the sacroiliac junctions, and up through the lumbar column. Keeping each segment in its intended alignment during loaded lifts minimizes shear stress across delicate facet articulations.
Flooring and Equipment Placement for Spine and Hip Workouts
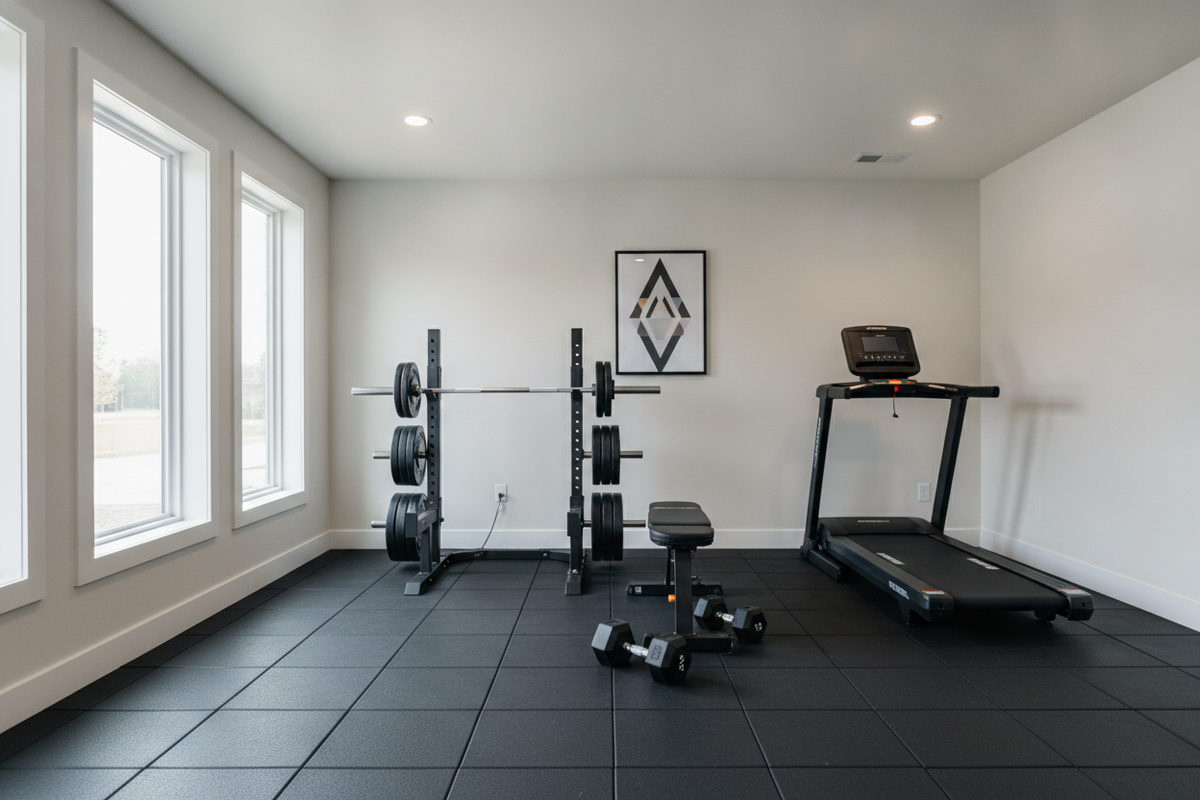
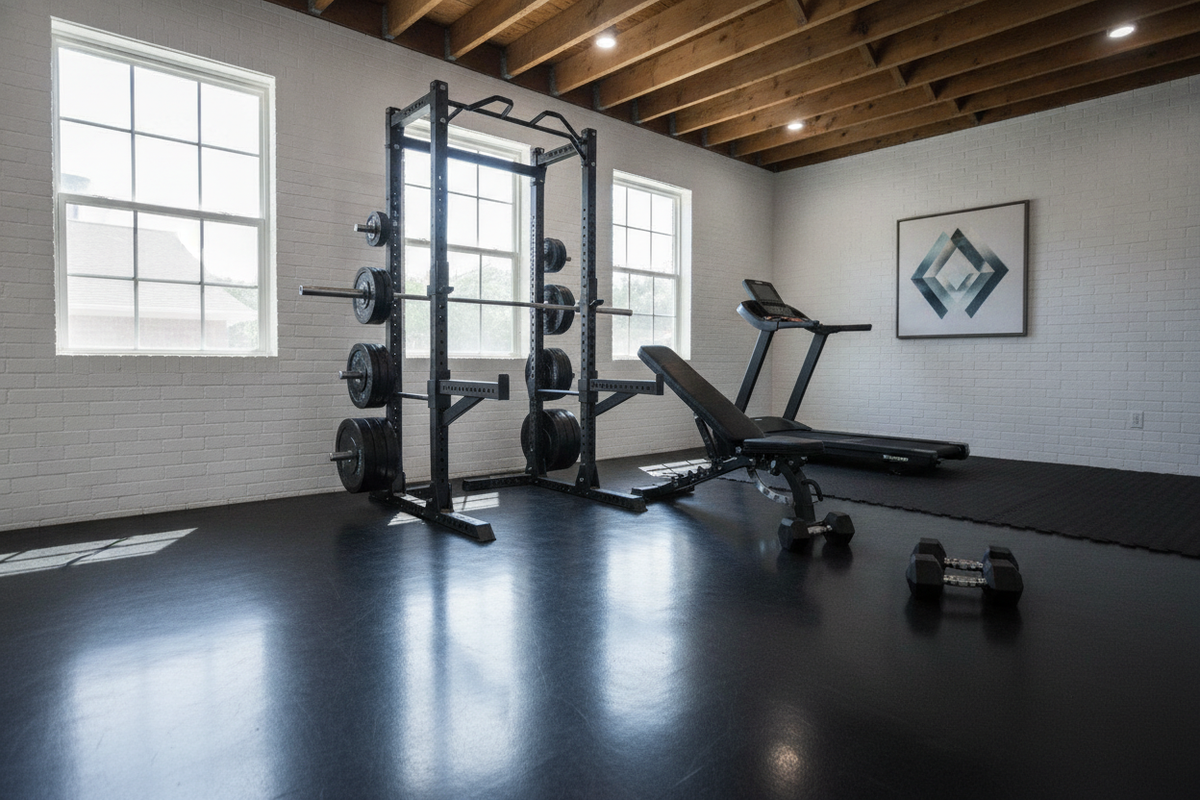
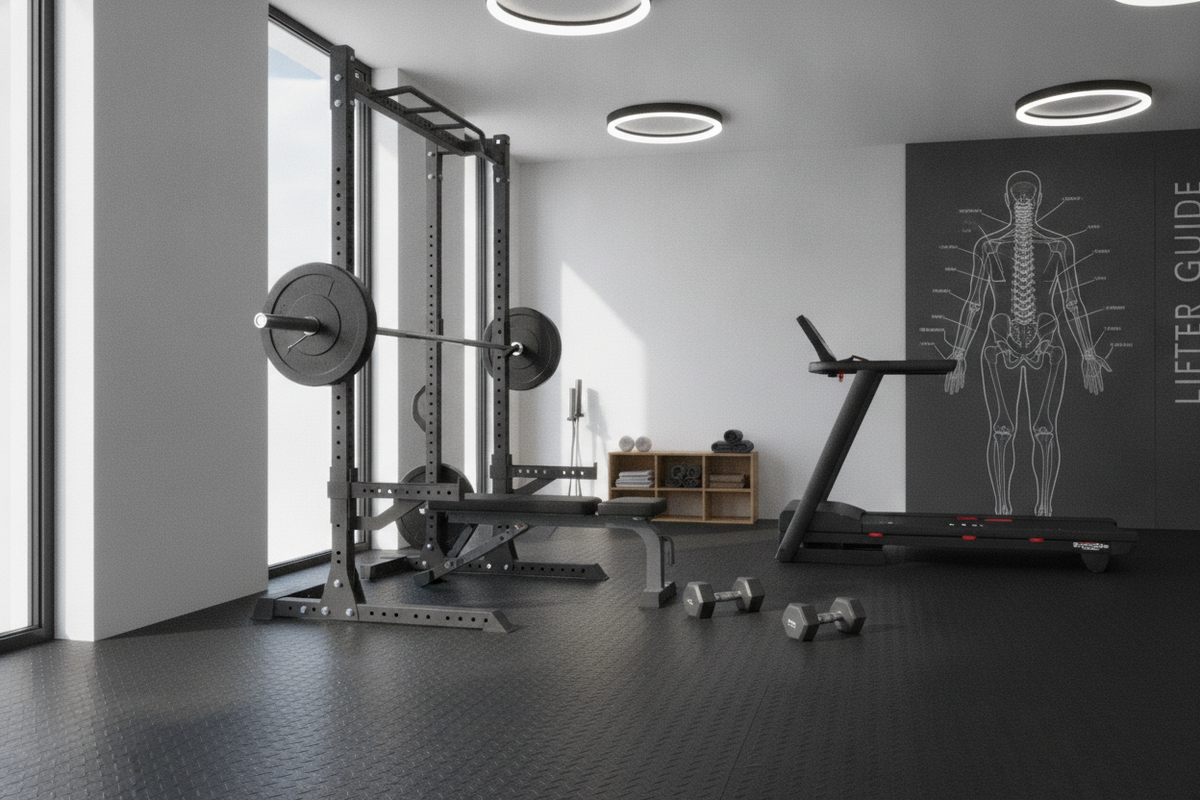
Visualizing a diagram of spine and hips is equally valuable when designing your training surface. High-load hinges and ground-based drills place substantial pressure on the feet, knees, pelvis, and back. A thoughtfully organized home gym setup requires flooring that supports joint stability while safeguarding your space.
- Dense gym flooring: Standard concrete floors lack resilience, transmitting hard impact back into lower-body joints. Installing dense gym flooring provides reliable footing for heavy compound lifts while delivering essential subfloor protection against dropped weights.
- Targeted shock absorption: Quality rubber flooring provides predictable shock absorption underfoot, preventing subtle foot slippage that can pull the pelvis out of level during a squat or deadlift.
- Dedicated exercise mat: For ground contact movements, lying directly on hard flooring creates uncomfortable pressure points on the sacrum, iliac crests, and spinous processes. A dedicated high-density exercise mat cushions bony landmarks without collapsing under body weight.
When positioning benches for hip thrusts and bridges, joint angles remain paramount. An unstable or poorly padded bench can alter upper torso bracing and strain the back, as highlighted in this back hip spine guide. Pairing a supportive bench with firm, slip-resistant flooring ensures that the spine and hips remain properly stacked from start to finish.
Practical Floor Drills to Reinforce Proper Alignment
Once you understand a diagram of spine and hips, you can use targeted floor exercises on a padded surface to practice separating lumbar movement from hip motion. In my own workouts, spending five minutes on simple pelvic tilts before touching a barbell consistently clarifies how subtle hip positioning changes lumbar tension.
Consider integrating these mat-based exercises into your warm-up routine:
- Controlled Pelvic Tilt Drills: Lie supine on your mat with knees bent. Gently alternate between an anterior pelvic tilt (arching the lower back off the floor) and a posterior tilt (flattening the lumbar area into the mat). This drill builds awareness of how pelvic rotation directly changes spinal curvature.
- Glute Bridges with Neutral Spine: From the same position, focus on deliberate glute activation to drive the hips upward until thighs and torso align. Avoid hyperextending the lower back at the top; let the hips finish the movement while the lumbar column remains neutral. Performing regular glute bridges reinforces hip extension without spinal arching.
- Bird-Dog Extensions: Set up on hands and knees on a dense mat. Extend one leg straight back while reaching the opposite arm forward. Keep the pelvis level and prevent the lower back from sagging. This drill trains the core musculature to stabilize the lumbar spine while the hip joint extends independently.
Reviewing a diagram of spine and hips offers practical insight into how human anatomy balances stability and mobility. By pairing sound biomechanical awareness with supportive matting and resilient flooring, you can build a safer, more effective lifting environment in your home gym.