Can physical therapy shoulder exercises at home Save Your Rotator Cuff?
I spent three years ignoring a 'click' in my right shoulder every time I hit the bottom of a bench press. I told myself it was just part of getting older or a badge of honor from heavy training. Then came the morning I couldn't reach for a coffee mug without a sharp, electric shock shooting down my bicep. I had officially trained myself into a corner. If you are currently popping ibuprofen like Tic-Tacs just to survive your upper body days, you are on the fast track to a surgical consult. Learning how to perform physical therapy shoulder exercises at home isn't just a boring chore; it is the only way to keep your lifting career alive.
Quick Takeaways
- Pain is a diagnostic signal, not a weakness to be bullied.
- Consistency in rehab beats intensity every single time.
- You do not need a $5,000 functional trainer to fix a $0 impingement.
- Mobility and stability are two different animals; you need both.
Why You Cannot Just Press Through the Pain Anymore
We have all been there. You have a heavy session planned, the shoulder feels a bit 'sticky,' so you do a few extra arm circles and hope for the best. This is an ego trap. When your shoulder impinges, the subacromial space—the tiny gap where your tendons live—is literally getting crushed. Every rep you force through that pinching sensation is like rubbing a rope against a jagged rock. Eventually, that rope is going to snap.
The first step is admitting that your current shoulder strain treatment at home cannot just be 'rest and ice.' Rest alone doesn't fix the underlying mechanical issue. You likely have a scapula that isn't moving correctly or a rotator cuff that has forgotten how to stabilize the humerus. If you keep pressing, your body will eventually shut you down with a full-blown tear. I had to learn this the hard way after a 225-lb bench rep turned into a six-month hiatus from the gym.
Setting Up Your Zero-Dollar Living Room Clinic
The biggest mistake I made was trying to do my rehab in the garage. It was winter, the floor was 40 degrees, and I rushed every movement because I was shivering. Rehab requires focus and a controlled environment. Move your session into the living room. You need a dedicated 6x8 foot space where you can actually lie down and focus on the mind-muscle connection without staring at a dusty lawnmower.
To make this sustainable, grab a large exercise mat to put over your hardwood or carpet. Trust me, doing prone Y-raises on a hard floor will wreck your ribs and hips before you even get a single quality rep in. Having a dedicated 'rehab zone' inside the house removes the friction of going out to the gym, making it much more likely you will actually do the work every night while watching TV.
The Gear You Actually Need (Hint: Almost Nothing)
You do not need a rack or a pile of plates for this. In fact, heavy weights are the enemy of good rehab. I used a simple PVC pipe (a broomstick works fine) for shoulder dislocations and overhead mobility work. You will also want a set of light resistance bands—the kind that feel almost too easy at first. The rotator cuff is a group of small muscles; if you use a heavy band, your big muscles like the lats and delts will take over, defeating the purpose.
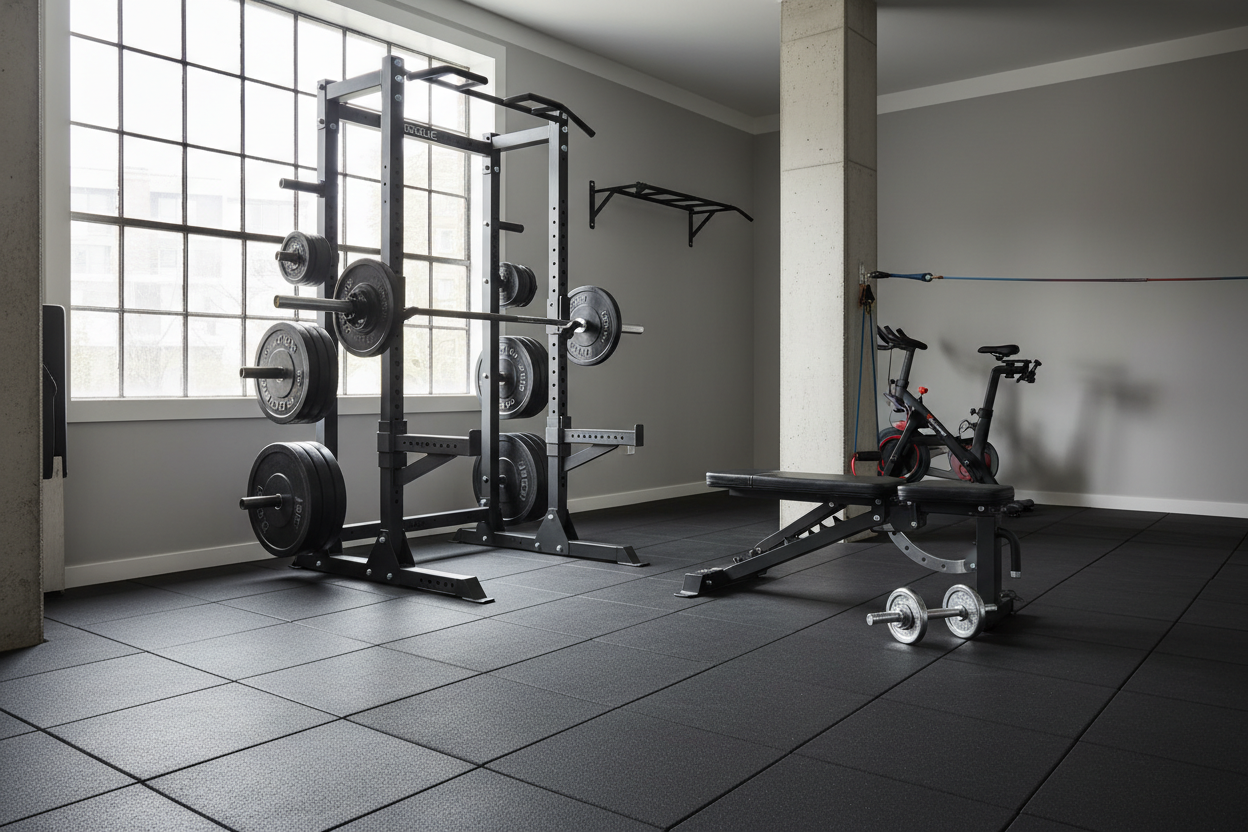
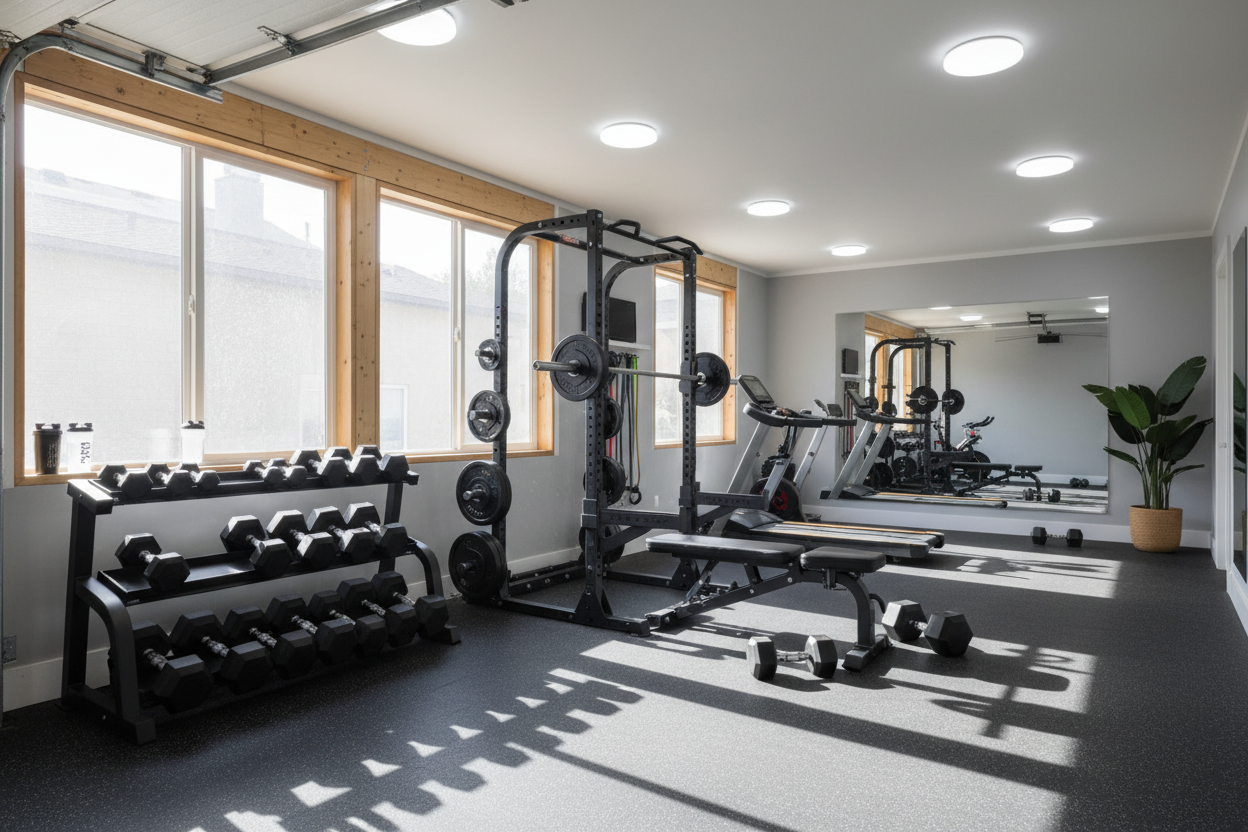
I also highly recommend investing in high-quality gym flooring for home workout spaces if you plan on doing this long-term. A plush, supportive surface allows you to perform quadruped movements and side-lying rotations without your knees and elbows screaming at you. It turns a painful chore into a ritual you might actually enjoy.
The Exact physical therapy shoulder exercises at home I Used
My daily routine focused on three pillars: scapular health, rotator cuff stability, and serratus anterior activation. I started every session with Scapular Push-ups. From a high plank position, keep your arms locked straight and simply sink your chest down by retracting your shoulder blades, then push the floor away to protract them. It is a tiny movement, but it teaches your scapula how to glide.
Next were Prone Y-Raises. Lying face down on your mat, extend your arms into a 'Y' shape with your thumbs pointing at the ceiling. Lift your arms using only your mid-back muscles. Do not arch your lower back. This is humbling work; even the strongest lifters will struggle with 15 reps of just bodyweight. Finally, I used light bands for External Rotations. Keep your elbow tucked into your ribs (put a rolled-up towel there to be sure) and rotate your hand outward. If you feel your shoulder shrugging up toward your ear, the band is too heavy.
Do Not Skip These shoulder recovery stretches
Strengthening the weak stuff is only half the battle. Most of us are 'front-loaded' from years of benching and sitting at desks. This means our pecs are tight, pulling our shoulders forward into a permanent internal rotation. To fix this, you need specific shoulder recovery stretches that target the anterior chain. The doorway pec stretch is the gold standard here. Stand in a doorway, place your forearms on the frame, and lean forward. Hold for 30 seconds, breathe, and feel the chest open up.
The other mandatory move is the Sleeper Stretch. Lie on your side with your bottom arm bent at 90 degrees. Use your top hand to gently push your bottom wrist toward the floor. This targets the posterior capsule. Be careful—this stretch is aggressive. If you feel a sharp pinch, back off. The goal is a dull, lengthening sensation, not a stabbing pain. Opening up these tight structures allows the strengthening exercises you did earlier to actually take hold.
Graduating to Real shoulder care exercises
Once the 'click' subsided and I could move through a full range of motion without a wince, I didn't just jump back into a 1-rep max attempt. You have to bridge the gap with shoulder care exercises that add a bit of load. I started with Landmine Presses, which offer a more natural, angled pressing arc than a vertical overhead press. I also swapped my straight-bar bench for neutral-grip dumbbell presses to take the strain off the acromion.
This transition phase is where most people mess up. They feel 90% better and decide to go for a PR. Don't do it. Use this time to restore mobility with physical therapy techniques integrated into your warm-ups. Treat your rehab moves as your 'buy-in' for every upper body workout. If you can't do your Y-raises and band pull-aparts, you haven't earned the right to touch the barbell that day.
When Should You Wave the White Flag and See a Professional?
I am a big fan of DIY rehab, but I am not a doctor. There is a line between 'tight and cranky' and 'structurally damaged.' If you experience night pain—meaning the ache wakes you up from a dead sleep—that is a major red flag for a rotator cuff tear. Similarly, if you feel any numbness or tingling in your fingers, you might be dealing with a nerve issue in the neck or thoracic outlet that no amount of band work will fix.
If you have been consistent with your home exercises for four weeks and haven't seen a 50% improvement in pain or range of motion, go see a specialist. A good physical therapist can give you a specific diagnosis that will save you months of guessing. Use home rehab as your first line of defense, but don't let your ego turn a minor strain into a permanent injury.
FAQ
Can I keep lifting while doing shoulder rehab?
Yes, but you have to modify. Avoid any movement that causes pain higher than a 3 out of 10. Usually, this means swapping the barbell for dumbbells or using a limited range of motion. If it hurts, don't do it.
How long does it take to see results from home shoulder exercises?
If you are consistent, you should feel a 'looseness' within the first week. Actual strength gains in the rotator cuff take about 4 to 6 weeks of daily work. Don't quit because you aren't cured in three days.
Do I really need a mat, or is the floor fine?
You can use a towel, but a dedicated mat provides the grip and cushioning needed for proper form. If you are sliding around or your knees hurt, your form will suffer, and you won't target the right muscles.
