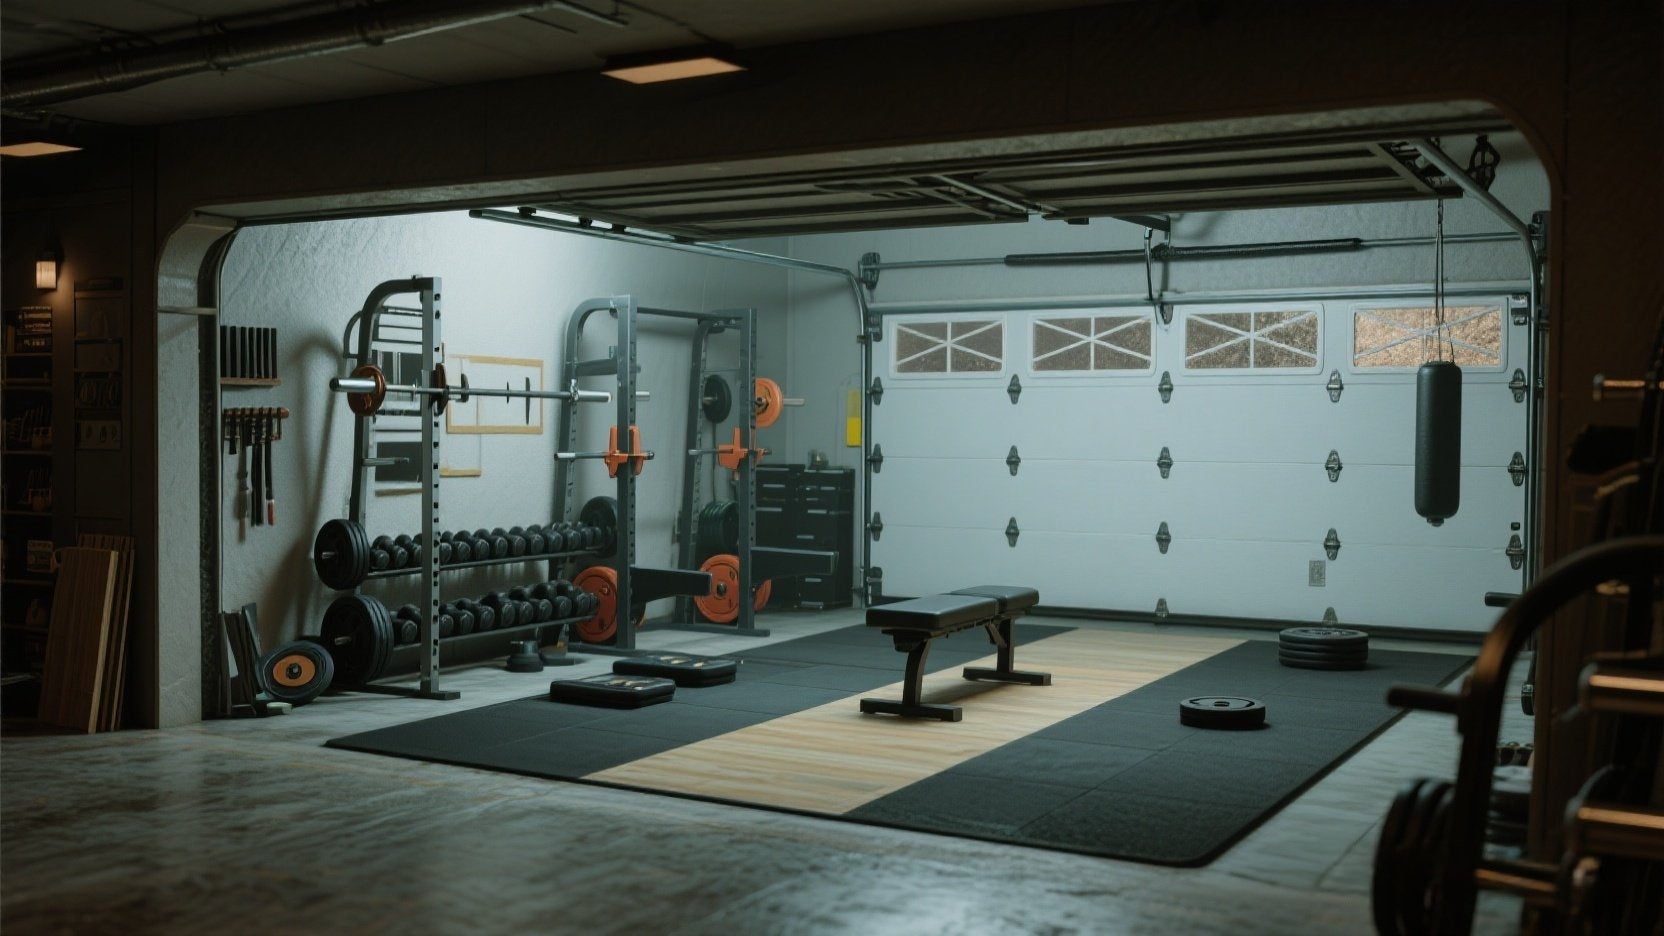
4 Steps to Turn Your Garage into a Home Gym
More and more people are now passionate about building a home gym instead of going to gyms, especially for fitness enthusiasts who love strength training, HIIT, or yoga. Having a private gym at home isn’t just convenient - it can also save you a significant amount on gym memberships in the long run. Among these home gym ideas, converting garage to gym is the most common choice. In this article, we’ll walk you through everything from space planning and flooring selection to insulation and noise control, giving you a step-by-step guide to building your dream garage gyms.
Garage Gyms vs. Commercial Gyms: Which One is Right for You?
Before you start, the first thing you need to make sure is whether you really need a home garage gym. Building a garage gym isn’t just a financial and time investment, it also changes your workout environment and habits to some degree, which can directly impact your overall fitness experience. So figure out what matters most to you in a workout and find the way that really suits you.
Benefits of a Garage Gym:
- 24/7 Available - No waiting, no lines, any time you want to workout you can just do it.
- Customized Home Gym Setup - Set up the exact gear you need based on your workout goals with no need to readjust every time you train.
- Full Privacy - Play whatever music you like, wear whatever you want, and train without worrying about weird looks.
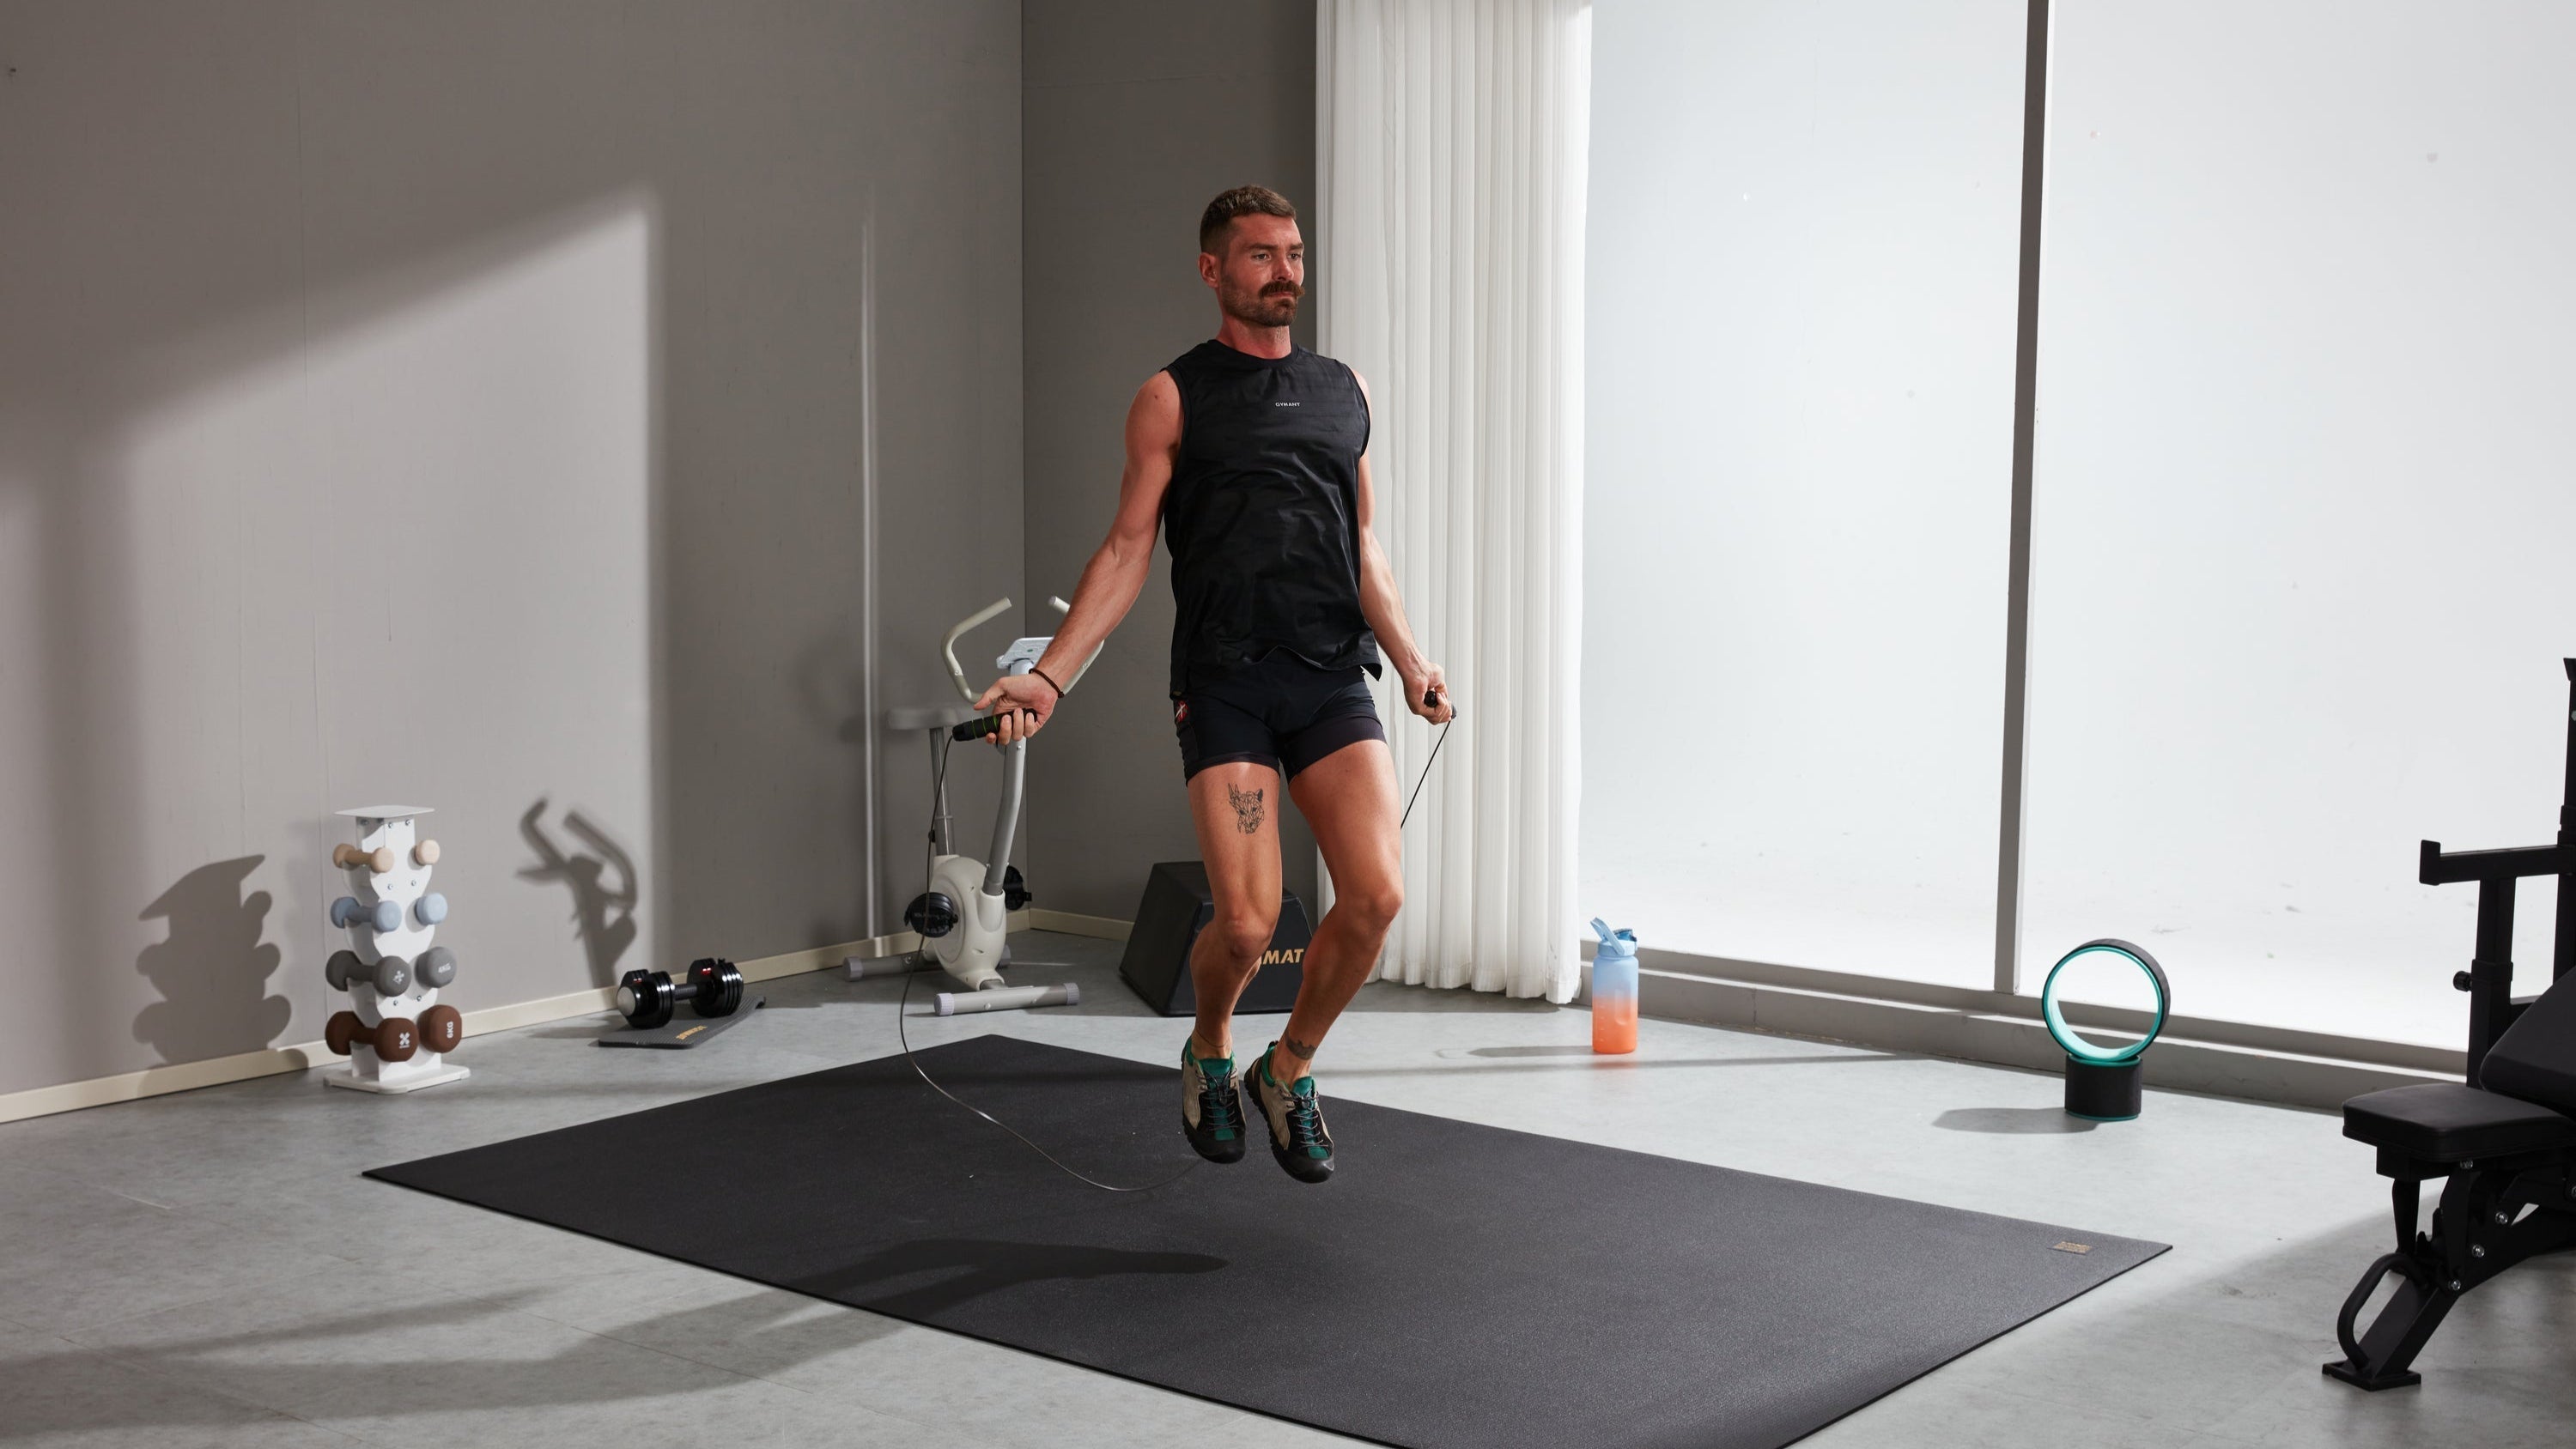
- No Sacrifice of Family Time -Workout at home while doing laundry and watching the kids. You can also exercise with your family if you have a large exercise mat.
- Low Maintenance - Make an one-time investment and no need to pay for high membership.
Benefits of a Commercial Gym:

- Wide Range of Equipment - Get access to a variety of gear for every type of workouts.
- Professional Trainers & Classes - Get guidance from certified coaches and take part in structured programs and fitness classes.
- Social & Community Vibes - Enjoy communicating with workout lovers, share fitness experience and stay motivated.
|
Features |
Garage Gyms |
Commercial Gyms |
|
Time Available |
24/7 |
Business Hours |
|
Privacy |
Full Privacy |
Limited Privacy |
|
Equipment |
Personalized, Goal-specific |
Professional, Abundant |
|
Maintenance |
Low |
High |
|
Professional Courses |
No |
Yes |
|
Social Vibes |
Little |
Strong |
Who Should Build a Garage Gym?
Having concluded the pros and cons of different gym types, we can now identify who are best suited to build a garage gym:
- Busy people who don't have time to go to gyms
- Professional fitness enthusiasts who have clear training goals
- People who want to stay close or exercise with family
- People who highly value privacy
Before You Start: Key Points for Planning Your Garage Gym Space
Measure Your Space, Define Zones
Before you convert garage to gym, a proper space planning is essential. First, accurately measure the garage dimensions to ensure your equipment and layout will fit perfectly. Then divide the space into different functional zones depend on your needs which will maximize efficiency and keep your workouts organized. Usually a home gym can be divided into 3 zones:
Equipment Zone: Area for placing and using strength equipment.
Free Training Zone: Open area for unrestricted movement and exercises.
Storage Zone: Space to store small equipment and accessories.
Flooring First, Equipment Second
Before bringing your gear in, it’s best to address the flooring first. A qualified garage gym flooring should be non-slip, shock-absorbent, and can reduce noise and protect your floor and gear at the same time, which will create a comfortable and safe environment for your following workouts. Once the gym floor is installed, you can select and arrange your equipment without any worries.
Tips for Small Garage Gym Layouts
If you garage is a single-car garage with limited space, you can refer to the tips below to maximize your space, avoid a crowded workout environment and build an efficient, well-organized home gym:
1. Use Wall-Mounted Hook Systems: By installing wall-mounted hooks, shelves, and storage racks, you can hang resistance bands, jump ropes, and store small equipment vertically. By this way, you can release the floor space and make the garage gyms more spacious.

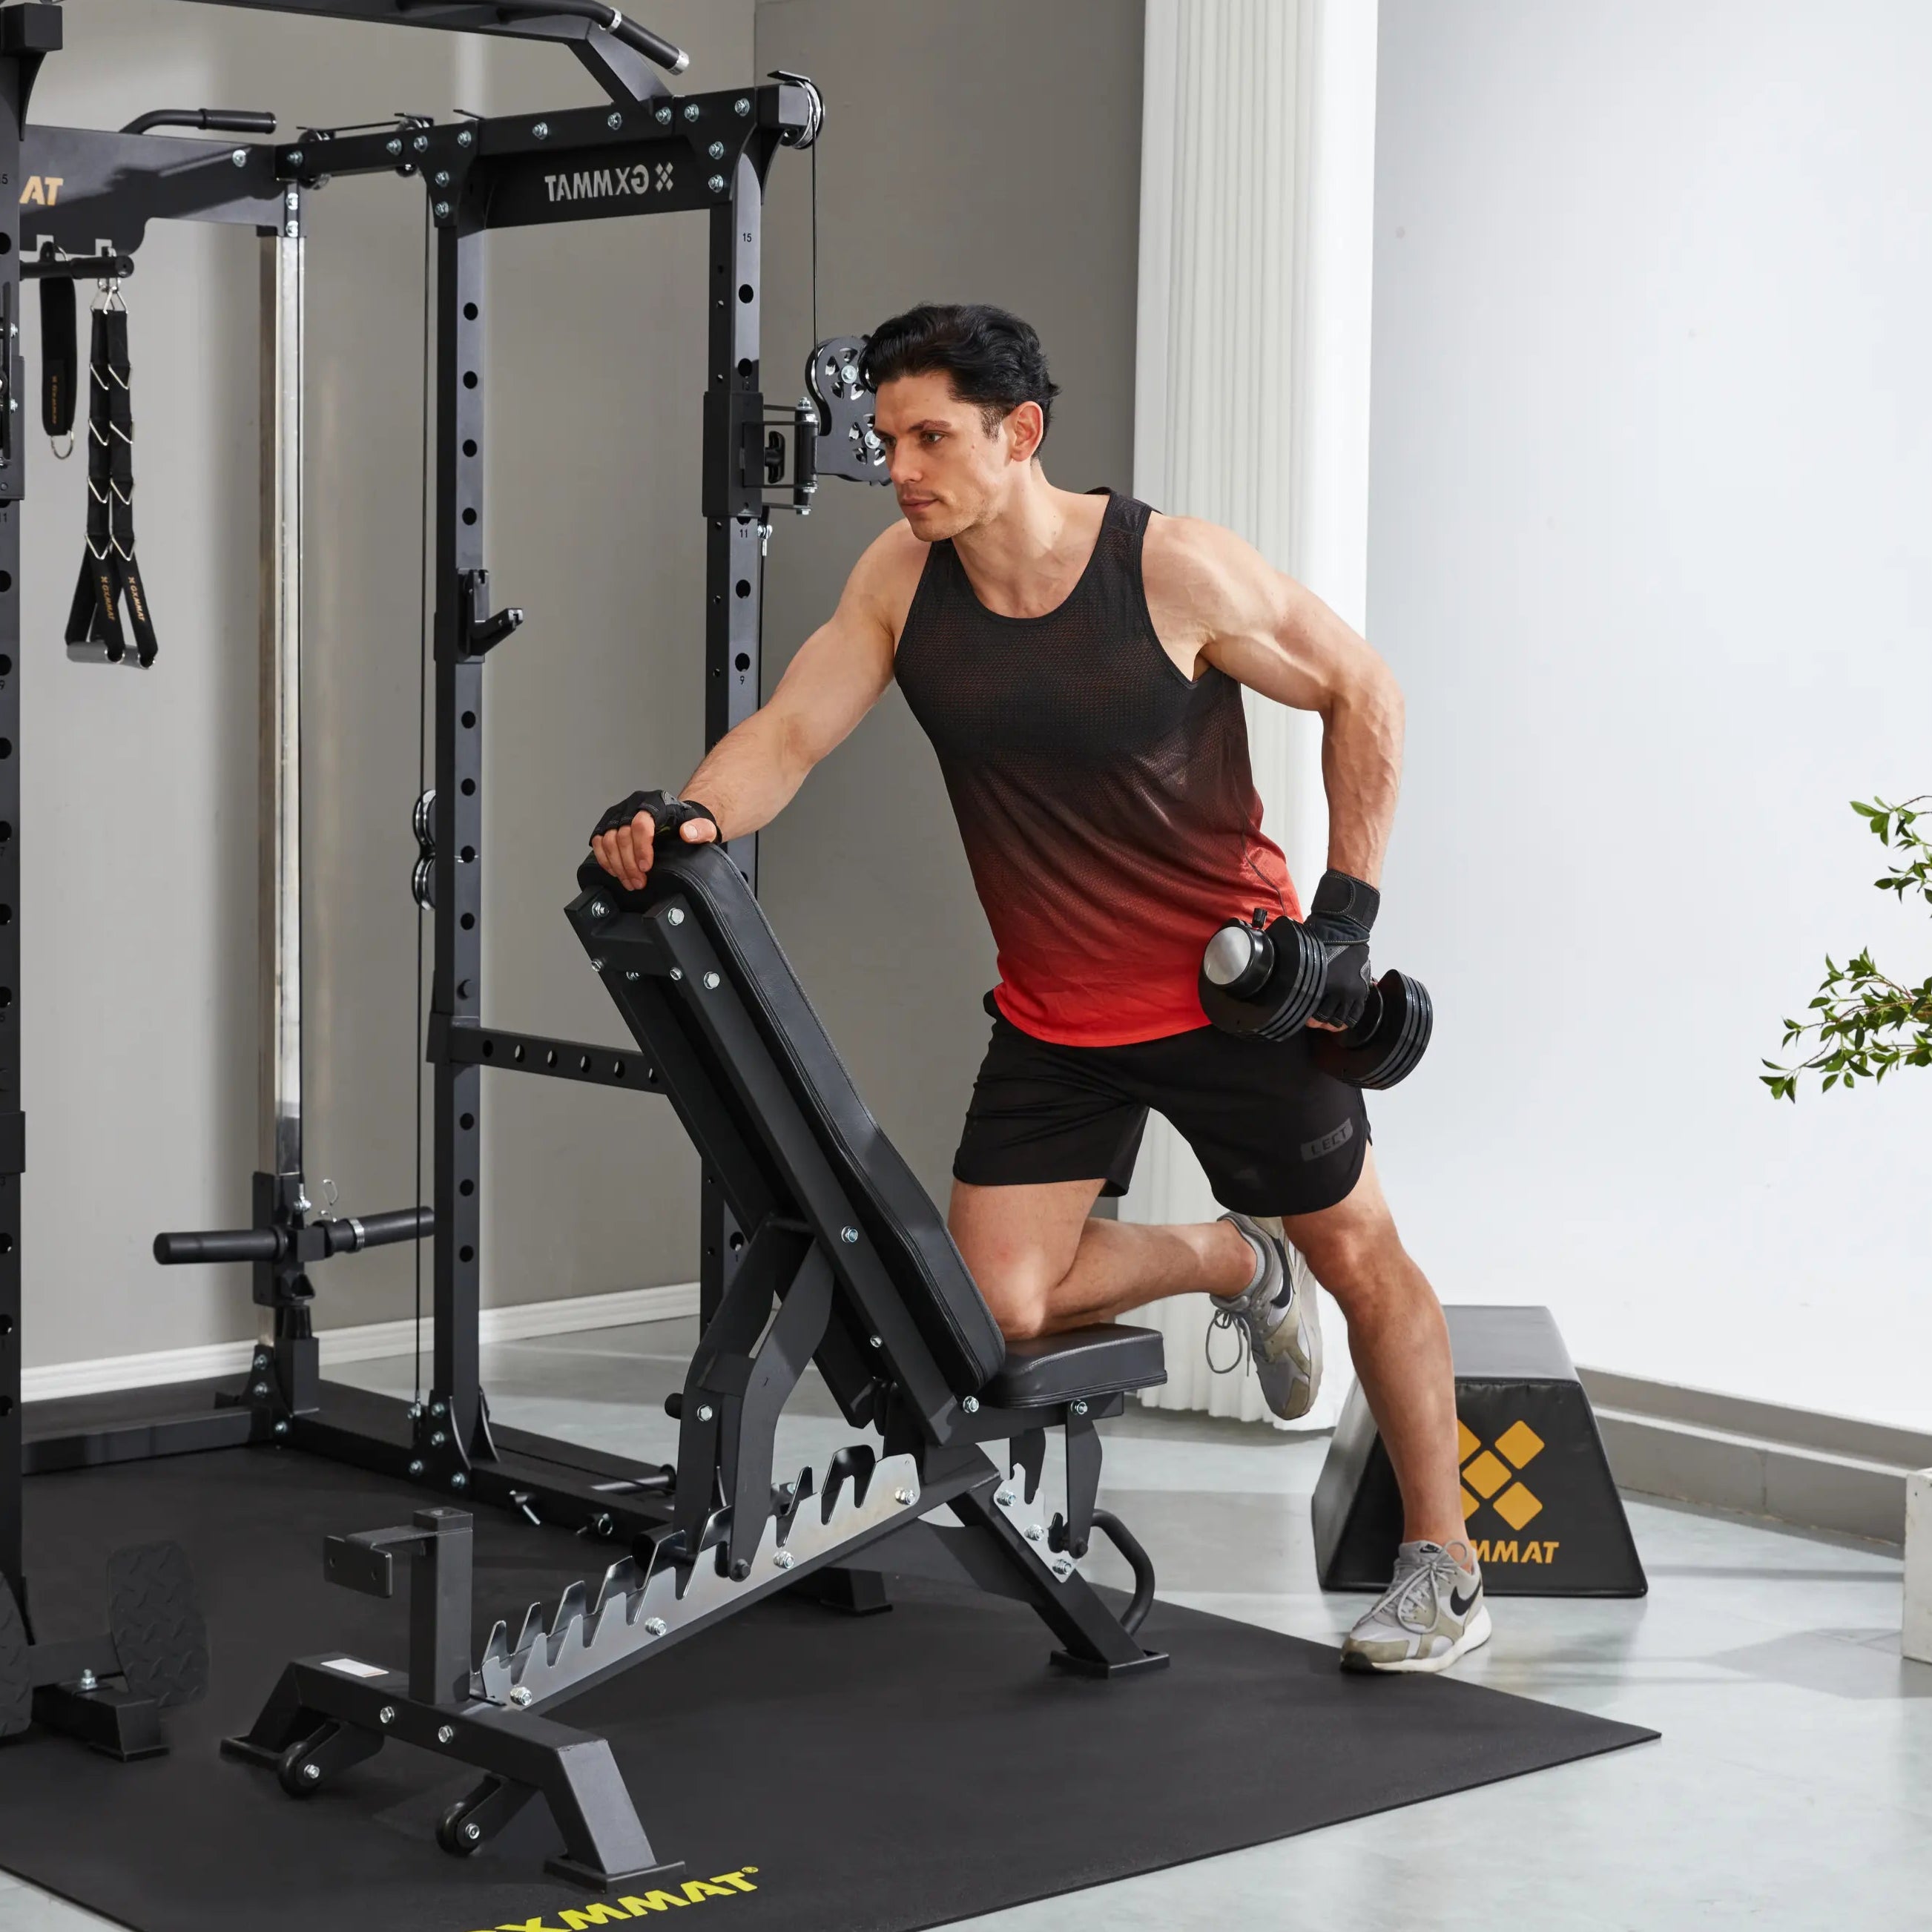
2. Choose Compact Equipment: Choose equipment like wall-mounted cable machines, foldable weight benches, adjustable dumbbells, and portable exercise bikes. These items can be easily folded and stored away, when not in use. By combing equipment zone and free training zone into one, you can save much space.
3. Install Mirrors on the Walls: Mirrors can visually enlarge the space, which is a common design trick. By using mirrors you can open up the room and make the area much brighter.
Flooring Solutions for Your Garage Gyms
A safe, functional home garage gym always starts with the flooring. A good floor setup usually offers multiple benefits including:
- Shock Absorption- Protect your joints during high-impact moves.
- Wear Resistance- Have a certain hardness to better withstand the weight and pressure of equipment.
- Noise Reduction- Especially important if your garage shares walls with living spaces.
- Floor Protection- Protect floor from heavy weights, equipment, and sweat.
- Slip Resistance- Ensure safety during workouts.
In everyday use, exercise mats, rubber tiles, foam mats, and interlocking mats are the four most common choices when it comes to garage gym flooring. So, how do you pick the best option for your garage gym setup? Here’s a quick comparison to help you decide which gym mats for garage work best based on your space, budget, and training style:
|
Flooring Types |
Pros |
Cons |
Best For |
Price per Sq.ft |
|
Large Exercise Mats |
Seamless, Tear Resistant, Shock Absorption, Noise Reduction |
Limited Coverage (unless extra large) |
Multipurpose Training Area |
$2-$5 |
|
Rubber Tiles |
Durable, Excellent Protection |
Heavy, Expensive, Difficult to Move |
Heavy lifting Area, Long-term Setups |
$3-$8 |
|
Foam Tiles |
Affordable, Lightweight |
Less Durable, Compresses over Time |
Bodyweight Training, Yoga, Light Workouts Area |
$1-$2.5 |
|
Interlocking Mats |
Flexible, Easy DIY |
Shift, Difficult to Clean |
Temporary Training Area |
$1-$2.5 |
If you are building a versatile training garage gym that combines both equipment and free training zones, your flooring should offer both shock absorption and durability - sturdy enough to hold equipment while providing a safe, comfortable surface for workouts, then a large exercise mat like GXMMAT is your best floor mats for gym. For fixed equipment zone with powerlifting setups, you can invest in durable rubber tiles. Foam and interlocking mats are ideal for budget-friendly or lightweight training zones.
For more information on choosing gym flooring, you can also refer to the following articles:
👉 Foam vs. Rubber Gym Flooring: How to Choose?
👉 What is the Best Thickness for an Exercise Mat?
👉 Which Hardness is Best for Gym Mats: Understanding Shore Hardness
How to Insulate and Soundproof Garage Gyms
When building a home gym in garage, two of the biggest concerns most people often face are temperature control and noise management. Garage gyms are often poorly insulated, making them uncomfortably cold in winter and unbearably hot in summer.
Temperature differences can especially affect the training experience and can easily lead to damage. At the same time, the sound of dropping weights, intense workouts, or loud music can easily disturb family members and neighbors. To create a comfortable, functional, and private workout space, it‘s essential to address both of these challenges from the start.
Insulation Tips
To insulate a garage gym, the first thing you need to do is check that there are no noticeable gaps around the walls, doors, and windows. Any gaps should be sealed with weatherstripping or caulk to prevent heat from escaping. Then you can do different insulation for the garage door, walls and ceiling:
Garage Door: Attach foam boards or specialized insulation panels to the inside of the garage door to block out cold drafts and heat.
Garage Walls: Consider adding foam or fiberglass batts to the walls for better thermal protection.
Garage Ceiling: High R-value foam insulation is a great option for ceilings. If your garage gym’s roof is exposed to direct sunlight, you can also install a radiant barrier for extra heat control.
After completing the basic insulation measures, you can consider whether to install additional heating or air conditioning based on your local climate conditions.
Soundproofing Tricks
When it comes to soundproofing your garage gym, you can address it from two angles: the space itself and the equipment you use.
For the space:
The main principle is to increase the density of the materials sound waves travel through — the denser the medium, the less sound escapes. Common methods include:
1. Adding drywall layers or insulated wall padding
2. Installing acoustic ceiling panels
3. Using weather stripping and insulation materials (which also help with temperature control)
4. Laying down shock-absorbing, noise-reducing home gym flooring or garage gym mats>
For the equipment:
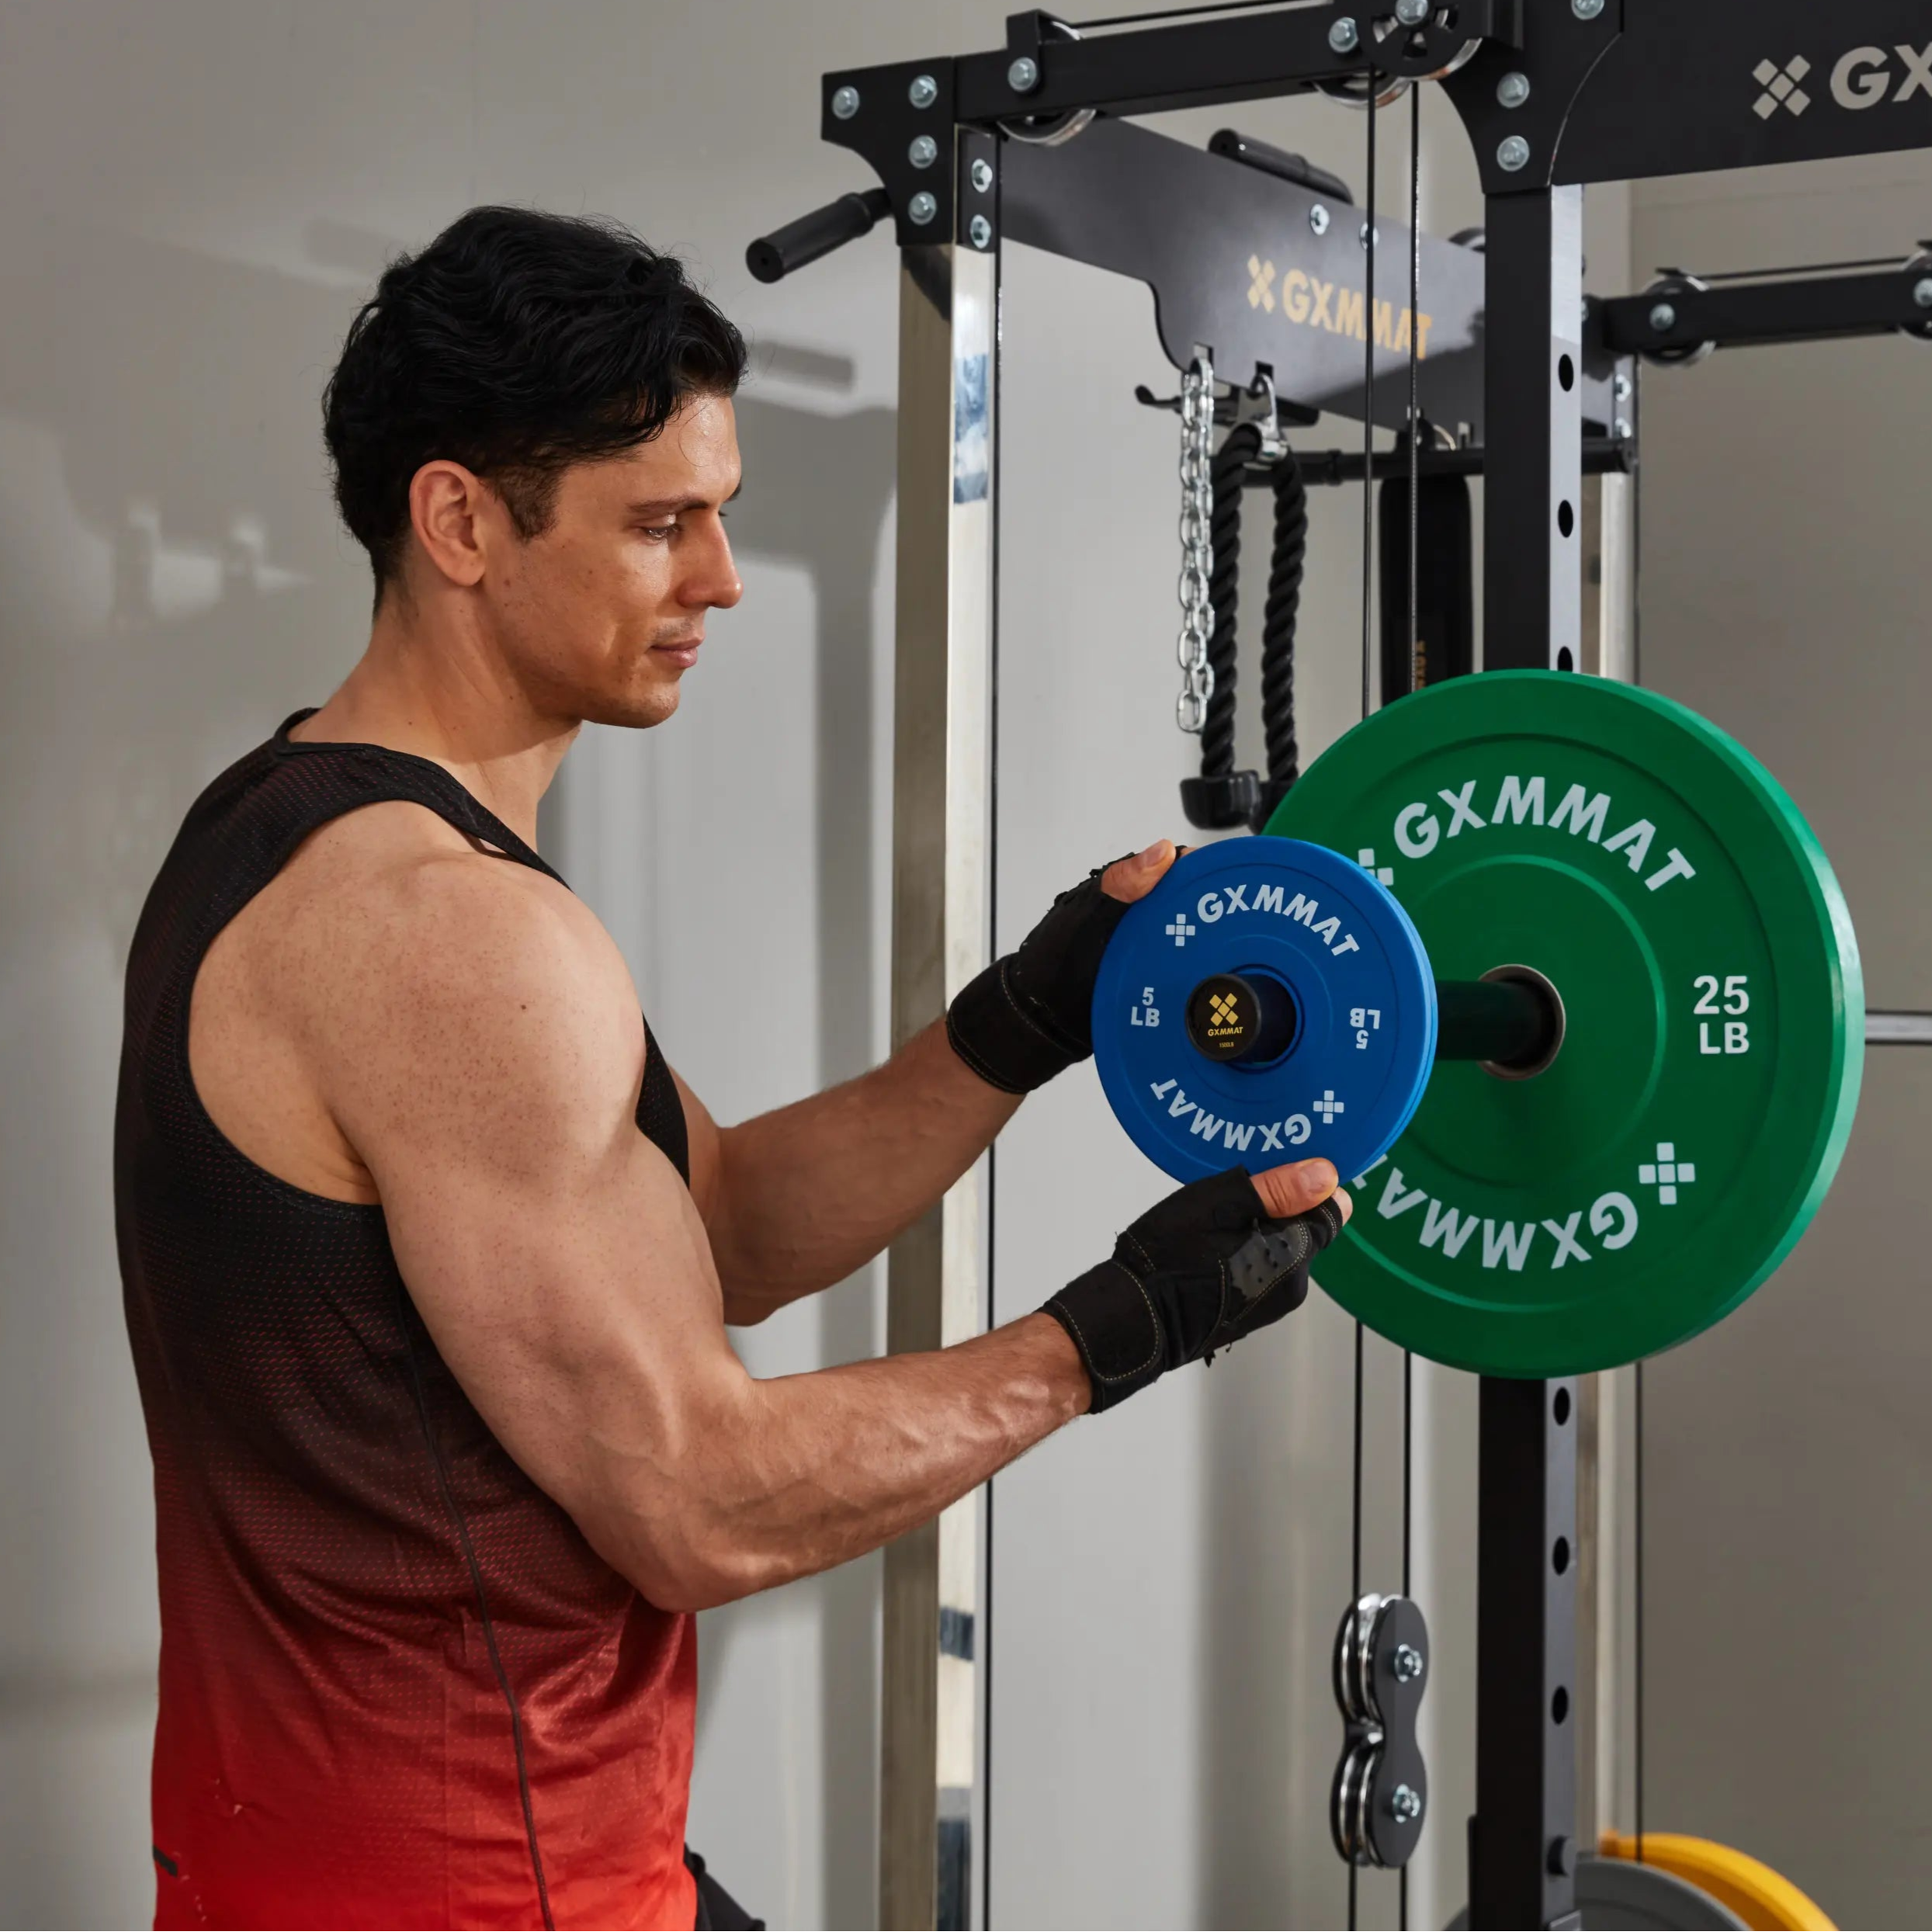
1. Choose rubber-coated dumbbells and bumper plates with cushioning to reduce impact noise
2. Place an fitness equipment mat under cardio machines like treadmills or bikes to absorb vibrations
3. Replace loudspeakers with wireless headphones when listening to workout music
By combining adjustments to both your workout space and your equipment, you’ll effectively minimize noise, keeping your workouts neighbor-friendly while maintaining a great training atmosphere.

Conclusions:
Above are the essential steps for building your private garage gyms. We can summarize the process into a few key points:
1. Before you start, be clear about whether you truly need a garage gym. It’s a better fit for those who value privacy, have limited time and already have some training experience or a clear fitness plan.
2. Measure your garage space and divide it into 3 functional zones — equipment area, free training area, and storage space, which keeps your workouts organized and efficient.
3. Choose the right garage gym flooring. For spaces that combine both equipment placement and active workouts, a large exercise mat is highly recommended for its shock absorption, anti-slip, and versatility.
4. Handle basic insulation and soundproofing problems. Start by sealing gaps, then add insulation materials to maintain temperature. For noise control, consider installing acoustic panels and shock-absorbing gym mats for garage
Once you’ve taken care of these essentials, you’ll be ready to equip your garage gym based on your workout needs and kick off your at-home fitness journey.


Leave a comment
This site is protected by hCaptcha and the hCaptcha Privacy Policy and Terms of Service apply.