Why My Plywood Hip Thrust Bench DIY Build Went Straight to the Trash
I stood in my garage at 10 PM, surrounded by sawdust and a pile of 2x4s that looked less like a gym and more like a bonfire waiting to happen. I wanted to save a hundred bucks, so I figured a hip thrust bench diy project was the ticket to heavy glute days without the heavy price tag. I thought I was being smart, but three weeks later, that box was in the dumpster.
Quick Takeaways
- Wood is expensive; a sturdy build will cost you $80-$100 in materials alone.
- Cheap craft store foam compresses to nothing once you load more than 135 lbs.
- Homemade boxes are notoriously light and will slide across your stall mats during lockout.
- Purpose-built steel benches offer a footprint-to-stability ratio wood can't touch.
The Lure of the $30 Garage Gym Glute Box
We've all seen the YouTube tutorials. Some guy with a table saw and a dream tells you that you can build a professional-grade glute station for the price of a pizza. It sounds perfect when you're looking at your bank account after buying a new barbell. You think, 'It's just a box, how hard can it be?'
The appeal is real. You get to customize the height to your specific tibia length—usually around 14 to 16 inches—and you feel like a craftsman. But the reality of a weekend woodworking project is often a series of hardware store runs and a finished product that looks like a middle school shop project. Most people don't factor in the value of their time or the fact that lumber prices aren't what they were in 2015.
What You Actually Need for a DIY Hip Thrust Platform
If you want a diy hip thrust platform that doesn't splinter under a 3-plate load, you can't just use scrap wood. You need 3/4-inch birch or oak plywood—none of that flimsy OSB that flakes apart. A single sheet of decent plywood is already pushing $60 at most big-box retailers. Add a box of 2-inch structural screws, and you're at $75 before you even think about the top.
Then there's the 'comfort' factor. To prevent the wood from digging into your scapula, you need high-density rebonded foam and marine-grade vinyl. Cheap foam from a craft store is useless; it’s basically air. Real upholstery supplies will run you another $30 to $40. Suddenly, your 'cheap' project is a $120 investment that still requires you to spend four hours measuring, cutting, and stapling.
The 315-Pound Wobble Test (And Why Foam Sucks)
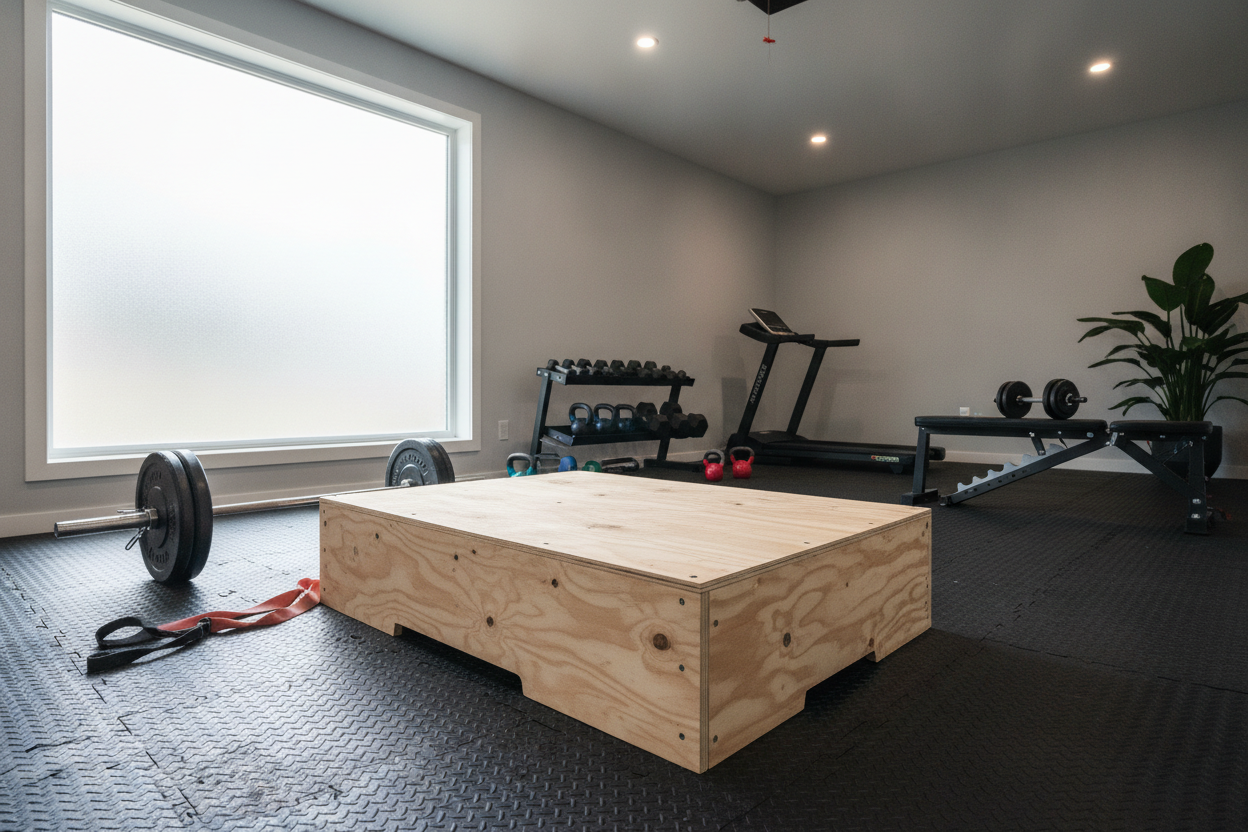
The first time I loaded 315 lbs on my homemade box, the reality set in. As I drove my hips up, the box groaned. Because wood is relatively light compared to steel, the entire unit shifted three inches backward on my rubber mats. There's nothing quite as sketchy as feeling your support base migrate mid-set. I found myself having to wedge the box against my power rack just to keep it still.
Even worse was the padding. The 2-inch foam I'd carefully stapled down flattened out completely under the pressure. I could feel the sharp edge of the plywood biting into my upper back. It was distracting and, frankly, painful. Honestly, using a stable, professional-grade Gxmmat Adjustable Weight Bench would have been a massive upgrade in both stability and comfort compared to my wobbly wooden crate.
Is Saving $50 Really Worth the Splinters?
By the time I finished my build, I had spent $115 and two full Saturday afternoons on it. When I looked online and realized I could have just bought a Gxmmat Hip Thrust Bench for a similar price point, I felt like an idiot. The commercial versions are made of powder-coated steel, they don't slide, and the padding is designed to actually hold its shape under heavy loads.
The hidden cost of DIY is the lack of versatility. My wooden box was a giant, heavy cube that took up a 2x3 foot chunk of my garage floor. It didn't fold, it didn't move easily, and it was a total shin-killer in the dark. In a home gym where every square inch matters, a bulky plywood box is a space-hogging liability that offers zero ROI once the novelty wears off.
Scrapping the Box: My Current Garage Setup
I eventually got tired of the splinters and the sliding. I ripped the vinyl off, salvaged the screws, and chopped the wood up for a different project. Now, I keep my floor space open. If I'm feeling lazy or want to skip the setup entirely, I'll just opt for a barbell hip thrust no bench setup which allows for a surprising range of motion without the equipment headache.
If you're dead set on building your own, go for it—but do it because you love woodworking, not because you think you're saving money. For the rest of us who just want to get our sets in and move on with our lives, skip the hardware store. Buy a dedicated bench that won't try to kill you when the weights get heavy.
FAQ
How high should a hip thrust bench be?
For most people, 14 to 16 inches is the sweet spot. If it's too high, you'll struggle to get the bar over your thighs; too low, and you won't get a full range of motion at the top.
How do I stop my hip thrust bench from sliding?
If you're using a light DIY bench, you'll need to brace it against a wall or a heavy power rack. You can also try adding rubber grip tape to the bottom, but heavy sandbags are usually the only thing that really works.
Is a round or flat bench better for hip thrusts?
A flat, padded surface is generally better for stability. Round bolsters can sometimes roll or shift under your shoulder blades, making it harder to maintain a consistent 'hinge' point during the movement.