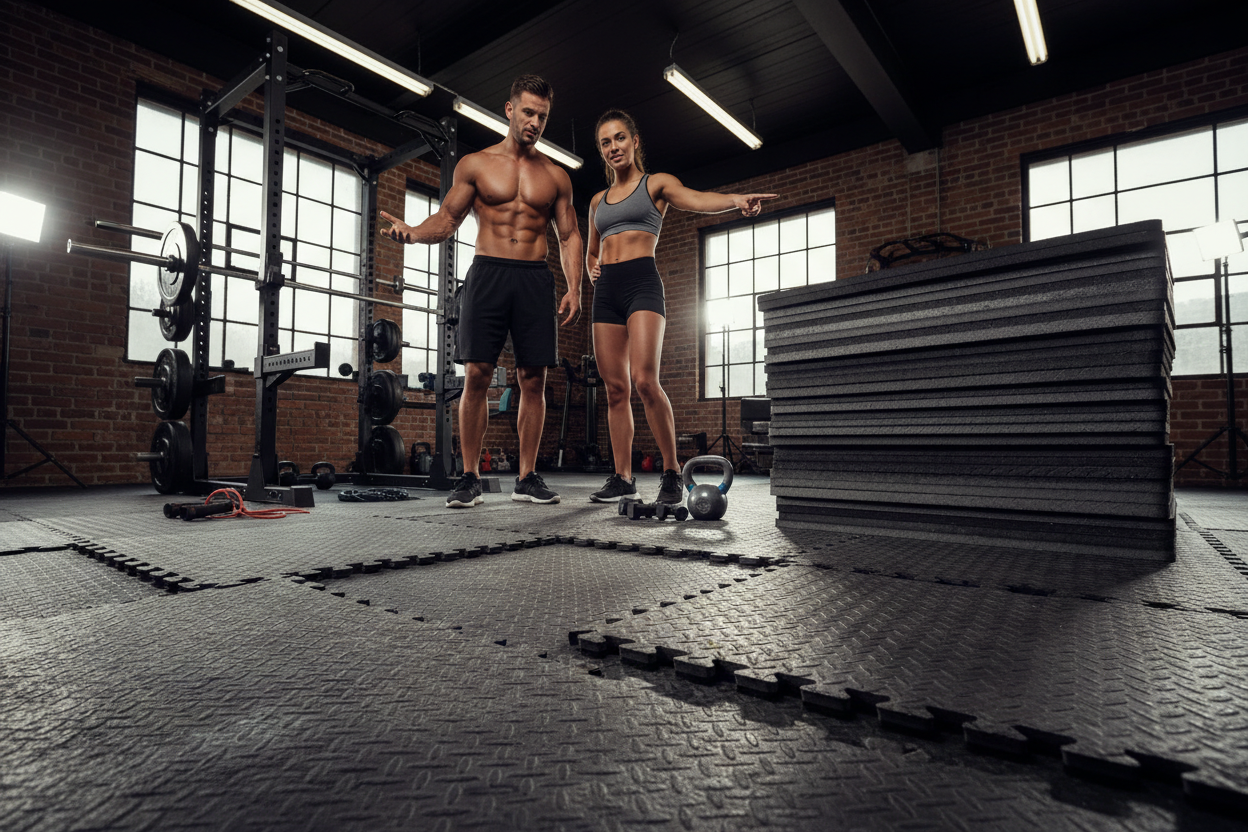
Why Most People Buy The Wrong Interlock Foam Mat
Setting up a home gym in a basement or garage? You already know the struggle of cold, unforgiving concrete. Before you drop heavy kettlebells or subject your joints to high-impact plyometrics, you need a solid foundation.
An interlock foam mat is often the first line of defense for budget-conscious home gym owners, but not all foam is created equal. Choosing the wrong flooring can lead to ruined equipment, slipping hazards, and wasted money. This guide will help you decide if it is the right flooring for your specific training style and how to maximize its lifespan.
Key Takeaways
- Ideal for bodyweight exercises, yoga, and light dumbbell workouts.
- Thickness matters: aim for at least 0.5 to 0.75 inches for adequate joint protection.
- Not recommended under heavy power racks or treadmills due to permanent compression.
- Incredibly easy to install and customize for odd-shaped rooms.
Choosing the Right Interlock Foam Flooring
Thickness and Density Specs
When shopping for foam mat floor tiles interlocking systems, density is your best friend. Standard EVA foam is incredibly soft and great for stretching, but it will permanently indent under a 50-pound dumbbell. If you plan on doing any resistance training, look for high-density EVA or tiles with a durable rubber top layer. This hybrid approach gives you the shock absorption of foam with the puncture resistance of rubber.
Designing Your Workout Space
Customizing Your Gym Footprint
Whether you are outfitting a tight apartment corner or a sprawling two-car garage, foam block floor tiles offer unmatched versatility. You can easily cut the edges with a standard utility knife to fit seamlessly around baseboards, support beams, or structural columns.
A popular aesthetic trend right now is mixing black and white foam floor tiles to create a checkerboard lifting zone. This not only looks highly professional but also visually separates your active workout area from the rest of a multi-purpose room.
From Our Gym: Honest Take
I have tested dozens of flooring options over the last decade. Two years ago, I laid down a 0.75-inch high-density interlock foam flooring setup in my own garage gym. For kettlebell flows, burpees, and mobility work, it was fantastic—the joint relief on my knees was immediate.
However, I have to be completely honest: when I placed my 1,000-pound capacity power rack on top of it, the foam compressed all the way down to the concrete within a week, leaving permanent divots. If you are a heavy powerlifter, you will want solid horse stall mats for your main lifting platform. But for the surrounding functional training areas? Interlocking foam is absolutely perfect and much easier on the wallet.
Frequently Asked Questions
Can you put heavy gym equipment on interlocking foam mats?
Generally, no. Heavy equipment like treadmills, functional trainers, and loaded squat racks will permanently compress and dent foam mats. It is best to use solid rubber mats or a wooden platform under your heaviest gear.
How do you keep foam floor tiles from sliding?
If your mat is placed on smooth hardwood or polished concrete, it can shift during lateral movements like skaters or burpees. Using double-sided carpet tape underneath the edges or anchoring the perimeter with heavy furniture can keep them safely locked in place.
How do I clean my foam gym flooring?
A simple mixture of warm water and mild dish soap works best. Avoid harsh chemicals or bleach, which can break down the EVA foam over time. Wipe them down with a damp mop or cloth and let them air dry completely before your next workout.