
The Science-Based Shoulder Lifting Routine for 3D Delts
You hit the overhead press hard. You finish every push day with lateral raises. Yet, when you look in the mirror, that coveted "capped" look is missing. You aren't alone. Most lifters struggle to build width because the shoulder joint is complex, and the muscles are stubborn. A standard shoulder lifting routine often fails because it relies too heavily on ego-lifting rather than tension.
Building massive deltoids requires a shift in mindset. It isn't about moving weight from point A to point B. It is about isolating three distinct heads of the muscle while keeping the joint healthy. Here is how to finally widen your frame.
Key Takeaways for Shoulder Growth
- Volume over Load: The side and rear delts respond better to higher reps and constant tension than heavy, low-rep sets.
- Three-Dimensional Focus: A complete routine must target the Anterior (front), Lateral (side), and Posterior (rear) deltoids equally.
- Frequency Matters: Hitting shoulders twice a week usually yields better results than a single "bro-split" day.
- Control the Eccentric: Slowing down the lowering phase of the lift recruits more muscle fibers and reduces injury risk.
Understanding the Anatomy of a Shoulder Workout Day
Before grabbing the dumbbells, you need to understand the architecture. Your shoulder isn't one muscle; it's a triad. Most workout routines shoulders usually get involve too much front delt work (from bench pressing) and virtually zero rear delt work.
1. The Anterior Delt (Front)
This head handles forward flexion. It gets hammered during chest presses. You rarely need to isolate this heavily if you are already benching heavy.
2. The Lateral Delt (Side)
This is the money muscle. It creates width and the V-taper illusion. It is notoriously difficult to stimulate because the upper traps love to take over during lifting.
3. The Posterior Delt (Rear)
The neglected younger sibling. Weak rear delts lead to forward-rounded posture and shoulder injuries. Developing these gives your shoulders a thick, 3D look from the side.
The Ultimate Shoulders Workout Structure
This shoulder weight lifting routine is designed to be performed either on a dedicated day or split between Push and Pull days. The goal is mechanical tension and metabolic stress.
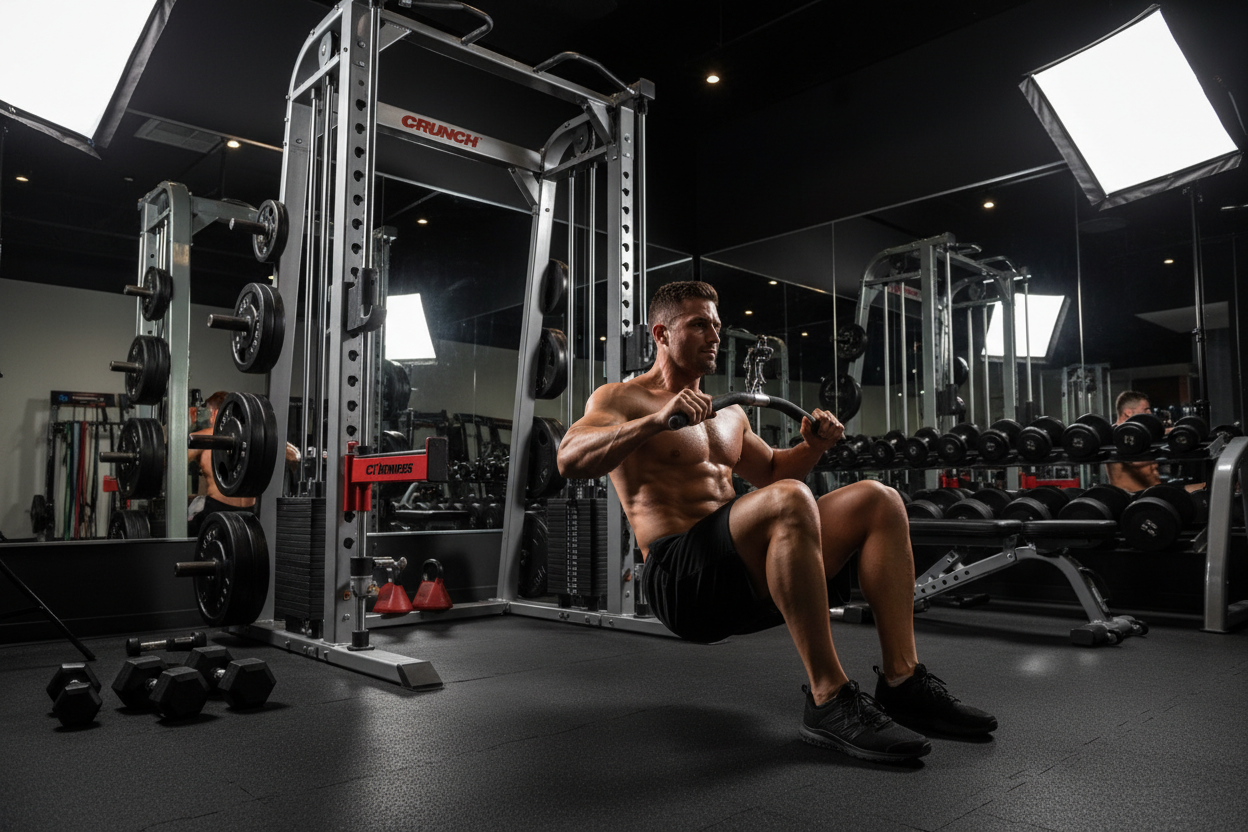
1. The Compound Foundation: Seated Overhead Press
Start here while you are fresh. Sit on a bench with back support set to a high angle (not perfectly vertical, slightly back). This protects the lower back and allows for better drive.
The Science: Standing presses require core stability, which is great, but for pure hypertrophy, taking stability out of the equation allows you to drive more output directly into the delts.
2. The Width Builder: Cable Lateral Raises
Dumbbells are fine, but cables provide constant tension throughout the entire range of motion. With dumbbells, there is zero tension at the bottom of the movement.
Technique Tip: Set the cable height to wrist level. As you raise, lead with your elbow, not your hand. Imagine you are pouring water out of a pitcher.
3. The Posture Fixer: Face Pulls
This is non-negotiable. Set a rope attachment at eye level. Pull the rope towards your forehead, separating your hands as they near your face.
Why it works: This hits the rear delts and the external rotators, balancing out all the internal rotation caused by pressing movements.
Common Mistakes in Shoulder Training
Even with a solid plan, execution is where most fail. Avoid these pitfalls to maximize this shoulder lifting routine.
Using Too Much Momentum
If you have to swing your torso to get the weight up on a lateral raise, the weight is too heavy. You are training your lower back, not your shoulders. Drop the ego and drop the weight.
Ignoring the Eccentric
Do not let the weight crash down. Fight gravity on the way down. The lowering phase causes the most micro-tears in the muscle fibers, which is the catalyst for growth.
My Training Log: Real Talk
I want to be transparent about my own experience with this specific shoulder lifting routine. When I first started trying to grow my delts, I was obsessed with the 60lb dumbbells for seated presses. I felt strong, but my shoulders looked flat.
The turning point happened when I actually lowered the weight. I remember specifically switching to cable lateral raises. The first time I did them correctly, leading strictly with the elbow, I felt a distinct, almost cramping sensation right at the insertion point of the deltoid that I'd never felt before.
There is a specific grit to it—unlike the deep ache of a squat, shoulder training burns in a way that makes you want to drop your arms immediately. I recall the cable attachment digging into my palm, the sweat making the rubber slippery, and my traps desperately trying to shrug up to help. Fighting that urge to shrug was the hardest part. Once I mastered keeping my shoulders depressed while lifting the weight, my t-shirts finally started fitting tighter around the arms.
Conclusion
Building capped shoulders doesn't happen by accident. It requires a strategic approach that prioritizes form over heavy loading. Implement this routine, focus on the mind-muscle connection, and ensure you are eating enough protein to support the repair process. Consistency with the correct mechanics is the only secret.
Frequently Asked Questions
How often should I perform this shoulder routine?
For most natural lifters, training shoulders twice a week is optimal. This allows for sufficient volume while giving the smaller muscle groups time to recover before the next session.
Can I combine this with a chest workout?
Yes. This is common in "Push" workouts. However, if your chest workout is very volume-heavy, your front delts may be pre-exhausted. In that case, prioritize side and rear delt movements after chest pressing.
What if I feel pain in my shoulder joint?
Stop immediately. Sharp pain usually indicates impingement or rotator cuff issues. Check your form to ensure you aren't flaring your elbows too wide during presses, and consult a physiotherapist if pain persists.
