The Best At Home Workout Warm Up for Tight Spaces
Picture this: You just slammed your laptop shut after nine hours of back-to-back Zoom calls. Your cramped apartment living room is cluttered, the couch is practically begging you to sit down, and your adjustable dumbbells are glaring at you from the corner. Trying to jump straight from spreadsheet mode into heavy squats is a massive mistake. I see clients try it all the time, and they usually end up pulling a hamstring or quitting ten minutes into the session. What you actually need is a structured at home workout warm up to bridge the physical and mental gap.
When you train in your living room, you do not have a drive to the gym or a locker room to help you mentally transition. You have about three feet of floor space and a lot of domestic distractions. Over the years of building garage and apartment gyms for my clients, I realized that the pre-workout routine is the single most important factor for consistency. It is not just about getting sweaty; it is about flipping a switch in your brain.
Quick Takeaways
- Your warm-up replaces your physical commute, acting as a psychological trigger for your nervous system.
- Cold joints on hard living room floors increase your risk of impact injuries.
- A proper routine requires three distinct phases: core temperature elevation, joint mobility, and neuromuscular activation.
- You need exactly 24 square feet of supportive flooring to execute these movements safely.
The Psychology of the Living Room Transition
Let me introduce you to the 'State-Shift' concept. When you pack your gym bag, drive across town, smell the chalk, and hear the clanking iron of a commercial facility, your brain automatically shifts into training mode. Your dopamine levels adjust, your focus narrows, and your nervous system preps for physical stress. At home, you have absolutely none of those environmental cues. You are standing in the exact same spot where you eat takeout and watch Netflix.
This lack of spatial separation is why working out at home feels so mentally draining for many people. You are fighting your own established habits. A dedicated warm up routine for beginners is the solution to this psychological hurdle. It acts as a deliberate ritual, drawing a hard line in the sand between your resting state and your working state. When you start your specific sequence of stretches and movements, you are sending a clear signal to your brain that the workday is officially over.
Think of this routine as your new commute. You do not need a massive space or fancy equipment to trigger this shift. You just need intention. I tell my clients to put away their phones, turn on their specific training playlist, and step onto their mat. That physical step is the start of the State-Shift. By the time you finish the five to eight minutes of movement, the couch will no longer look appealing. Your heart rate is up, your focus is dialed in, and you are psychologically primed to push hard, even if your bed is only four feet away.
Why You Cannot Skip Pre-Workout Prep
Beyond the mental transition, the physiological demands of exercising in a residential space require serious respect. Your house was built for living, not for high-impact plyometrics. The floors in your living room—whether they are hardwood, concrete under carpet, or laminate—are incredibly rigid compared to the sprung floors found in commercial fitness facilities. This means every time you land a jump squat or drop into a lunge, your joints absorb a significantly higher amount of force.
If you skip quick warm ups, you are asking cold, stiff tissues to handle that brutal impact. When you sit at a desk all day, your fascia tightens, your hip flexors shorten, and your glutes essentially go to sleep. Jumping straight into a workout with cold muscles is like trying to stretch a frozen rubber band; it is going to snap. A proper physical prep routine increases your core temperature, which literally changes the viscosity of your muscle tissue, making it more pliable and resistant to tearing.
Furthermore, movement stimulates the production of synovial fluid in your joints. Think of synovial fluid as the motor oil for your knees, hips, and shoulders. It takes about three to four minutes of continuous, deliberate movement for your body to pump this fluid into the joint capsules. Without it, bone grinds on cartilage, leading to the nagging knee and lower back pain that plagues so many home trainees.
I have tested dozens of home setups, and the clients who sustain injuries are almost always the ones who try to save time by skipping this crucial step. They grab a 50-pound kettlebell straight off the cold floor and wonder why their lower back seizes up. Investing just a few minutes into joint lubrication and tissue elasticity will keep you training consistently for years, rather than sidelining you for weeks with a preventable strain.
The 3-Phase State-Shift Protocol
You do not need a stationary bike or a treadmill to get your body ready. In fact, you can fully prime your system in a space no larger than a standard yoga mat. The secret is following a strict order of operations. I use a three-phase protocol with every client I train. We start by raising the internal temperature, move into opening up restricted joints, and finish by turning on the central nervous system. Skipping or reordering these steps reduces their effectiveness.
Phase 1: Core Temperature Elevation
The first goal is simply to get blood flowing and break a very light sweat. You want to ease your cardiovascular system into the workload rather than shocking it. If you spike your heart rate too fast, you will accumulate fatigue before you even touch a weight. For this phase, we rely on continuous, low-impact movement.
Start with two minutes of light shadow boxing, high-knee marching in place, or stepping jacks. Keep your feet close to the floor. If you are looking for a highly structured approach to this phase, integrating a low impact beginner cardio routine is a fantastic way to elevate your core temperature safely. I often recommend this specific style of warm-up for women who want a sustainable energy ramp-up without taxing their joints early in the session.
The key here is breathing. Inhale deeply through your nose and exhale through your mouth. You should be able to hold a conversation during this phase, but your words should start to get slightly breathy by the end of the two minutes. Do not rush this. Let the blood vessels dilate naturally. Once you feel a slight bead of sweat on your forehead, your muscle tissue is warm enough to start stretching.
Phase 2: Dynamic Joint Mobilization
Now that the muscles are warm, we need to address the structural restrictions caused by your office chair. Sitting for eight hours locks your hips into constant flexion, rounds your shoulders forward, and stiffens your ankles. Static stretching—holding a pose for thirty seconds—is actually counterproductive here because it relaxes the muscles too much. Instead, we use dynamic mobilization.
This phase is heavily populated with specific warm up exercises women and remote workers find incredibly relieving for desk posture. Start with the 'World's Greatest Stretch'. Step forward into a deep lunge, place both hands on the floor inside your front foot, and reach the inside arm up toward the ceiling, twisting your thoracic spine. Do five reps per side. This single movement opens the hip flexors, mobilizes the mid-back, and stretches the hamstrings.
Next, move into arm circles and arm crossovers to lubricate the shoulder capsules. Follow that with ten deep, slow bodyweight squats, pausing at the bottom to shift your weight side to side. This specific warmup exercise for women and men alike forces the ankles to bend and the Achilles tendon to stretch, which is vital if your main workout includes any lower body pressing or jumping. Keep the movements fluid and continuous.
Phase 3: Neuromuscular Activation
Your body is warm and your joints are loose, but your central nervous system (CNS) is still sluggish. Phase three is about waking up the mind-muscle connection. If you try to do a heavy dumbbell row without activating your lats first, your biceps and upper traps will take over, ruining your form.
We achieve this activation through high-tension bodyweight movements. Drop to the floor for glute bridges. Lie on your back, bend your knees, and drive your hips up. Squeeze your glutes as hard as you can at the top for two full seconds before lowering down. Do fifteen reps. This tells your brain to start firing the glute maximus and medius, ensuring they do the heavy lifting when you move to your main leg exercises.
Follow the bridges with a strict thirty-second forearm plank. Do not just hang out there; actively pull your elbows toward your toes to create massive tension in your core. Finally, do ten reps of slow, controlled push-ups or kneeling push-ups. By the end of this phase, your muscles should feel 'switched on' and highly responsive. You are now physically and neurologically ready to tackle the hard work.
Setting Up Your Warm-Up Zone
You cannot effectively execute a floor-based routine on a slippery rug or bare concrete. To make this protocol work, you need a dedicated physical zone. Establishing this zone is part of that psychological State-Shift we discussed earlier. Unrolling a mat is the physical trigger that starts the clock on your session.
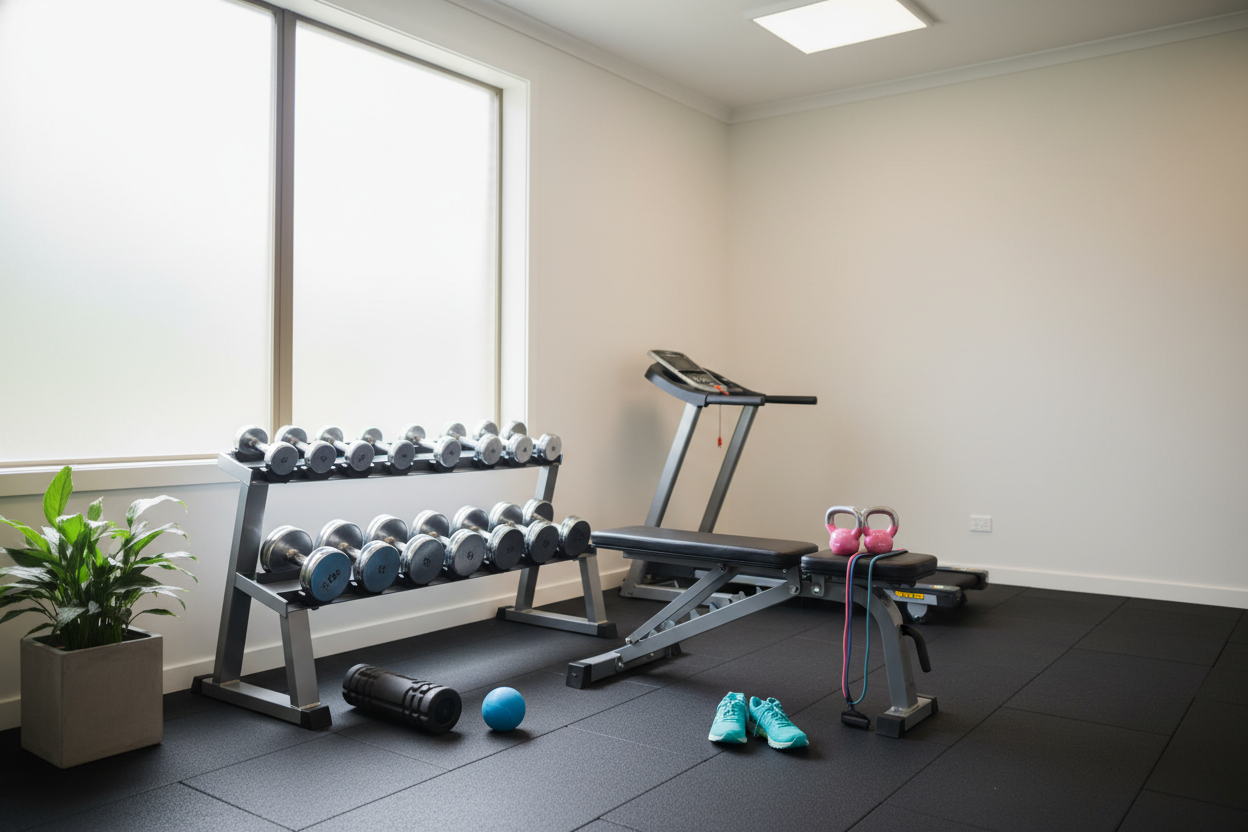
When designing home spaces, I strictly advise against using cheap, thin yoga mats for anything other than actual yoga. They bunch up during mountain climbers and offer zero impact absorption for your knees during lunges. A proper warm up workout for women or men requires dense, supportive flooring. If you are working in a tight apartment living room, I highly recommend throwing down a compact 6x4ft exercise mat. That specific dimension gives you exactly 24 square feet of surface area, which is the precise amount of room needed to perform a full burpee or a walking lunge without kicking your TV stand.
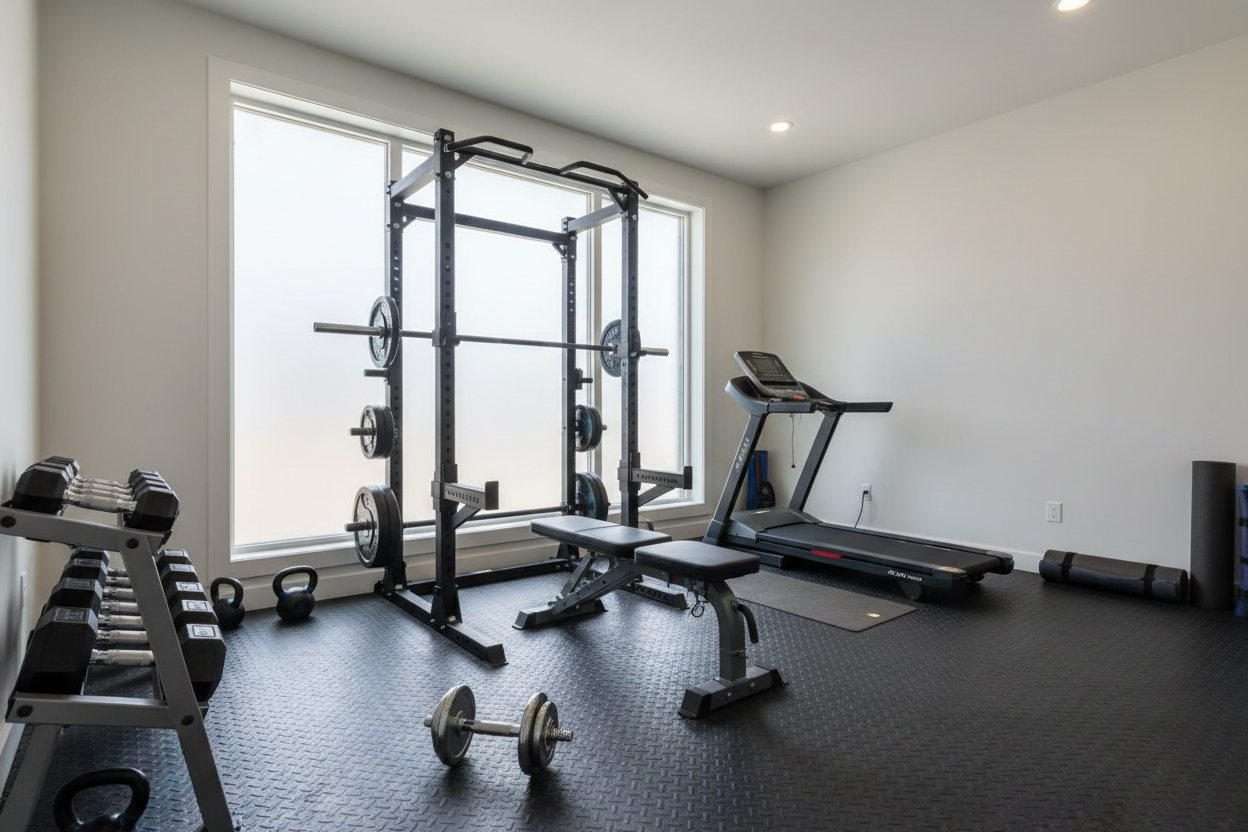
If you are lucky enough to have a dedicated basement, garage, or spare bedroom, you should scale up. For those environments, installing large home gym mats provides broader coverage, allowing you to seamlessly transition from your mobility work into heavy dumbbell circuits without constantly repositioning your equipment. The density of the mat is what protects your joints from the unforgiving subfloor beneath it.
Transitioning Into Your Main Session
The biggest mistake you can make after completing your prep work is sitting down to check your phone. If you pause for five minutes to scroll through social media, your core temperature drops, your nervous system powers down, and you lose all the psychological momentum you just built.
As soon as you finish your last plank or push-up, take exactly sixty seconds to grab a sip of water, cue up your next song, and pick up your weights. Move directly from the warm up exercises for ladies and gents into your first working set. If you struggle with knowing what to do next, having a plan is mandatory. I always suggest having effective home workout programs queued up on your device before you even start stretching. That way, the transition is frictionless. You ride the wave of energy straight into your first set of squats or presses, maximizing your time and keeping your heart rate in the optimal zone.
My Personal Experience with Home Setup
I have personally tested this exact 3-phase protocol in a 400-square-foot studio apartment using a heavy 50-pound adjustable kettlebell and a thick 6x4 mat. The mat provided incredible joint relief during the kneeling stretches, though I will be honest—if you place a dense mat over a very plush residential carpet, it can shift slightly during explosive lateral movements. I solved this by placing a few heavy dumbbells on the front corners. Once secured, the routine completely changed my evening workouts. I stopped feeling sluggish and started hitting my rep targets consistently.
Frequently Asked Questions
How long should this routine take?
If you stay focused, the entire 3-phase protocol takes between five and eight minutes. Do not rush the movements, but do not rest between them either. Keep the pace steady.
Can I just do static stretching instead?
No. Holding static stretches before lifting weights actually decreases muscle power output and relaxes the central nervous system. Save the long, deep stretching for your post-workout cooldown.
What if I have bad knees?
Modify the movements. Swap the deep squats for shallow squats or glute bridges. The goal is blood flow and gentle mobilization, not pain. Always work within your pain-free range of motion.