You just finished a heavy set of chest presses. Your arms are shaking, and the last thing you want to do is navigate a minefield of cast iron scattered across the floor to put your weights away. If your home gym looks more like a scrapyard than a sanctuary, you are likely hunting for a diy dumbbell weight rack solution that doesn't cost as much as the weights themselves. Building your own storage is not only cheaper than buying commercial stands, but it also allows you to customize the dimensions to fit your specific space and gear.
I learned this lesson the hard way. A few years back, my garage gym was a tripping hazard waiting to happen. I had hex dumbbells lining the wall, round plates stacked in corners, and kettlebells acting as doorstops. It wasn't until I stubbed my toe hard enough to see stars that I decided enough was enough. I grabbed some scrap lumber and sketched out a homemade dumbbell stand. That afternoon project didn't just save my toes; it completely changed the workflow of my training sessions. A clean gym is an inviting gym.
Choosing the Right Design for Your Space
Before you fire up the saw, you need to settle on a
weight rack design that suits your equipment. Not all
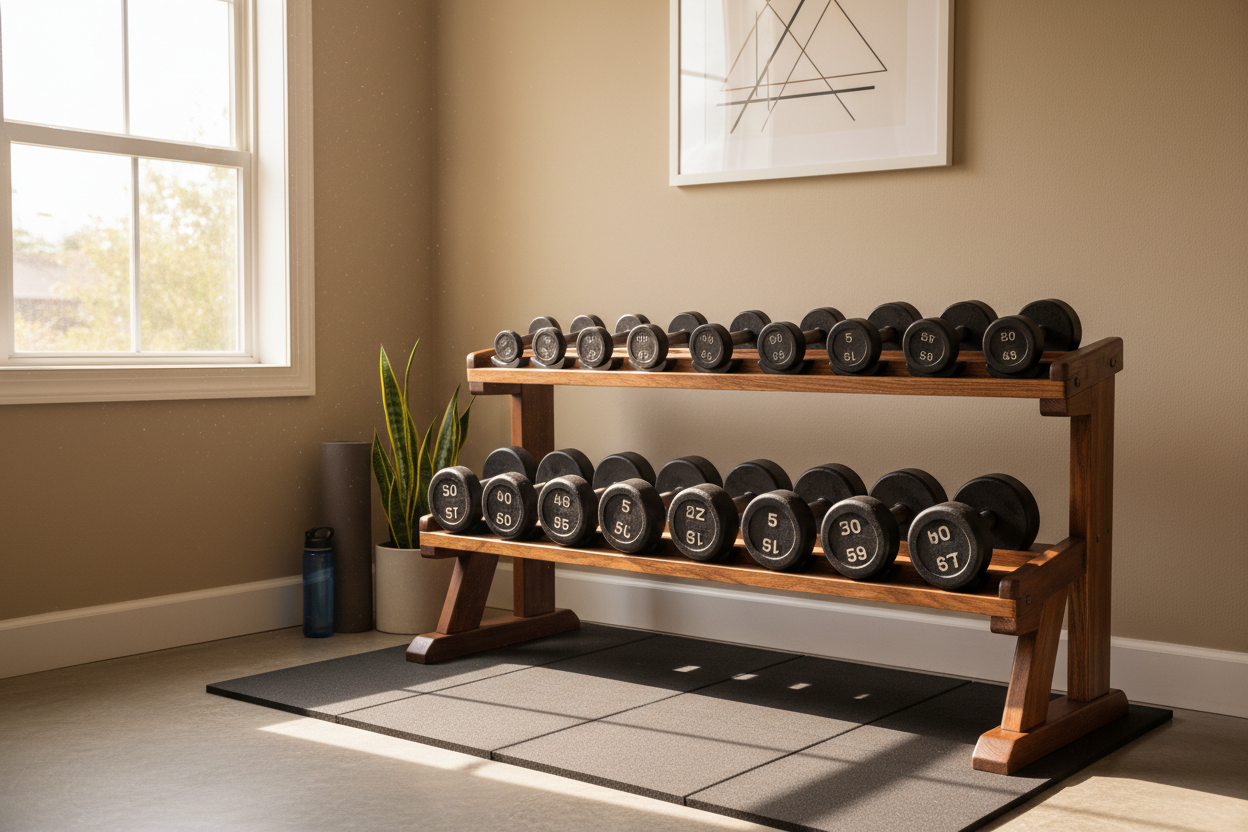
weight rack ideas work for every type of weight. If you have a full set of hex dumbbells (5lbs to 50lbs), a horizontal two-tier or three-tier shelf is best. If you are working with adjustable dumbbells or just a few heavy pairs, a
diy small dumbbell rack or a vertical tree might save you precious floor space.
Most
homemade weight rack plans rely on a simple principle: gravity and friction. You want the weights to sit securely without rolling off. For standard dumbbells, this usually means creating parallel rails that support the heads of the dumbbell while leaving space for the handle. This is infinitely easier to build than a flat shelf with individual dividers.
The Classic DIY Dumbbell Rack 2x4 Build
If you want the gold standard of affordability and strength, the
diy dumbbell rack 2x4 method is the way to go. Construction lumber is incredibly strong when braced correctly. A standard pine 2x4 can support hundreds of pounds of vertical load, making it perfect for a
diy free weight rack.
To start, measure the width of your largest dumbbell handle. Your rails need to be close enough to hold the smallest weight but wide enough that the largest handle fits comfortably. A gap of about 4.5 to 5 inches works for most standard sets. When figuring out
how to build a dumbbell rack out of wood, the angle of the shelf is critical. You don't want the shelves flat; you want them angled slightly backward (about 15 degrees) or constructed with a lip so the weights slide back securely rather than rolling forward onto your feet.
Materials and Assembly
For a standard three-tier rack, you will need approximately six 8-foot 2x4s, a box of 2.5-inch deck screws, and wood glue. The legs should be sturdy, often doubled up or built in an L-shape for stability. The horizontal rails—where the weights sit—need to be screwed into the uprights with at least two screws per joint. For extra peace of mind, use carriage bolts.
Many
wooden weight rack plans suggest using a piece of angle iron or a wooden lip on the front edge of the rail. This acts as a
dumbbell holder diy catch, ensuring that even if you bump the rack, nothing comes tumbling down. Sand everything down thoroughly. Splinters are the last thing you want when reaching for a PR weight.
Small Space and Metal Alternatives
Maybe you don't have room for a massive furniture-sized piece. A
diy small dumbbell rack can be as simple as two vertical supports with dowels (for light neoprene weights) or a small box-style frame for two heavy adjustable dumbbells. I've seen clever
dumbbell rack ideas that utilize vertical wall space, essentially hanging the weights, though this requires serious structural reinforcement in your walls.
For those with welding skills, a
diy metal dumbbell rack is the ultimate space-saver. Angle iron allows for a much lower profile than 2x4s. However, metal requires specific tools and skills. If you are a beginner asking
how to make a weight rack, stick to wood. It is forgiving, easy to modify, and plenty strong enough for 99% of home lifters.
The "Quick and Dirty" Easy DIY Dumbbell Rack
If you don't care about aesthetics and just want the weights off the floor immediately, look for an
easy diy dumbbell rack design using cinder blocks and wood planks. You place two cinder blocks a few feet apart, lay sturdy planks across them, and repeat the stack. It isn't pretty, and you have to be careful about balance, but it works in a pinch for garage setups.
Another simple
dumbbell holder diy involves using heavy-duty utility hooks screwed into a sturdy backing board bolted to studs. This works well for lighter weights but isn't recommended for anything over 20lbs due to the stress on the drywall and studs.
Expanding Your DIY Gym: Wooden Dumbbells?
While we are discussing wood projects, you might stumble upon searches for
how to make wooden dumbbells. This usually refers to old-school circus-style props or technique plates, not functional heavy weights. However, you can make functional heavy dumbbells by using a metal pipe as a handle and casting concrete weights on the ends, or by creating wooden boxes filled with lead shot or sand. It is a fun project, but for daily training, iron or rubber-encased weights are superior. Stick to using wood for the rack, not the weights themselves, unless you are strictly working on form.
Finishing Touches and Safety
Once your
homemade dumbbell rack wood structure is assembled, check for wobble. If the floor is uneven, shim the legs. If the rack feels top-heavy, anchor it to the wall using an L-bracket. This is non-negotiable if you have kids or pets running around. Staining or painting your rack not only makes it look professional but protects the wood from sweat and moisture, which is common in garage environments.
Building a
homemade weight rack plans project takes a Saturday afternoon and costs a fraction of a store-bought unit. Plus, every time you rack your weights, you get that subtle satisfaction of using something you built with your own hands. Get your measurements right, over-engineer the supports, and enjoy a gym floor that you can actually walk on.

