Stretches for Hip Pointer Relief: Home Mat Guide
Direct impact or sudden tension around the upper rim of the hip can leave you dealing with nagging sensitivity that interrupts everyday movement. Finding comfortable, low-impact stretches for hip pointer relief allows you to restore movement gradually without placing harsh pressure on tender bone structures. By focusing on the surrounding muscular attachments rather than forcing deep joints into extreme ranges, you can ease guarding patterns while staying active at home.
A well-planned home routine pairs deliberate movement cues with a forgiving floor setup. When dealing with regional soreness, hard tiles or unyielding floorboards quickly turn simple stretches into frustrating sessions. Exploring dedicated stretches for hip pointer recovery alongside supportive floor cushioning helps you maintain consistent, comfortable habits without aggravating sensitive spots.
Understanding Hip Pointer Discomfort and Gentle Mobility
A hip pointer typically involves blunt force or severe strain along the iliac crest, the prominent upper curve of the pelvic bone. Because essential muscle groups—including the abdominal muscles, hip flexors, and glutes—anchor along this bony ridge, everyday actions like twisting, bending, or walking can trigger sudden hip discomfort. When these anchoring structures tighten up protectively, the resulting soft tissue restriction makes simple movements feel rigid.
Rather than pushing into aggressive end-range positions, practicing gentle mobility helps release stubborn muscle tightness. Engaging in deliberate stretches for hip pointer care encourages blood circulation through surrounding fibers without pulling violently against the bony rim. A thoughtful exercise hip stretches guide can provide foundational context for moving through pelvic strain without overtaxing vulnerable areas.
Setting Up Your Workout Floor for Hip Comfort
Positioning is everything when managing localized bone sensitivity. Performing a hip pointer stretch directly on hard subfloors creates localized pressure points that cause immediate guarding. Setting up a dedicated exercise mat with dense floor padding ensures your hips, knees, and back remain supported throughout every transition.
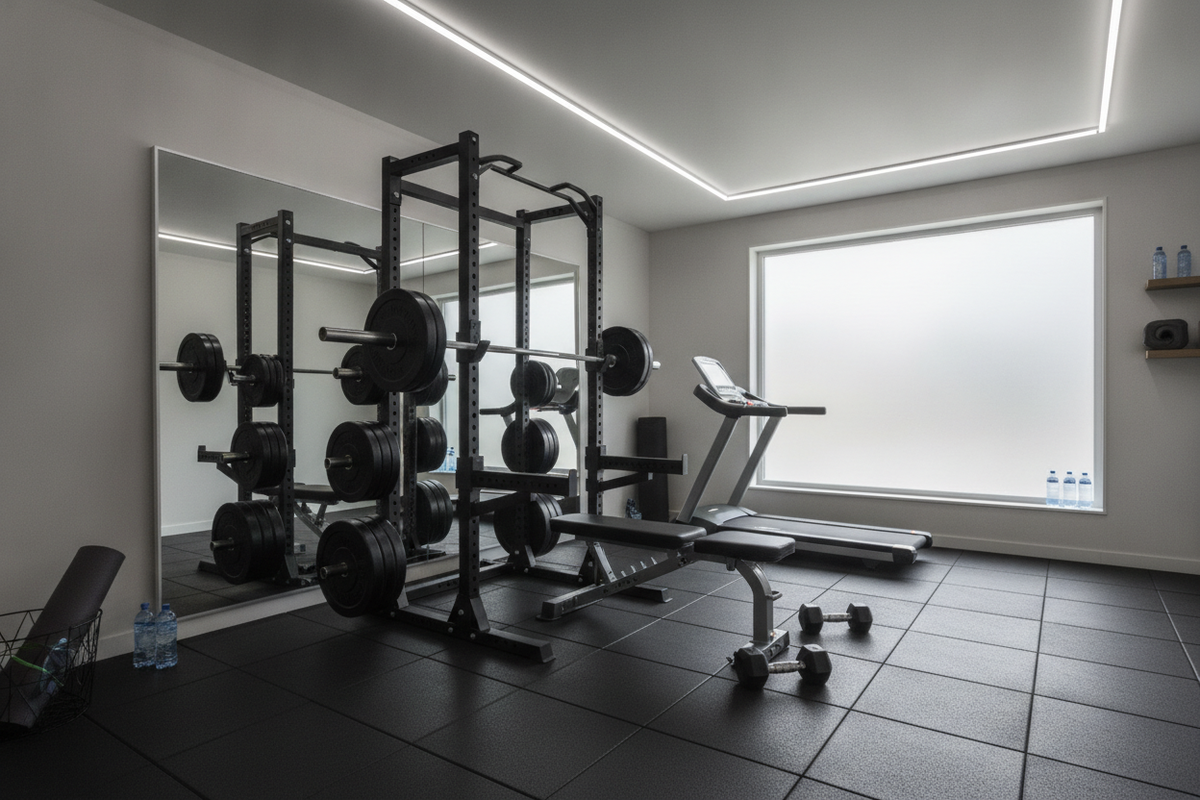
A firm cushioned surface distributes body weight evenly, which is especially important during kneeling or side-lying postures. High-density protective flooring prevents your joints from sinking down to the hard subfloor beneath while maintaining grip so your feet do not slip. Incorporating a reliable home gym mat into your routine gives you a stable, resilient workout surface that allows you to relax your muscles instead of tensing up against an unyielding floor.
What are the Best Stretches for Hip Pointer Recovery at Home?
The best stretches for hip pointer recovery at home focus on the surrounding muscle groups—such as the hip flexors, lats, obliques, and glutes—while keeping the pelvic bone neutral and free from direct pressure. Taking a measured approach ensures you expand your functional range of motion step by step without creating sharp pinching sensations.
Kneeling Stretch for Hip Flexors and Quads
Tight hip flexors pull continuously on the anterior iliac crest. To relieve this pulling force, try a kneeling stretch that opens up the front of the hip joint. Place a plush folding mat or secondary pad under your back knee on your exercise mat for extra floor padding. Step your opposite foot forward into a lunge position, keeping your chest tall and your core engaged.
Gently shift your weight forward just until you feel a mild stretch along the front of the trailing thigh and pelvic area. Avoid arching your lower back, as excessive arching stresses the abdominal muscles connecting to the hip rim. Performing gentle stretches for hip pointer recovery in this padded half-kneeling stance lengthens the hip flexors safely without irritating the tender upper bone.
Seated Torso Side Bend for Abdominal Muscles and Crest Relief
The external obliques and lower abdominal muscles attach directly to the top edge of the iliac crest. When these tissues seize after an impact, lateral trunk movement feels restricted. Sit upright on your home gym mat with your legs crossed or extended comfortably in front of you. You can review a broader hip stretches guide to see how seated trunk positions relieve pelvic stiffness.
Reach one arm overhead and perform a slow torso side bend away from the tender side. Breathe deeply into the ribs and flank, letting the soft tissue expand without twisting. This gentle hip pointer stretch creates valuable breathing room along the lateral pelvic rim while you remain seated securely on a supportive cushioned surface.
Supine Figure-Four Glute Stretch
Posterior hip tension frequently accompanies lateral pelvic discomfort. A supine glute stretch allows you to lengthen the external rotators without resting your weight against the sensitive side of your body. Lie flat on your back across your protective flooring with both knees bent and feet planted flat.
Cross the ankle of the affected leg over the opposite knee, forming a figure-four shape. If comfortable, grasp the back of your supporting thigh and draw it gently toward your chest. This supine posture protects your spine, keeps pressure completely off the iliac crest, and delivers an effective hip pointer stretch for tight gluteal muscles. Regular hip pointer exercises and glute stretches performed in this reclined position help rebuild relaxed hip mobility.
Can You Do Hip Pointer Exercises Without Aggravating Bruised Bones?
Yes, you can do hip pointer exercises without aggravating bruised bones by avoiding direct impact, eliminating side-lying pressure on the tender point, and selecting controlled movements that build core stability. Gentle active movement keeps surrounding muscle groups firing properly while preventing soft tissue stagnation during recovery.
Controlled Glute Bridge Holds
The glute bridge is an excellent starting point among low-impact hip pointer exercises because it recruits the posterior chain while your back stays flat on a cushioned surface. Lie face up on your home gym mat with your knees bent and feet hip-width apart. Gently squeeze your glutes and press through your heels to raise your hips until your thighs and torso form a straight line.
Hold this top position for a brief moment, focusing on even pelvic alignment rather than lifting excessively high. Slowly lower down to the workout surface under control. Practicing the glute bridge builds essential pelvic support and core stability without placing mechanical stress directly against the iliac crest.
Supported Standing Mobility and Leg Swings
Once you can perform floor drills comfortably, incorporate light standing movements to restore dynamic range of motion. Stand beside a wall or sturdy exercise equipment, placing one hand on the surface for balance. Gently swing your outer leg forward and backward in a small, pain-free arc.
Keep your torso tall and avoid letting your pelvis tip wildly. These controlled swings promote circulation through the hip flexors and hamstring groups without impact. Pairing these active hip pointer exercises with static stretches for hip pointer relief keeps your recovery well-rounded and progressive.
How Does a Cushioned Exercise Mat Help With Hip Pointer Stretches?
A cushioned exercise mat helps with hip pointer stretches by absorbing ground reaction forces, eliminating painful bone contact against hard subfloors, and creating a stable, non-slip base for kneeling and supine positions. When recovering from regional hip discomfort, having adequate thickness between your body and the floor determines whether you can fully relax your muscles or end up guarding against surface pain.
Thin yoga mats often lack the density required to buffer sensitive joints, particularly during kneeling stretch variations or when transitioning to and from the floor. A high-density home gym mat provides balanced floor padding that cushions the pelvic bone without feeling overly squishy or unstable. For those looking to work the lateral hips further, our stretch hip stretches guide highlights additional positions where dependable mat density makes a noticeable difference.
Home Gym Flooring and Mat Setup for Daily Routines
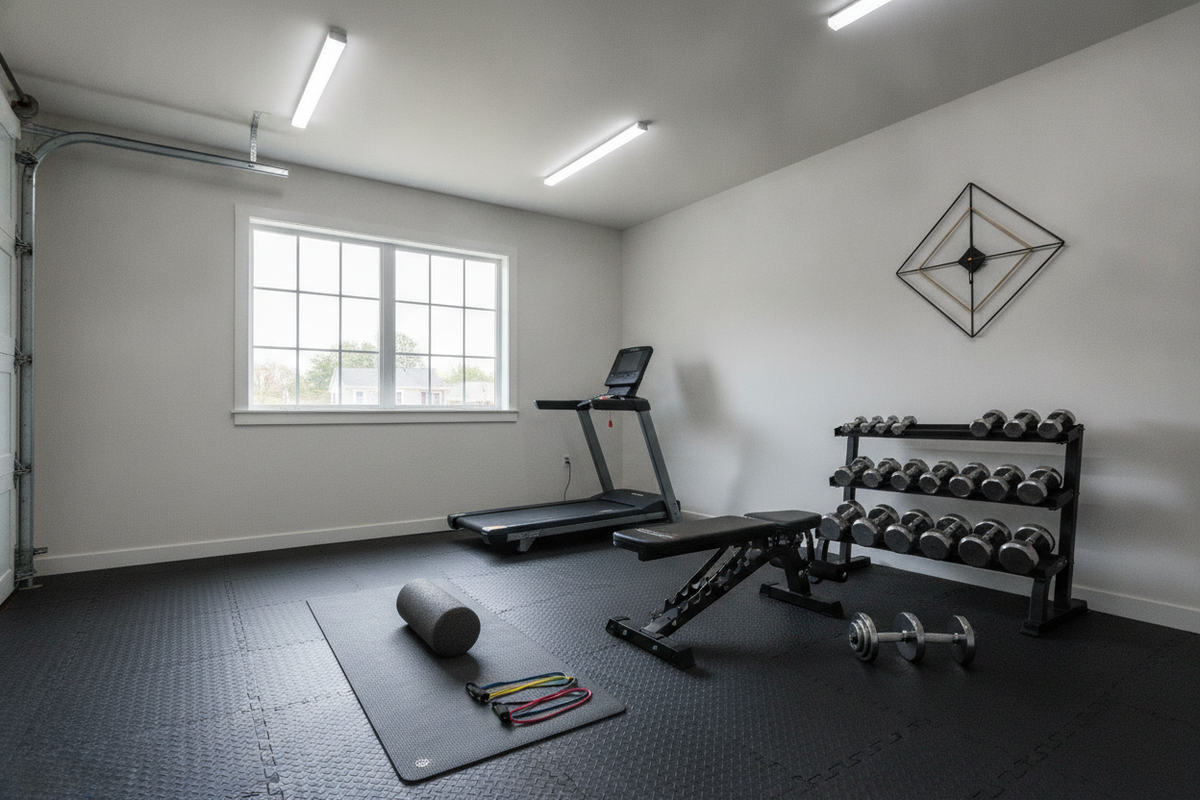
Establishing an open, dedicated stretching zone encourages daily consistency. When placing protective flooring in a home gym or living area, clear ample space so you can perform wide-ranging stretches for hip pointer recovery without bumping into nearby furniture or weight racks. Having room to roll out a large exercise mat allows seamless transitions between seated, supine, and kneeling positions.
Keep your workout surface clean and free of dust to maintain its textured grip. A quick wipe-down with a damp cloth and mild soap preserves traction, preventing unexpected slips when holding a kneeling stretch or performing a glute bridge. In my own home gym routine, I prefer keeping a dense floor pad rolled out at all times—it serves as an immediate visual invitation to pause and address tightness before it compounds.
If you use supplementary tools like a foam roller, avoid rolling directly over the bony iliac crest. Instead, use the foam roller gently on large adjacent muscle groups like the quads or upper glutes while resting on your protective flooring. By combining deliberate stretches for hip pointer management, supportive hip pointer exercises, and a reliable exercise mat, you can confidently navigate recovery and maintain smooth, comfortable hip mobility at home.