Stop Ego Lifting: How to Do Hip Thrust Movements Correctly
I remember the first time I tried to load a 45-pound plate on each side of a barbell for a hip thrust. I spent more time wrestling the bar into position and bruising my hip bones than actually hitting my glutes. If you are feeling the burn in your lower back instead of your backside, you are likely part of the ego-lifting crowd. Learning how to do hip thrust movements effectively isn't about how many plates you can clank together; it's about the mechanics of the 'scoop.'
- Tuck your chin to your chest and keep it there.
- Focus on a posterior pelvic tilt (the 'scoop') at the top.
- Keep your shins vertical; if they are angled, your quads or hamstrings are taking over.
- Use a bench or platform that hits just below your shoulder blades.
The Real Purpose: What Does Pelvic Thrust Exercise Do?
Most people treat the hip thrust like a weird bridge, but what does pelvic thrust exercise do for your body exactly? It targets the gluteus maximus through its full range of motion, specifically at the point of peak contraction. Unlike the squat, where the tension drops off at the top, the thrust keeps the heat on your glutes when they are shortest.
This is not a lower back exercise. If you feel a pinch in your lumbar, you are hyperextending to reach the top rather than using your hips. The goal is hip extension driven by the glutes, not spinal extension driven by ego. When you nail the mechanics, you are building a posterior chain that supports your deadlift and keeps your knees from caving during heavy squats.
Mastering the Scoop: How to Hip Thrust Properly Unloaded
Before you touch a bar, you need to master the 'scoop.' Knowing how to hip thrust properly starts with a posterior pelvic tilt. Imagine you have a bucket of water as a pelvis; you want to pour the water out toward your belly button, not your toes. This 'scoop' engages the glutes and flattens the lower back, protecting your spine.
Practice this on the floor first. Lie down, feet flat, and try to flatten your lower back against the ground by squeezing your glutes. Once you can do that, move to a bench. Keep your ribcage pulled down toward your pelvis. If your ribs flare out like you are posing for a bodybuilding stage, you've lost the tension. Master how to hip hinge and scoop bodyweight for 20 reps before you even think about adding a dumbbell.
The Home Setup: What to Use for Hip Thrusts
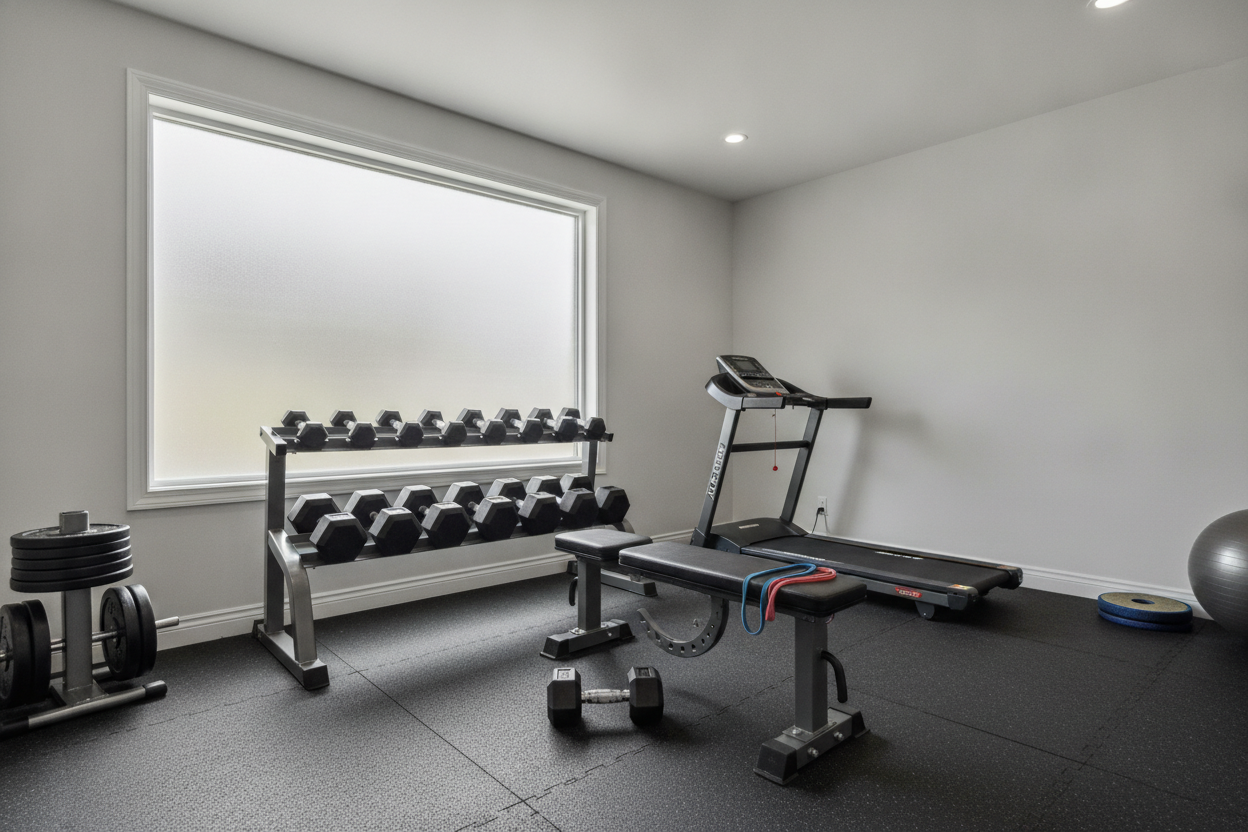
When deciding what to use for hip thrusts, the height of your support is the most critical factor. Most standard weight benches are 17 inches tall, which is actually too high for many lifters. If the bench is too high, you will struggle to get a proper pivot point, leading to your torso sliding off or your lower back arching.
I have tested everything from the edge of a couch to a plyo box. If you are serious about glute days, the Gxmmat Hip Thrust Bench is a massive upgrade over a standard flat bench. It is designed at a lower height with a stable base that will not tip when you lean back. It gives you that solid pivot point at the mid-back that allows for a full 'scoop' without the bench digging into your spine.
Adding Load Without Wrecking Your Spine
Once your bodyweight form is locked in, it is time to add resistance. Do not jump straight to a 7-foot Olympic bar. Start with a single dumbbell or a kettlebell held in the crease of your hips. You can learn How to Do a Dumbbell Hip Thrust Without Crushing Your Pelvis before graduating to the big weights.
When you eventually move to the barbell, use a thick pad. I have seen guys try to tough it out with a folded yoga mat, but once you cross 135 pounds, that bar will dig into your hip bones like a dull saw. Keep the bar centered and use your hands only to balance it, not to pull it. The power comes from the floor, through your heels, and straight into your glutes.
Stop Sliding: Securing Your Base of Support
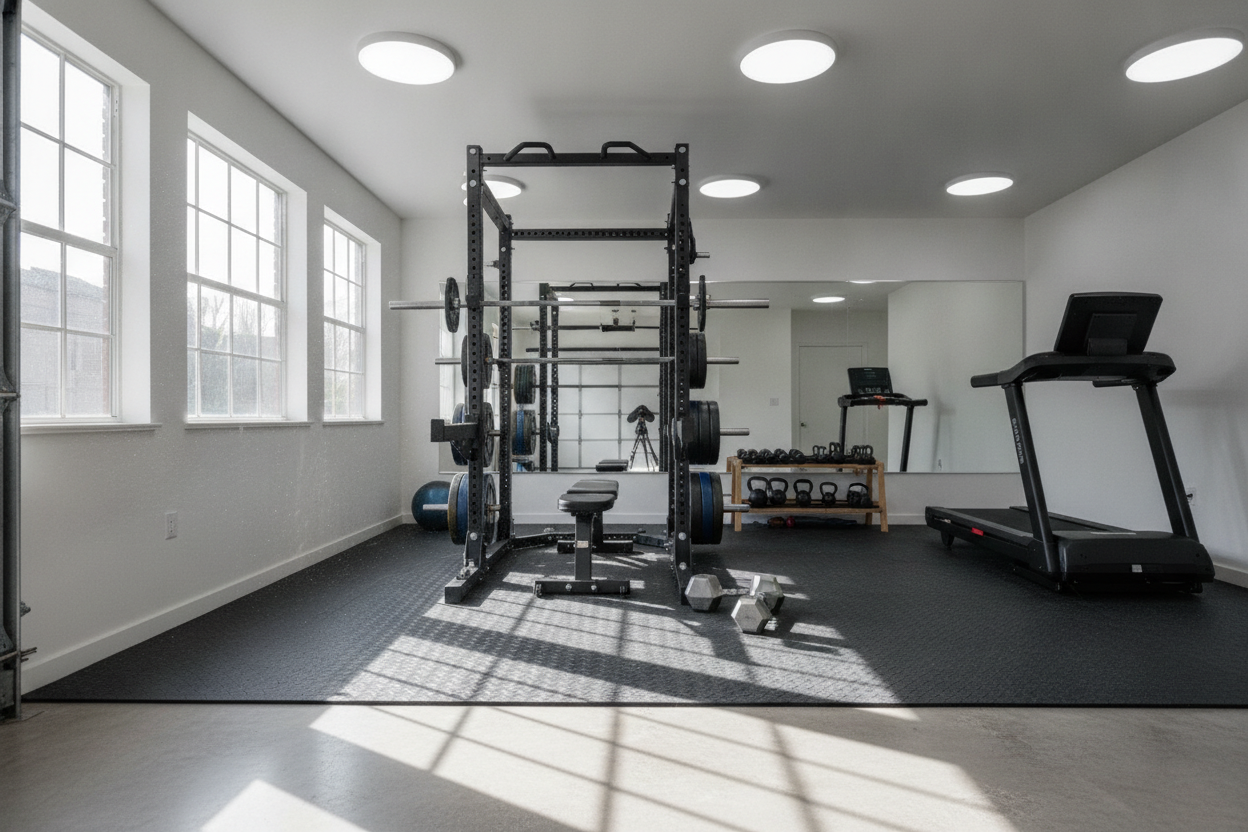
The most annoying part of a garage gym setup is the 'bench slide.' You set up, drive upward, and your bench scoots six inches backward on the smooth concrete. This kills your power transfer and ruins your set. You need friction to keep your back support and your feet locked in place.
I solved this by using a large exercise mat for home gym use. It creates a high-friction surface that grips both the bench feet and my sneakers. If you do not have a mat, wedge your bench against a power rack or a heavy set of sandbags. If your base moves, your glutes aren't doing the work—your stabilizers are just trying to keep you from falling over.
Personal Experience: The Folding Chair Disaster
Early in my training, I tried to save money by using a metal folding chair against a wall. Halfway through a set, the chair legs slipped, and I ended up with a bruised tailbone and a hole in the drywall. It was a lesson in stability. Now, I never train without a solid, non-slip base. I have found that even the best form cannot save you from cheap equipment or a slick floor.
FAQ
Where should the bench hit my back?
The edge of the bench should sit right at the bottom of your shoulder blades. This creates a perfect pivot point for your torso to move as one solid unit with your hips.
Should I look at the ceiling?
No. Keep your chin tucked toward your chest and look straight ahead. If you look at the ceiling, you are more likely to arch your lower back and lose the pelvic scoop.
Why do I feel this in my hamstrings?
Your feet are likely too far away from your body. Move your heels closer to your glutes until your shins are vertical at the top of the movement. If your feet are too close, you will feel it in your quads.