Starter Workout Routine: Why You Must Start Lying Down
I remember walking into a client's cramped 500-square-foot apartment. She was exhausted from a 10-hour nursing shift, staring at her sneakers, and dreading the idea of doing burpees or jumping jacks. That is the exact moment I realized the fitness industry sets people up to fail. When you are tired and out of shape, fighting gravity feels insurmountable. That is why the best starter workout routine doesn't begin on your feet. It begins flat on your back.
By flipping the script and starting your workouts lying down, you completely eliminate the psychological dread of exercising. Your heart rate doesn't spike into the red zone in the first two minutes. Instead, you slowly wake up your nervous system, build momentum, and eventually find yourself standing up—energized rather than exhausted.
Quick Takeaways
- Start flat on the floor to reduce gravity's impact on your joints and lower initial heart rate spikes.
- Sequence your movements from lying, to kneeling, to standing to naturally build momentum.
- Invest in a thick, high-density mat (at least 7mm) to protect your spine and knees during floor work.
- Aim for 15-20 minutes total, focusing on consistency before adding heavy weights or high impact.
The Problem With Traditional Beginner Plans
Most standard fitness apps load up a workout plan for beginners with standing air squats, lunges, and high knees right out of the gate. If you haven't worked out in five years, asking your body to immediately stabilize your entire body weight against gravity is a recipe for joint pain and rapid fatigue.
When you jump straight into vertical movements, your heart has to work overtime to pump blood up from your legs. This creates a sudden, massive spike in your heart rate. You start gasping for air three minutes in, your brain panics, and you associate exercise with misery.
Furthermore, standing exercises require immense core control and balance. A novice attempting a reverse lunge often wobbles, putting sheer force on the patellar tendon. I have seen countless clients quit by day four simply because their knees ached and their lungs burned. We need to remove the balance requirement entirely.
The Floor-To-Standing Starter Workout Routine
The floor-to-standing concept is something I developed after watching clients struggle with early fatigue. It is exactly what it sounds like. We start completely horizontal, move to a quadruped or kneeling position, and only stand up for the final few minutes.
This progression tricks your brain. Lying down doesn't feel like a workout. It feels like stretching. By the time your body realizes it is exercising, your joints are lubricated, your muscles are warm, and your core is firing. You build a natural physical momentum that carries you into the harder, standing movements.
For clients looking to build a sustainable habit, this sequence is highly effective. Once you master the basic flow outlined below, you can easily visit our workout hub to find more advanced variations. But for the first four weeks, stick strictly to this three-phase progression.
Phase 1: The Lying Sequence (Gravity-Eliminated)
Spend your first 5 to 7 minutes entirely on your back. Here, the floor provides tactile feedback for your spine, ensuring your posture is perfect without you having to think about it. This creates a highly effective beginner friendly workout routine because you cannot fall over or lose your balance.
Start with 15 glute bridges. Drive your heels into the floor and squeeze your glutes at the top for two seconds. This wakes up your posterior chain, which has likely been dormant from sitting at a desk all day.
Next, move into dead bugs. Lying flat, raise your arms and bend your knees to 90 degrees. Slowly extend opposite arm and leg toward the floor without letting your lower back arch. Do 10 reps per side. This fires up your deep core stabilizers. If you want a workout routine that feels good, mastering the dead bug is mandatory. It protects your lower back for everything that follows.
Phase 2: The Kneeling Sequence (Core Activation)
Now, roll over onto your hands and knees. You are still supported, but you have introduced a slight balance challenge. Spend 5 minutes in this quadruped and half-kneeling phase.
Begin with the bird dog. From all fours, extend your right arm forward and your left leg backward. Hold for a full second, then switch. Perform 10 reps per side. This trains your body to stabilize the spine while your limbs are moving—a crucial skill for walking, running, and lifting.
Follow this with modified kneeling push-ups or shoulder taps. If push-ups are too much, simply hold a kneeling plank and tap your left shoulder with your right hand, then alternate. Do this for 45 seconds. You are now bearing weight on your upper body, elevating your heart rate slightly, but still keeping the intensity manageable.
Phase 3: The Standing Sequence (Full Integration)
By minute 12, your core is engaged, your glutes are awake, and your joints are warm. Now, and only now, do we stand up. Because your nervous system is fully primed, exercises that usually feel heavy and awkward will suddenly feel grounded and controlled.
Perform 3 sets of 10 bodyweight squats. Since your glutes were activated during the lying sequence, you will naturally sit back into your heels rather than collapsing forward onto your knees.
Finish with 15 standing wall slides to open up your chest and shoulders, followed by a simple hip hinge or bodyweight Romanian deadlift. You only spend about 5 to 8 minutes on your feet. You get the muscular benefits of standing exercises without the dread of starting with them.
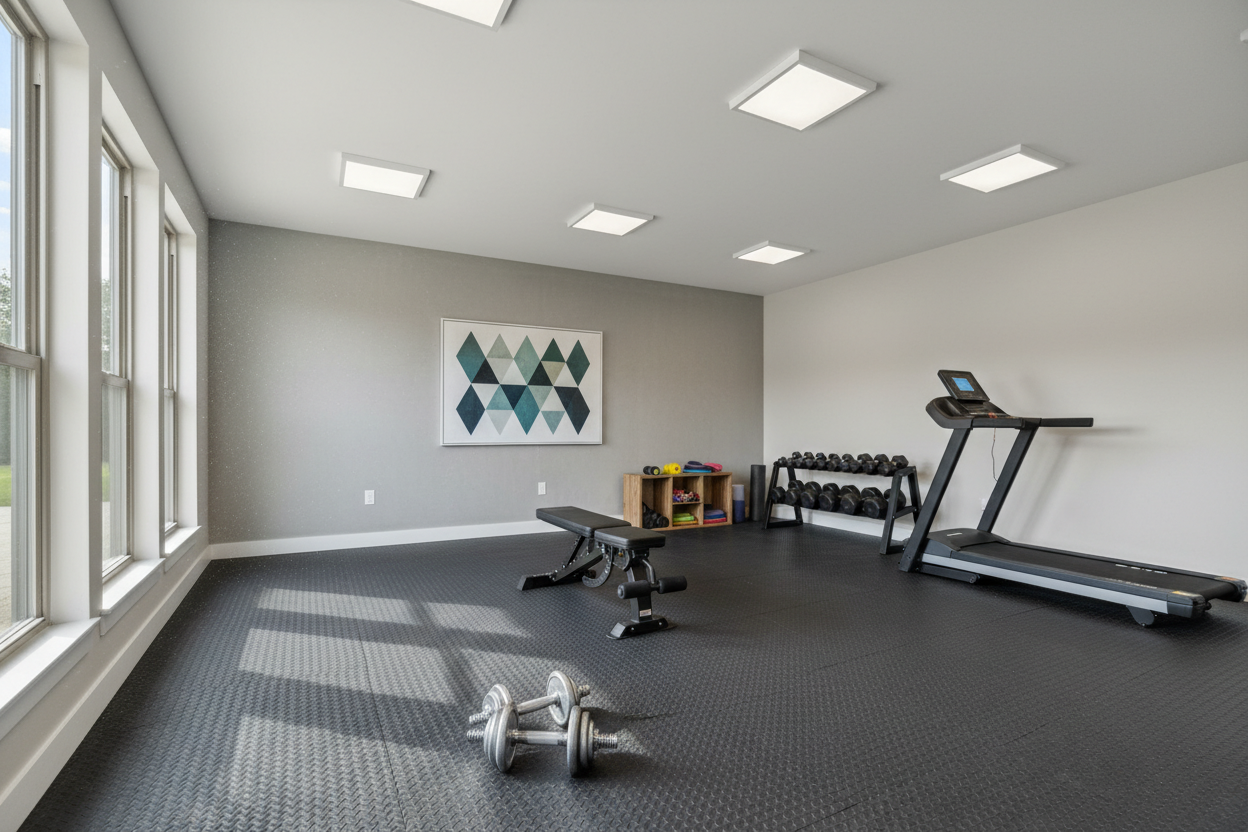
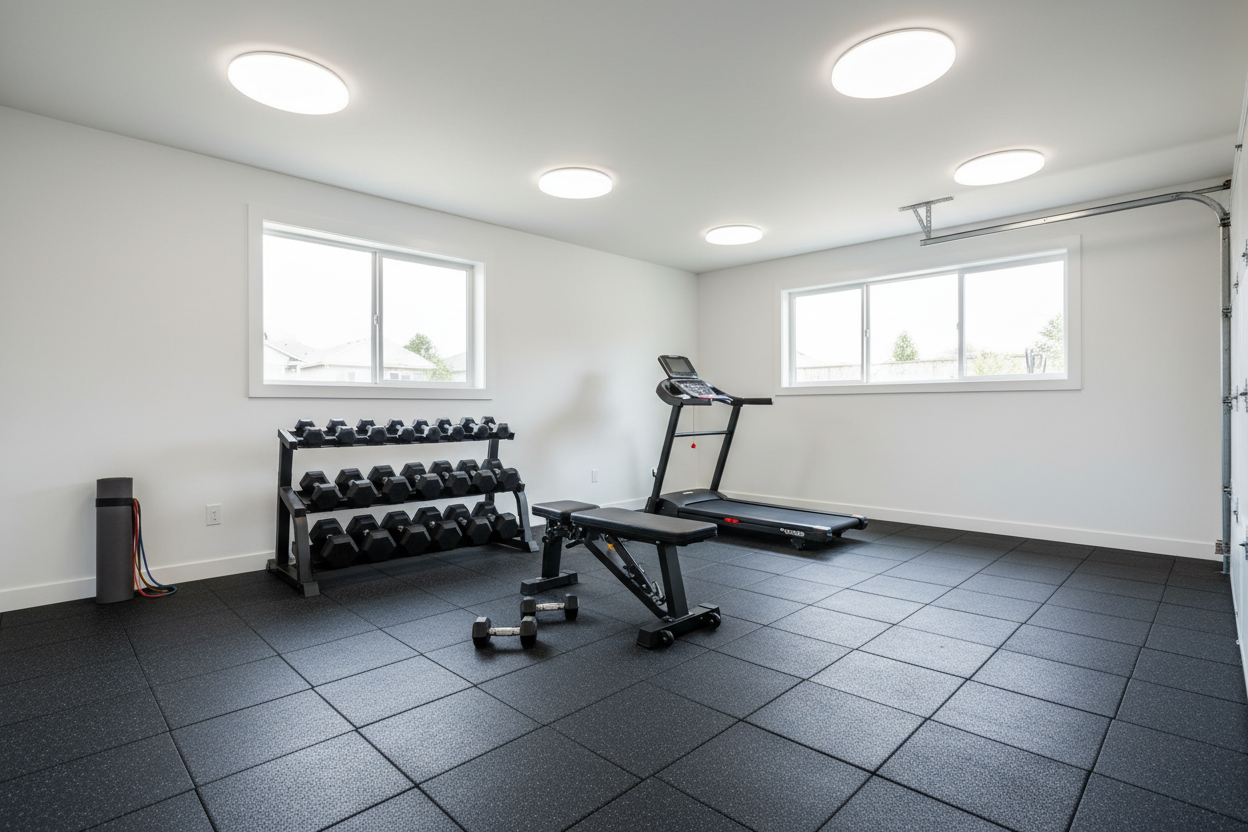
Building Your Beginner-Friendly Workout Space
A floor-to-standing beginner-friendly workout plan heavily relies on the floor. If you are trying to do dead bugs and kneeling planks on a thin, cheap 3mm yoga mat placed over hardwood, your spine and kneecaps will scream in agony. Comfort is a non-negotiable metric for beginners.
I always have my clients set up a dedicated 6x6 foot area. You need enough room to fully extend your arms and legs without kicking a coffee table.
More importantly, you need a dense surface. I highly recommend investing in comfortable gym flooring for home. Look for something at least 7mm thick with a high-density foam core. A plush, thick mat makes the 10 minutes you spend lying and kneeling actually feel restorative. If your environment is comfortable, you are infinitely more likely to stick to the routine.
Scheduling Your Beginner Daily Workout Routine
Consistency always beats intensity. Your beginner daily workout routine shouldn't leave you so sore that you can't walk down the stairs the next day.
I recommend running this floor-to-standing sequence four days a week. Monday, Tuesday, Thursday, and Friday work beautifully. The entire session takes roughly 15 to 20 minutes. You do not need any weights for the first month. Your only goal is to groove the movement patterns and build the habit of getting on the mat.
Once you can get through the standing phase without feeling winded, you are ready to progress. At that point, you can scale up to 45-minute beginner home sessions and start introducing dumbbells or resistance bands.
Trainer's Notes: My Experience with Floor-Based Routines
Over the last six years, I have tested dozens of home gym setups and programmed routines for over 200 beginners. When I first tested this floor-to-standing protocol, I used a standard 5mm PVC yoga mat on a concrete garage floor. That was a mistake. My knees were bruised after two days of quadruped sequences. The honest downside to this programming is that it demands premium flooring. Once I switched to a heavy-duty 7mm large exercise mat, the joint pain vanished. I learned quickly that you cannot out-train a terrible workout surface.
Frequently Asked Questions
Do I need any equipment for this routine?
No. For the first four weeks, your body weight and a high-quality, thick exercise mat are all you need. Focus on form and consistency before buying dumbbells.
How long should this workout take?
The entire sequence takes about 15 to 20 minutes. You will spend roughly 7 minutes lying down, 5 minutes kneeling, and 5 to 8 minutes standing.
Can I do this if I am overweight?
Absolutely. The lying and kneeling sequences remove the stress of gravity and body weight from your ankles and knees, making it an incredibly safe entry point for heavier individuals.