Mastering the Rowing Machines Rower: The Ultimate Home Cardio Guide
You have likely stared at the long rail in the gym corner, wondering if that contraption is worth your time. It absolutely is. While treadmills and ellipticals get the glory, the rowing machines rower remains the undisputed king of efficiency. It offers a unique blend of strength training and cardiovascular endurance that few other pieces of equipment can match.
Many people avoid rowers because they look intimidating or complex. In reality, once you understand the mechanics, this machine becomes the most effective tool in your arsenal for burning calories without destroying your joints. Let’s break down exactly how to use it, what to look for, and why it works.
Key Takeaways: Quick Summary
- Full-Body Engagement: Unlike cycling, a rowing simulator engages 86% of your muscles, including legs, core, and back.
- Low Impact: It mimics the smooth motion of a sculling machine, sparing your knees and ankles from the pounding of running.
- Variable Resistance: Whether using water, air, or magnets, the effort scales with your intensity.
- Technique is King: Power comes from the legs (60%), not just pulling with the arms.
Why the "Rowing Simulator" is Superior
The magic of this machine lies in its ability to mimic the physics of a boat on water. A high-quality rowing simulator creates a closed kinetic chain exercise. This means your feet are fixed, and you are pushing against resistance, which forces your skeletal structure to stabilize the load.
This isn't just about cardio. You are performing a horizontal leg press with every stroke, followed by a hip hinge and a row. It is functionally dense training. If you are short on time, twenty minutes here is worth forty on a stationary bike.
Understanding the Mechanics
Many beginners mistake the device for a simple arm workout. However, a proper rowing simulator machine requires a specific sequence: legs, body, arms. You push, you swing, you pull. If you reverse that order, you lose power and risk lower back strain.
Types of Resistance: Which Rower Suits You?
Not all machines feel the same. The resistance mechanism dictates the "feel" of the stroke.
Air Resistance (The Standard)
Found in most CrossFit boxes and commercial gyms. The harder you pull, the more wind resistance the flywheel generates. It is honest and brutal. It provides infinite scalability for intensity.
Water Resistance (The Sculling Machine Feel)
These feature a tank of water with paddles. They are quieter and provide a sensory experience that mimics a true sculling machine. The resistance is dynamic—fluid dynamics mean the harder you pull, the stiff resistance you encounter instantly. It feels smoother at the catch (the start of the stroke).
Magnetic Resistance
Silent and consistent. These don't rely on your speed to generate resistance; you dial it in. While great for apartments due to the noise level, they sometimes lack the "punchy" feel of air or water rowers.
The "Oar" Misconception
When searching for equipment, you might see terms like oar rowing machine or rowing machine with oars. It is important to distinguish between the two main styles.
Central Handle (The Standard): This is what you see in the Olympics or competitive indoor rowing. A single handle attached to a chain or strap. This promotes symmetry and is generally safer for the back.
Dual Arms (Oar Style): These are older styles or specific hydraulic machines where you hold two separate handles. While they mimic the width of a boat, they often lack the smooth, continuous tension of a flywheel-based rower. Unless you are training specifically for independent arm coordination, the central handle is usually superior for fitness.
My Training Log: Real Talk
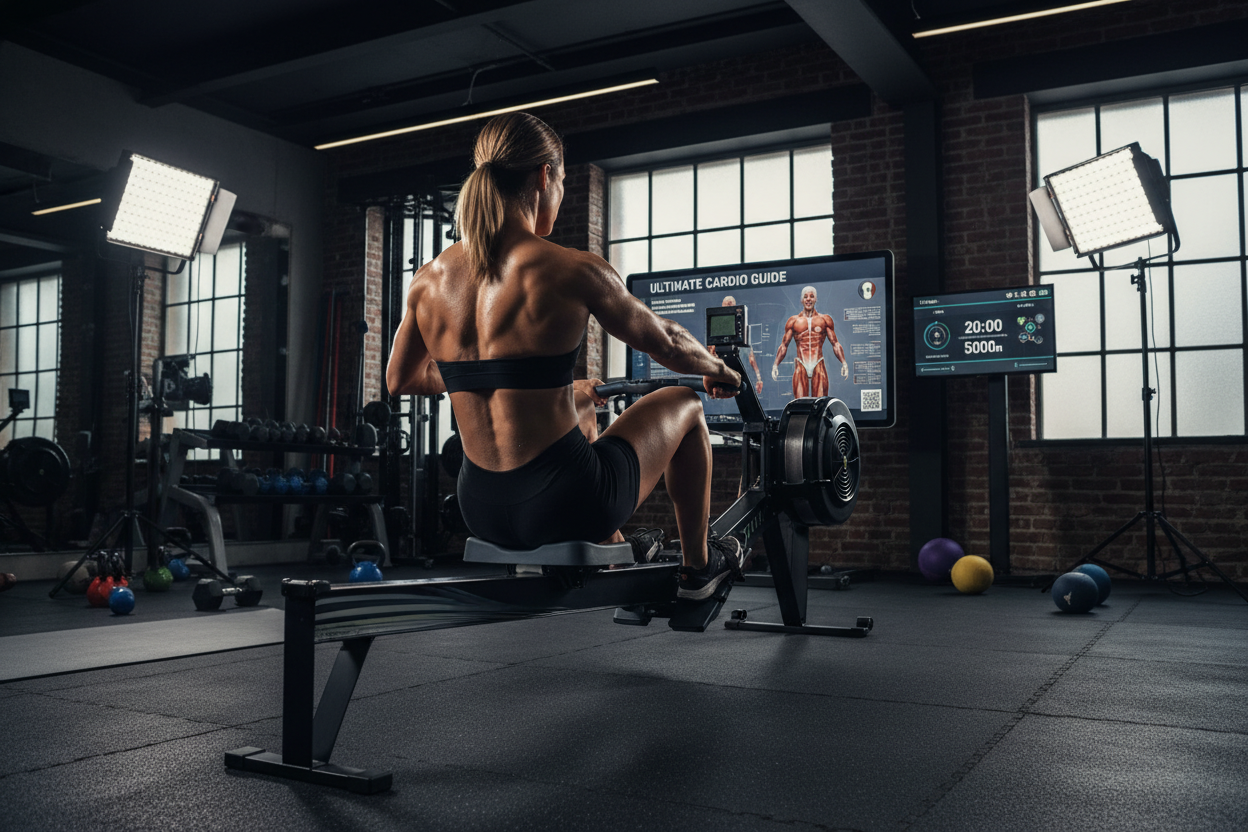
I want to be transparent about what happens when you commit to the rowing machines rower lifestyle. The specs sheet won't tell you about the "rail grit."
During a recent 5,000-meter time trial, I realized that the most annoying part wasn't the lung burn—it was a tiny black bump on the stainless steel rail. Every time my seat rolled over it, I felt a thud-thud vibration shoot right up my tailbone. It threw off my rhythm completely.
Also, let's talk about the hands. You don't need gloves; you need patience. In my first month of serious volume, I developed blisters right at the base of my fingers where the knurling bites. I tried wearing gloves, but they just made the handle feel thicker and harder to grip when my forearms fatigued. The secret? Wash the handle after every use, and shave down your calluses. If you don't, they rip, and you're out for three days. That's the reality of the machine.
Conclusion
Investing time in a rowing machine is an investment in longevity. It builds an engine that lasts and a posterior chain that supports your posture in a sedentary world. Whether you choose a water-based sculling machine or a high-tech magnetic rower, the key is consistency and form. Stop pulling with your biceps, start driving with your heels, and watch your fitness transform.
Frequently Asked Questions
Can I lose belly fat using a rowing machine?
Yes, rowing is a high-calorie-burning exercise that engages multiple muscle groups. While you cannot spot-reduce fat, the high metabolic demand of rowing contributes significantly to a caloric deficit, which leads to overall fat loss, including the belly area.
Is a rowing machine bad for your back?
No, but poor form is. If you round your back or pull with your arms before extending your legs, you can strain your lumbar spine. However, when performed with correct posture, rowing actually strengthens the back muscles and core, potentially reducing future back pain.
How long should a beginner row for?
Start with 10 to 15 minutes. Because rowing is a new movement pattern for most, your lower back and grip need time to adapt. Focus on technique at a low stroke rate (18-20 strokes per minute) rather than speed or duration for the first few weeks.
