Leg Lifts on the Floor: Form and Setup Guide
Why Traditional Leg Lifts Depend on Mat Support and Pelvic Tilt
Executing leg lifts effectively starts with understanding how the pelvis and spine interact with your workout surface. In standard traditional leg lifts, your legs act as extended levers. As your feet move away from your torso, the leverage naturally urges your pelvis to tip forward. When this happens, the lumbar spine wants to pull away from the floor into an excessive arch, placing undue strain on passive tissues rather than challenging your ab muscles.
To counteract this lever pull, your abdominal muscles—specifically the deep transverse wall and the rectus abdominis—must contract firmly to maintain a neutral or gently tucked pelvic position. If your floor lacks adequate padding, your tailbone and sacrum press directly into rigid concrete or hardwood, making it difficult to maintain this tilt without discomfort. Using a supportive, dense exercise mat cushions the bony landmarks of your hips, allowing you to focus on pinning your pelvic position and activating your core muscles without distraction. For a deeper breakdown of common floor posture errors, explore our lying leg lifts guide.
Step-by-Step Form for Floor Leg Raises
Executing a clean leg raise on the floor demands control over every segment of your body. Moving smoothly protects your lower back while maximizing muscular engagement.
- Set your starting position: Lie flat on your back across your mat. Rest your head, neck, and upper back comfortably. Keep your shoulder blades retracted and resting flat against the mat surface. Extend both arms along your sides, palms pressing down into the floor just outside your hips to give your torso a wide, stable base.
- Engage the abdominal wall: Before moving your feet, draw your belly button gently inward toward your spine. Tilt your pelvis slightly backward so that your lower back maintains gentle, flush contact with the mat surface.
- Slowly lift upward: Keeping each leg straight with toes pointed or ankles flexed, engage your hip flexors and abdominal wall together to slowly lift your feet toward the ceiling. Continue the upward arc until your hips reach roughly a ninety-degree bend and your body forms an L-shape.
- Control the descent: Inhale deeply and slowly lower both legs back toward the floor under full muscular tension. Do not allow gravity to drop your heels. Stop the descent the instant you feel your lower back begin to peel upward off your mat.
- Reset and repeat: Pause for a fraction of a second just above the floor before initiating the next repetition. Prioritize smooth motion over chasing more reps with compromised posture.
Leg Lift Progressions from Bent-Knee Tucks to Straight Legs
Jumping directly into double-leg raises can overwhelm your lower back if your abdominal endurance is still developing. Structuring your training through deliberate progressions ensures consistent development toward a strong core.
Beginners benefit from starting with reverse tucks. Lie on your mat with your knees bent at ninety degrees. From this base, bring your knees toward your chest by curling your pelvis slightly off the mat, then tap your toes back down while keeping your back planted. This variation shortens the lever arm, drastically reducing torque on the spine while training the pelvic tuck mechanics described in our core leg lifts guide.
Once reverse tucks feel stable, advance to alternating single-leg lowerings. Raise both legs upward, stabilize your torso, and lower only your right leg toward the mat while keeping your left leg elevated. Return to the top and repeat the motion with the left leg. Lowering one leg at a time halves the extended weight, allowing you to reinforce anti-extension control. When single-leg lowers become routine, transition to full double leg lift exercises on mat setups, consulting our leg lifts abs guide to refine your programming.
Expanding Your Routine: Standing and Hanging Leg Raises
Once you master floor stability, you can challenge your midsection across different planes of movement. The motor control built on your mat translates directly into vertical and hanging movements.
Standing leg raises challenge balance and hip stability. Standing tall with your feet placed at shoulder width, lift one leg forward or out to the side while maintaining a tall, upright posture. Unlike lying variations, standing variations force your stabilizing foot, ankle, and lateral hip to work continuously while your torso resists rotation or leaning.
Vertical anti-extension work reaches its peak with hanging leg raises performed from a pull up bar or captain's chair station. In a hang, your upper body must remain locked while your core flexes the hips upward against gravity without swinging. You can review advanced bar positioning in our core leg lifts guide or refine standing balance variations through our core leg lifts guide.
Mat Cushioning and Setup for Floor Core Exercises
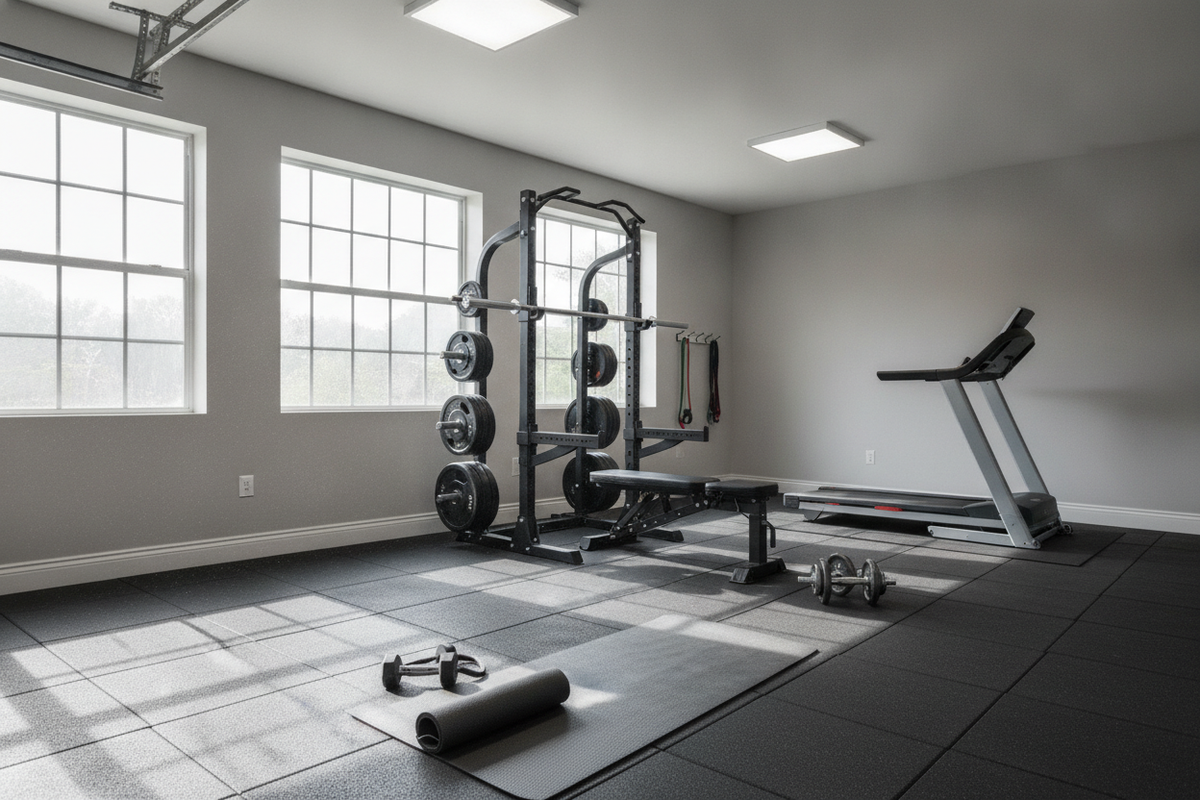
Floor-based abdominal routines require thoughtful equipment setup, especially when performed over rigid home flooring like garage concrete, tile, or unyielding hardwood. A quality workout mat serves two distinct functions: joint cushioning and positional stability.
Mats that are too thin allow the sacrum and lumbar spine to grind against the hard subfloor during hip flexion, triggering discomfort that disrupts pelvic alignment. Conversely, overly spongy foam pads can compress unevenly, destabilizing your shoulders and arms when you press down for base support. A firm, high-density exercise mat balances pressure distribution with surface rigidity, creating a predictable foundation for floor training.
Ensure your mat has textured grip on both sides. The bottom surface must resist sliding along slick subfloors when your body shifts weight, while the top surface should provide sufficient friction so your palms and shoulder blades stay firmly anchored throughout the set.
Structuring Your Core Strength Exercise Routine
A balanced abdominal routine pairs hip-flexion exercises with lateral and rotational movements to create comprehensive stability. Rather than performing endless sets of sit ups or repetitive crunches, combine complementary patterns that work your midsection from every angle.
Structure your session by pairing a hip-flexion movement, such as standard floor leg raises for abs, with an isometric hold and an anti-rotational exercise. For example, follow a set of controlled leg lifts with a side plank to target your obliques and lateral stabilizers, then finish with a bird-dog pattern to recruit the posterior chain and back muscles. Move deliberately through each movement pattern, matching your current fitness level rather than rushing through sets.
Common Questions About Floor Leg Lifts
Are leg raises on the floor effective?
Yes. When executed with a controlled tempo and a stabilized pelvis, lying leg raises effectively engage the anterior core and hip flexor complex. Their effectiveness depends entirely on maintaining spinal position throughout the entire lowering phase.
How can I stabilize a weak core and pelvic floor during leg lifts?
Focus on coordinated diaphragmatic breathing. Exhale smoothly as you raise your legs or tuck your knees, drawing your pelvic floor gently upward and your abdominal wall flat. Inhale as you lower your legs under control, avoiding any sudden arching through the lower back.
Can leg lifts tone inner thighs and leg muscles?
While leg lifts primarily challenge the abdominal wall and hip flexors, side-lying variations and scissor pulses also recruit the inner thighs and quadriceps. However, muscle definition depends on overall training variety, balanced conditioning, and nutrition rather than spot reduction.