I Built My Own Power Tower at Home and Here's What Happened to My Fitness
When my local gym closed during lockdown, I found myself staring at my living room wondering how on earth I'd keep up with my strength training. I'd always relied on gym equipment for pull-ups, dips, and leg raises – exercises that genuinely sculpted my upper body and core. That's when I stumbled upon the idea of creating my own workout station at home, and honestly, it changed everything about how I approach fitness.
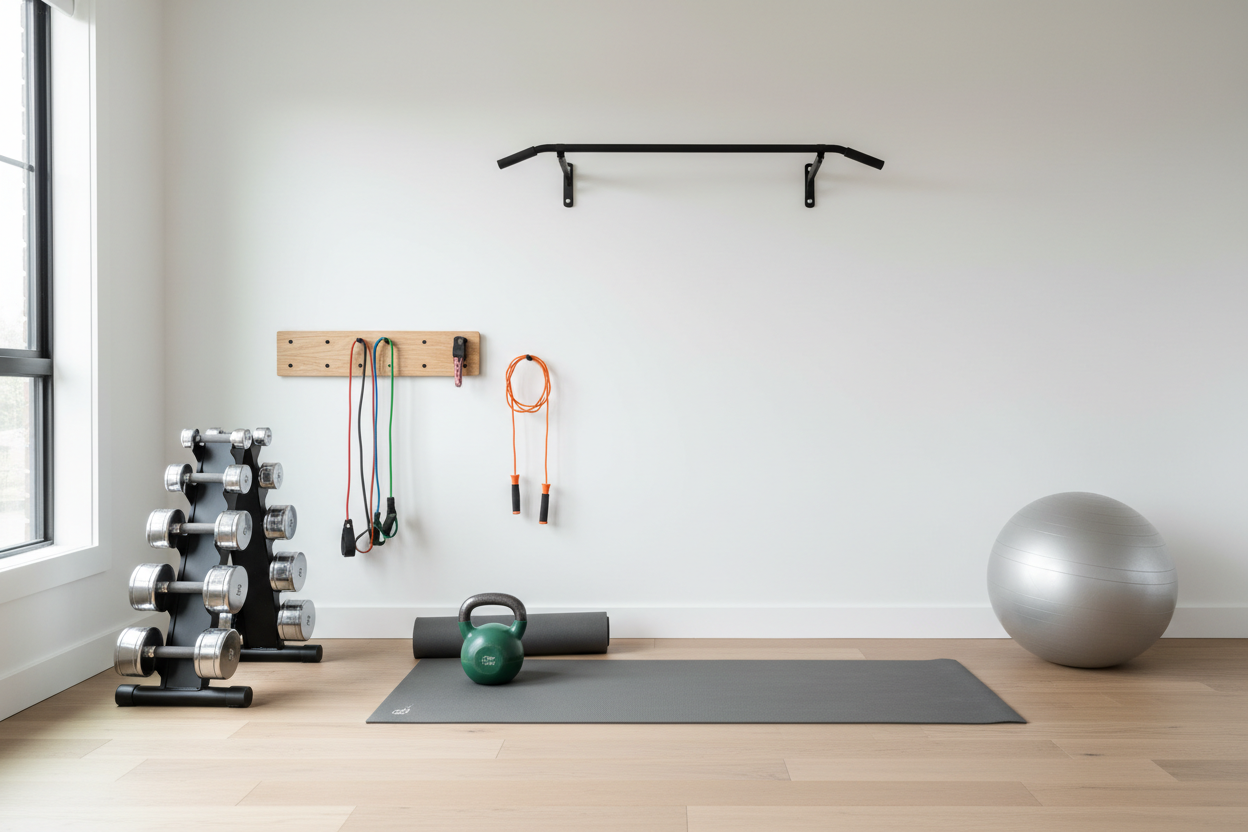
A power tower is one of those brilliant pieces of equipment that doesn't get enough credit. It's essentially a multi-functional frame that lets you do bodyweight exercises like pull-ups, chin-ups, dips, push-ups, and knee raises all in one spot. The beauty of it is that you're working with your own body weight, which means you're building functional strength that actually translates to everyday life – not just looking good in the mirror, though that's a nice bonus!
Why Building Your Own Makes Perfect Sense
Now, I know what you're thinking – why not just buy one? Well, a quality commercial power tower can set you back anywhere from £150 to £500, and sometimes they're either too flimsy or absolutely massive. When I started researching the DIY power tower route, I realized I could create something sturdy, customized to my height and space, and save a fair bit of money in the process.
The homemade power tower I built cost me roughly £80 in materials from the hardware store. I used galvanized steel pipes and fittings, which are incredibly durable and can easily support well over 150kg. The best part? I could adjust the dimensions to fit perfectly in my spare room without it looking like I'd installed industrial scaffolding in my house.
What You'll Actually Need
Before you dive in, let's talk materials. For a basic but solid homemade power tower, you'll need galvanized or black iron pipes (I used 1.5-inch diameter for stability), flanges for the base, T-joints and elbow joints for the frame structure, and pipe caps for safety on any exposed ends. You'll also want some foam pipe insulation for the grip areas – trust me, your hands will thank you during those longer sets.
The tools required are pretty standard: a pipe wrench, measuring tape, marker, and potentially a pipe cutter if you're not having the hardware store cut your pipes to length. Most hardware stores will cut pipes for you if you bring your measurements, which makes the whole project much more manageable.
Building With Safety First
I cannot stress this enough – your DIY power tower needs to be stable and secure. This isn't something you want wobbling about when you're suspended in mid-air doing pull-ups. I made sure my base was wide enough (about 4 feet by 3 feet) to prevent any tipping, and I bolted the flanges directly into floor joists for extra security.
The vertical posts need to be tall enough for you to hang fully extended without your feet touching the ground – for me at 5'7", I made mine about 7 feet tall. The dip bars should be roughly shoulder-width apart, and the pull-up bar needs to be positioned high enough that you can hang with slightly bent arms at the starting position.
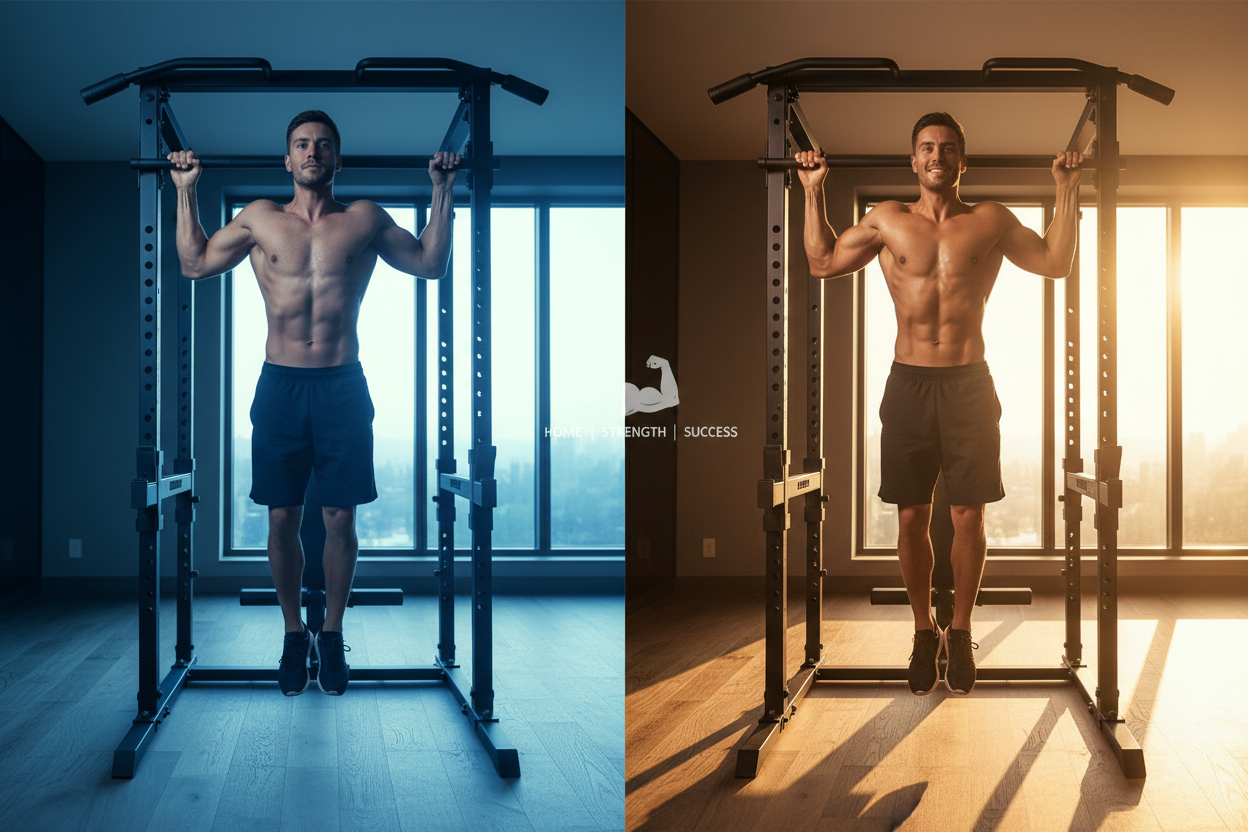
The Exercises That Actually Work
Once you've got your homemade power tower set up, the workout possibilities are genuinely exciting. Pull-ups and chin-ups are phenomenal for building back width and arm strength. I started barely managing three pull-ups, and within three months, I was knocking out sets of ten. The key is consistency and progressive overload – even adding just one rep per week adds up.
Dips are incredible for your triceps, chest, and shoulders. They're one of those compound movements that work multiple muscle groups simultaneously, which means you're getting more bang for your buck time-wise. I usually superset dips with pull-ups for an upper body workout that leaves me properly worked.
Hanging leg raises and knee raises are absolute core destroyers in the best way possible. They target your lower abs far better than traditional crunches, and they help build that functional core strength that protects your back during other exercises and daily activities.
Making It Work for Your Fitness Level
The brilliant thing about a power tower – whether shop-bought or homemade – is that it grows with you. When I first started, I couldn't do a single unassisted pull-up. I used resistance bands looped over the bar to help me up, gradually using lighter bands as I got stronger. You can also do negative pull-ups, where you jump up to the top position and slowly lower yourself down.
For dips, you can keep your feet on the ground initially to reduce the load, or use a resistance band under your knees for assistance. As you progress, you can add weight with a dip belt or weighted vest. I've even seen people get creative with chains and backpacks filled with books.
The Real Results I've Seen
After six months of consistent training on my DIY power tower three times per week, my upper body strength increased dramatically. My posture improved because my back muscles were actually strong enough to hold my shoulders back properly. I noticed better definition in my arms and shoulders, and my core became visibly stronger and more stable.
But beyond the physical changes, there's something empowering about having built the equipment yourself and then using it to build your body. Every workout felt like a double achievement – I'd created this tool, and now I was using it to create the strength I wanted.
Space-Saving Tips
If you're working with limited space like I was, consider designing your homemade power tower to be partially disassembled. I made mine so the pull-up bar section could be unscrewed and removed when I needed the room for other things. Some people build wall-mounted versions that fold up when not in use, though these require very secure wall anchoring into studs.
Another option is to build a doorway pull-up bar combined with separate dip station, which gives you most of the benefits of a full power tower but in a more modular, space-friendly format.
Maintenance and Longevity
One thing I love about my DIY power tower is how easy it is to maintain. Every few months, I check that all the joints are still tight and give the metal a quick wipe down. The foam grips need replacing about once a year depending on how much you use them, but that's a five-minute job that costs practically nothing.
The galvanized steel hasn't shown any signs of rust or wear even after two years of regular use. It's genuinely one of the best fitness investments I've made, and knowing I built it myself adds an extra layer of satisfaction to every single workout.
Whether you're looking to save money, customize your equipment, or just enjoy a good DIY project, building your own power tower is absolutely achievable. It's opened up a whole new world of bodyweight training for me, and I genuinely believe it can do the same for anyone willing to put in a weekend of work for years of solid workouts.
