How to Load a Free Weight Hip Thrust Without the Bruises
I remember the first time I tried to load a heavy barbell in my garage. I didn't have a pad, so I used a folded-up yoga mat. Three reps in, the mat slipped, and 225 pounds of cold steel crushed my hip bones. I looked like I'd been in a car wreck for a week. If you're trying to figure out the best way to load a weight hip thrust, take it from someone who has done it the wrong way a thousand times.
Managing your hip thrust weights isn't just about moving the most mass; it's about making sure that mass actually hits your glutes instead of just bruising your pelvis or wrecking your lower back. You need a loading progression that respects your anatomy and your equipment setup.
- Start with a single weight in the hip crease to master the hinge before moving to a bar.
- Sandbags are the most underrated tool for home gym glute training.
- Never skip the barbell pad once you move past 135 pounds.
- If your ribs are flaring at the top, the weight is too heavy.
Why Jumping Straight to the Barbell is a Mistake
Most people see a pro lifter moving 500 pounds on a barbell and think they should start there. That is the fastest way to develop a 'fake lockout.' When you start with a heavy barbell, your brain often panics because of the direct pressure on your hips. Instead of using your glutes to drive the weight up, you start arching your lower back to cheat the range of motion. I see it every day: lifters whose lower backs are doing 80% of the work while their glutes just hang out for the ride.
You end up with a massive pump in your erectors and nothing in your glutes. Plus, the sheer diameter of a standard Olympic bar is small. Without significant padding, that pressure is concentrated on a tiny strip of bone. You'll quit the set because of pain long before your muscles actually fatigue. Mastering the movement with a smaller, more manageable implement allows you to find that posterior pelvic tilt—the slight tuck of the chin and hips—that makes this exercise actually work. If you can't feel your glutes with a light weight, adding 100 pounds won't help.
Level 1: Starting With a Dumbbell or Kettlebell
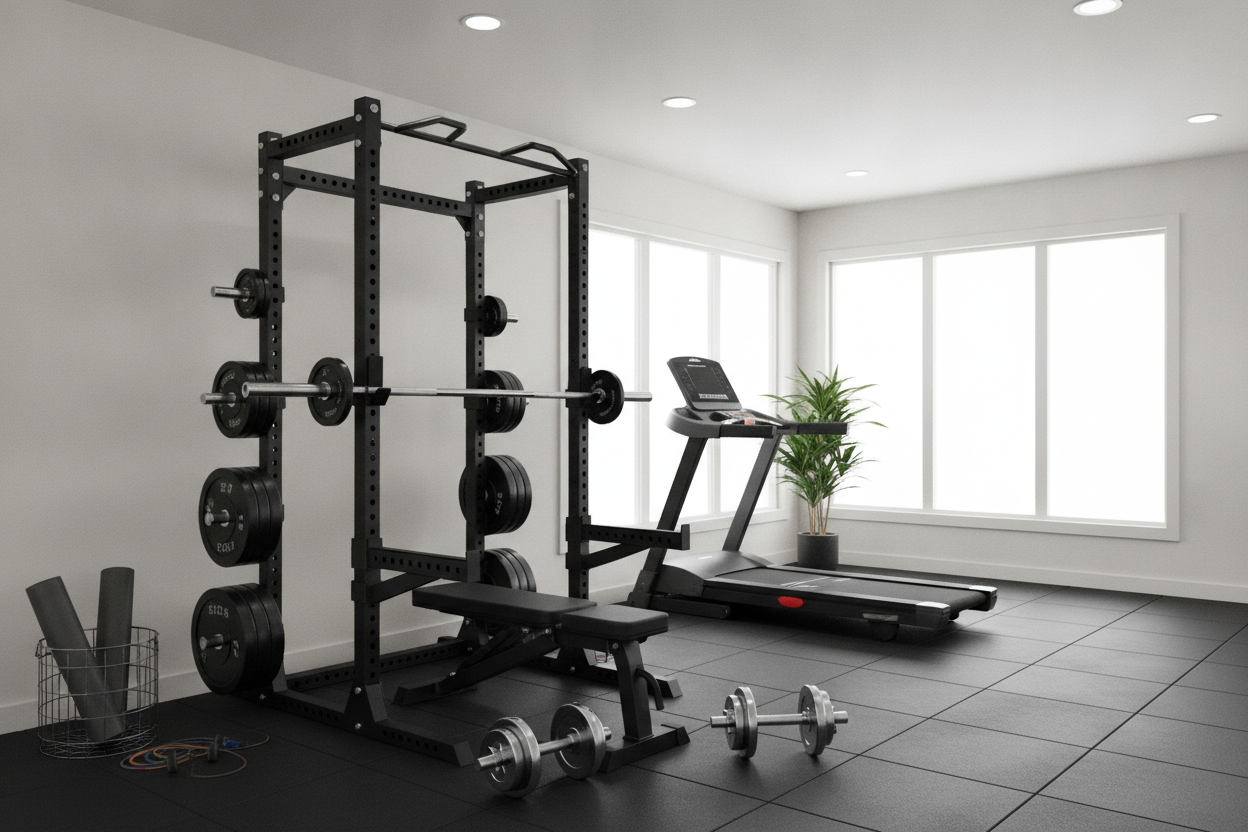
The humble dumbbell is your best friend for the first month. Grab a single heavy dumbbell—something in the 35 to 50-pound range—and set it vertically or horizontally in the crease of your hips. Because the weight is concentrated in a smaller area, you can really feel where your hips need to drive from. It’s much easier to balance than a seven-foot barbell in a cramped garage where you're constantly worried about hitting the rack.
Keep your chin tucked and your gaze forward throughout the rep. If you find yourself sliding off your support, it’s usually because your setup is fundamentally flawed. Often, a bench that is too high is ruining your barbell hip thrusters by forcing your torso into an unnatural angle that prevents a full lockout. With a dumbbell, you can focus on keeping your shins vertical at the top of the movement. If your feet are too far out, you’ll feel your hamstrings; too close, and it’s all quads. The dumbbell gives you the freedom to find that sweet spot without the logistical nightmare of a bar.
Level 2: The Magic of Sandbags for Pain-Free Loading
If you have a sandbag in your home gym, you’re sitting on a glute-building gold mine. Sandbags are the ultimate bridge implement. They are heavy enough to provide a real challenge—I often use a 150-pound bag for high-rep burnout sets—but they don't require a foam pad. The sand shifts and molds to the shape of your pelvis, distributing the weight across a larger surface area than any iron bar ever could.
This is the best mid-tier loading strategy I've found. You can go significantly heavier than you can with a single dumbbell without the setup headache of a barbell. Just pull the bag over your lap while sitting on the floor, lean back against your bench, and drive. It’s quiet, it’s comfortable, and it builds massive stability because the weight isn't static. For home gym owners who don't want to buy a specialized hip thrust machine or a dedicated rack attachment, a heavy sandbag is the most cost-effective alternative on the market.
Level 3: Making the Jump to a Heavy Barbell
Eventually, you’ll outgrow the sandbag. When you're ready for the barbell, logistics become everything. You need full-sized bumper plates so the bar sits high enough off the ground to roll over your legs. If you’re using small iron plates, you’ll have to awkwardly lift the bar onto your lap, which is a great way to tweak a wrist or a hip flexor before the set even starts.
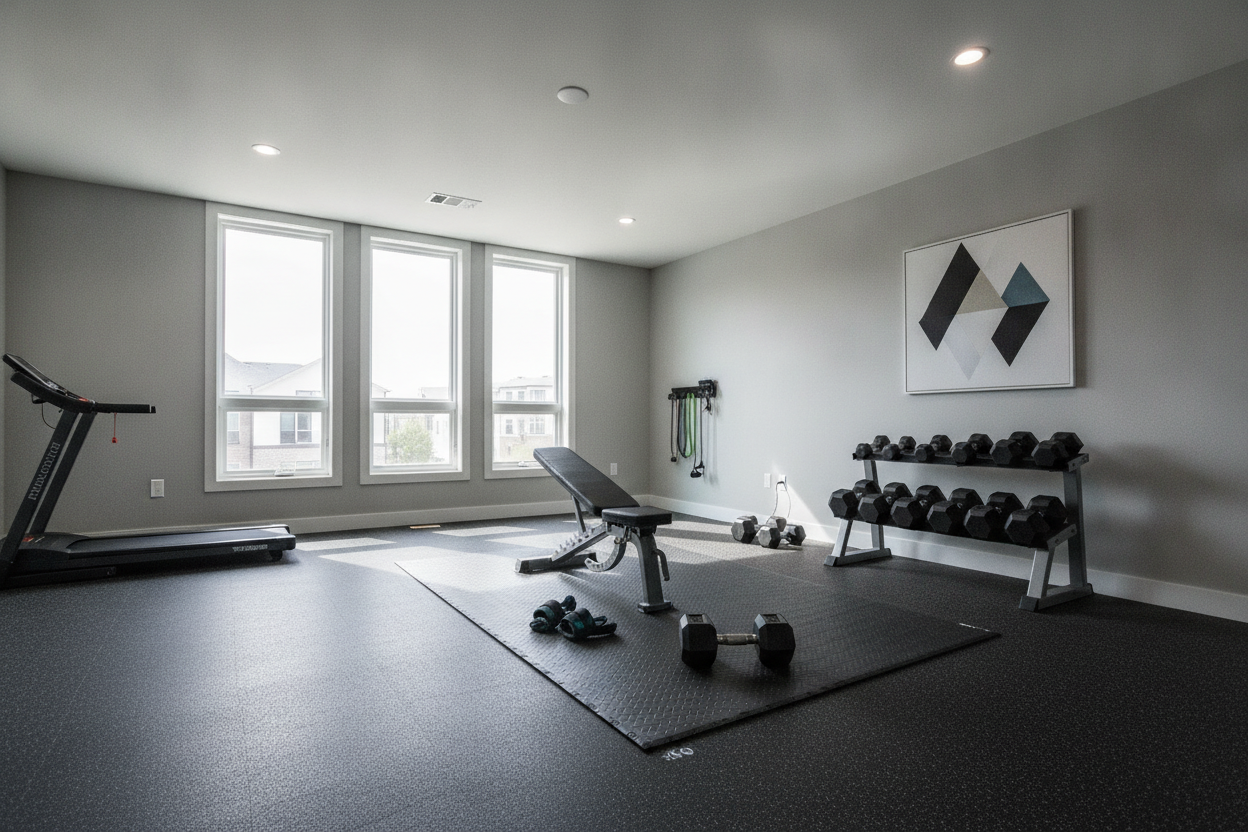
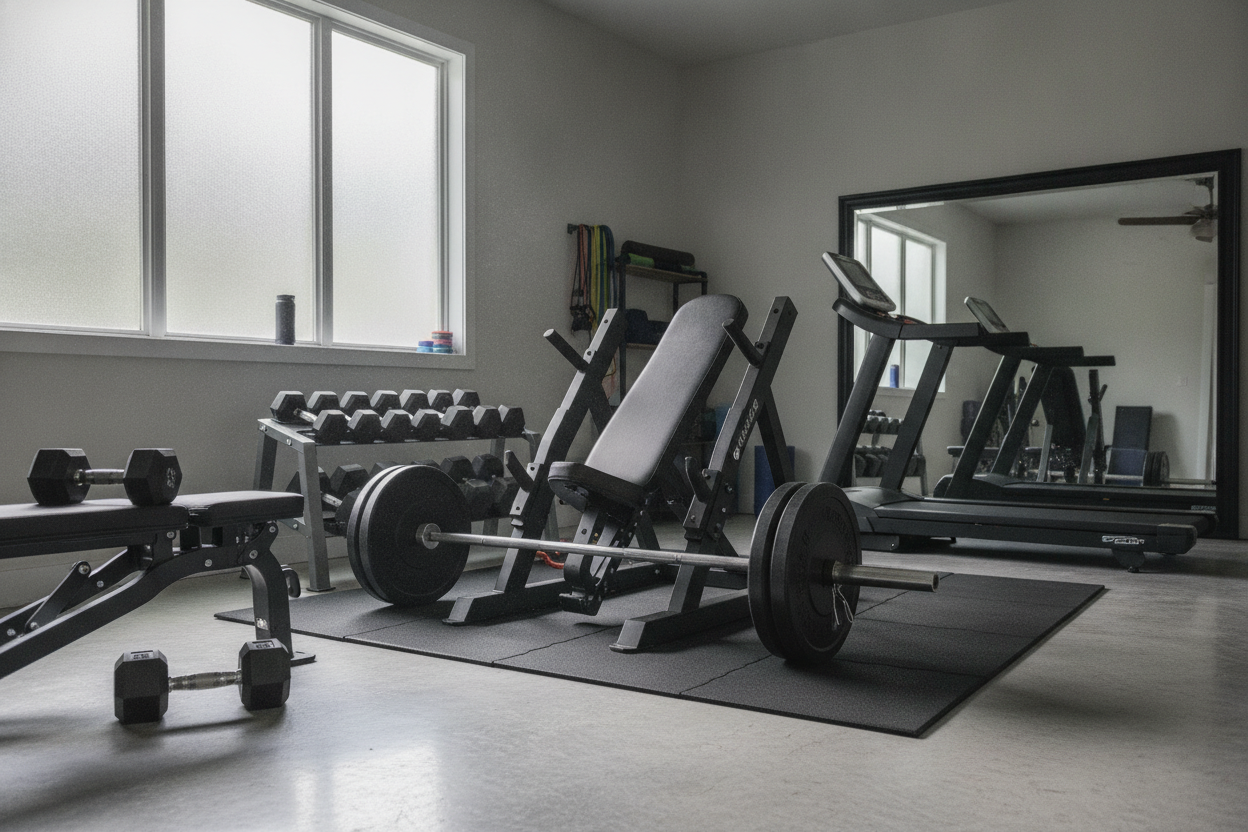
First, get a high-quality barbell pad—the thick, squat sponge variety. Roll the bar over your legs until it sits right in the hip crease. Before you lift, 'dig' your shoulder blades into the bench. I prefer using a sturdy adjustable weight bench because I can lock it into a flat position that won't slide across my rubber flooring when I apply horizontal force. If your bench moves, your power leaks. Take a deep breath, brace your core like someone is going to punch you, and drive through your heels. The barbell allows for infinite progression, but it demands total control. If you can't hold the lockout for a full second, the weight is controlling you.
Knowing When to Add More Weight (And When to Stop)
Progressive overload is the goal, but glute training is sensitive. It’s easy to ego lift here because the leverage is so favorable compared to a squat. You might feel like a beast moving 315 pounds, but if your hips are three inches below full extension, you're just doing heavy isometric holds for your spine. You should be asking yourself how heavy should you actually go based on your ability to maintain a flat back and a full squeeze at the top of every single rep.
I follow a simple rule: if I can't do 8 clean reps with a 2-second hold at the top, I don't add weight. The 'fake lockout' is the biggest progress killer. It’s that half-rep where you think you're at the top, but your pelvis hasn't actually tucked under. Film yourself from the side. If your spine looks like a banana at the top of the rep, strip 20% of the weight off and start over. Real strength is built in that final inch of the movement where the glutes are fully shortened.
My Honest Experience
I once tried to max out my hip thrust using a power bar with aggressive knurling and no pad. I thought I was being a 'hardcore' garage gym athlete. I hit 405 for a double, but I couldn't walk right for three days because the knurling literally chewed through my skin. It was a stupid mistake that cost me a week of training. Now, I prioritize the setup over the ego. I'd rather do 275 for a perfect 12 reps with a sandbag than chase a number that leaves me injured. Your glutes are powerful, but your skin and bones are still human.
FAQ
What is the best height for a hip thrust bench?
Around 14 to 16 inches is the sweet spot for most people. If the bench is too high, you'll struggle to get your shoulders in the right place to drive upward, and you'll likely end up sliding off.
Do I really need a barbell pad?
Unless you enjoy the feeling of a steel rod crushing your hip bones, yes. A thick foam pad is the best $20 you'll ever spend on your home gym equipment.
Can I use a Smith machine for hip thrusts?
Absolutely. It removes the stability requirement, which lets you focus entirely on the glute squeeze. It's actually one of the few exercises where the Smith machine is arguably better than free weights for pure isolation.