How to Build a Bulletproof Barbell Hip Thrust Station at Home
I remember the first time I tried to go heavy on the barbell hip thrust in my garage. I had a standard flat bench, some old iron plates, and a dream of better glute activation. Three reps in, my bench was sliding toward my lawnmower, the bar was digging directly into my pelvic bone, and I looked like I was wrestling an alligator. It was a disaster. If you have ever tried to set this movement up without a plan, you know the struggle of chasing a barbell across a concrete floor while your lower back screams for mercy.
Building a home gym is about freedom, but that freedom feels like a curse when you spend twenty minutes setting up for a five-minute accessory lift. You do not need a dedicated $500 hip thrust machine taking up half your floor space. You just need to know how to use the gear you already have—or the gear you are about to buy—to create a setup that feels as solid as a commercial gym rig.
Quick Takeaways
- Bumper plates are essential for rolling the bar over your legs without bruising your thighs.
- Always anchor your bench against a power rack or a wall to prevent sliding.
- Use a high-density foam pad or a thick yoga mat to protect your hips from the steel.
- If the setup takes longer than the workout, switch to unilateral variations.
The Exercise We All Love to Hate Setting Up
There is no denying that the hip thrust is the undisputed king of glute development. It outperforms the squat and the deadlift for pure posterior chain isolation. But let's be real: it is the most annoying exercise to prepare for in a garage gym. Unlike a bench press where you just lay down and lift, the hip thrust requires a delicate dance of positioning, padding, and plate-math.
Most of us are working with limited space. You probably have a rack, a bench, and some weights, but you do not have a dedicated glute drive machine. This means you are stuck dragging your bench to the center of the floor, hoping it stays put while you drive 300 pounds into the air. It is frustrating, and if the setup feels janky, you are going to subconsciously hold back on the intensity. To get the most out of this movement, the station needs to feel permanent and secure. You should be focused on the squeeze, not on whether your bench is about to tip over or if your shins are going to get caught on the rack's base.
Why You Absolutely Need Bumper Plates for This
If you are still trying to do these with standard iron plates, you are making life unnecessarily difficult. The diameter of a plate is the most overlooked spec in a home gym. Standard iron 45s are okay, but the second you drop down to 25s or 10s, the bar height drops significantly. This means you cannot roll the bar over your thighs to get into position. You end up having to deadlift the bar into your lap while sitting on the floor, which is a great way to strain something before the set even starts.
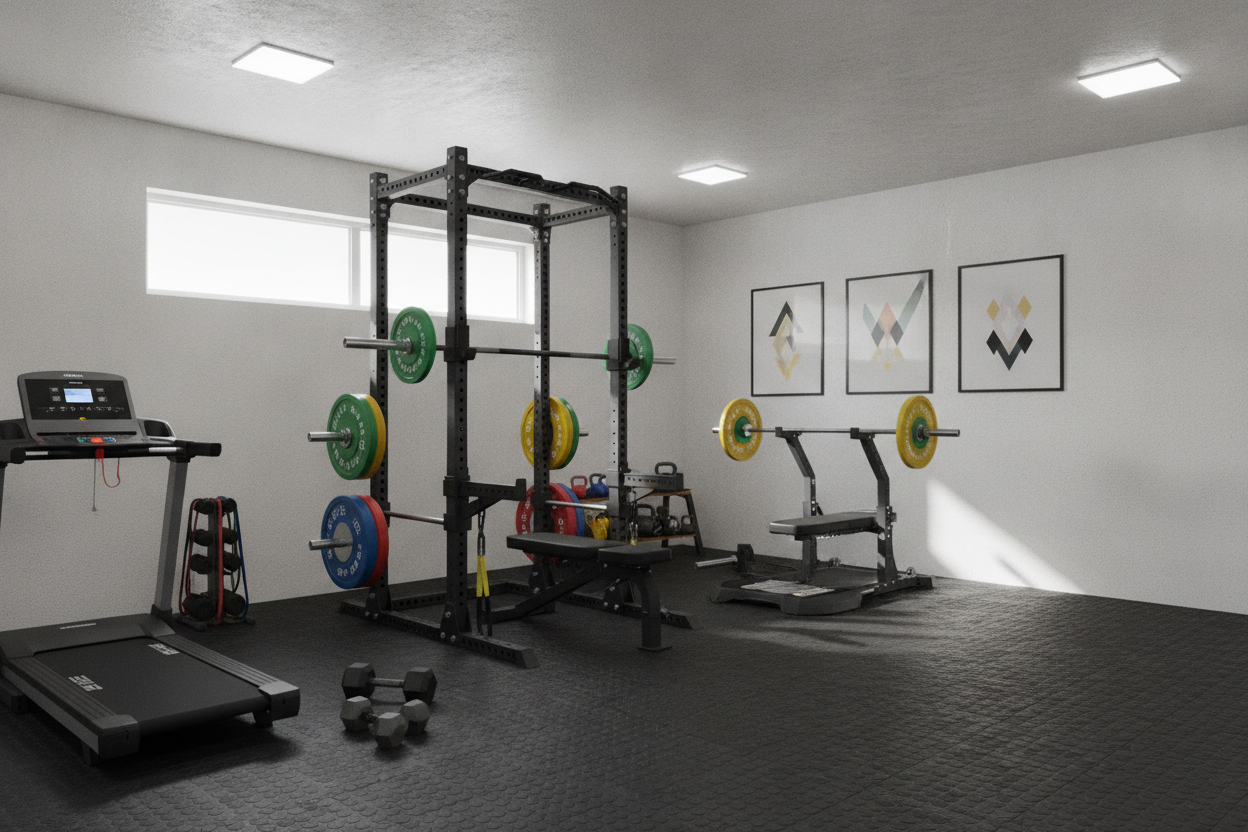
This is where a power rack package with bumper plates becomes a literal lifesaver. Bumper plates have a uniform 450mm diameter regardless of their weight. Whether you are loading 10s or 45s, the bar sits at a consistent height off the floor. This provides roughly 8.5 to 9 inches of clearance, which is usually just enough to roll the bar over your quads while you are seated. If you have thicker thighs, this clearance is non-negotiable. I have seen guys try to use blocks or mats to elevate iron plates, but it is a balancing act that usually ends with a plate falling off and hitting a toe. Just get the bumpers. They are quieter, they protect your floor, and they make the setup process a breeze. Plus, if you ever decide to do power cleans or snatches, you are already ahead of the game.
How to Anchor Your Bench So You Don't End Up in the Drywall
The biggest safety hazard in a home gym hip thrust is the 'bench slide.' You drive your hips up, the horizontal force pushes the bench back, and suddenly your neck is at a weird angle because the bench moved six inches. If you are lucky, it just hits the wall. If you are unlucky, you tip the bench over. You need a rock-solid anchor point. The best way to do this is to wedge your standard weight bench and rack together. Do not just place the bench in the middle of the room.
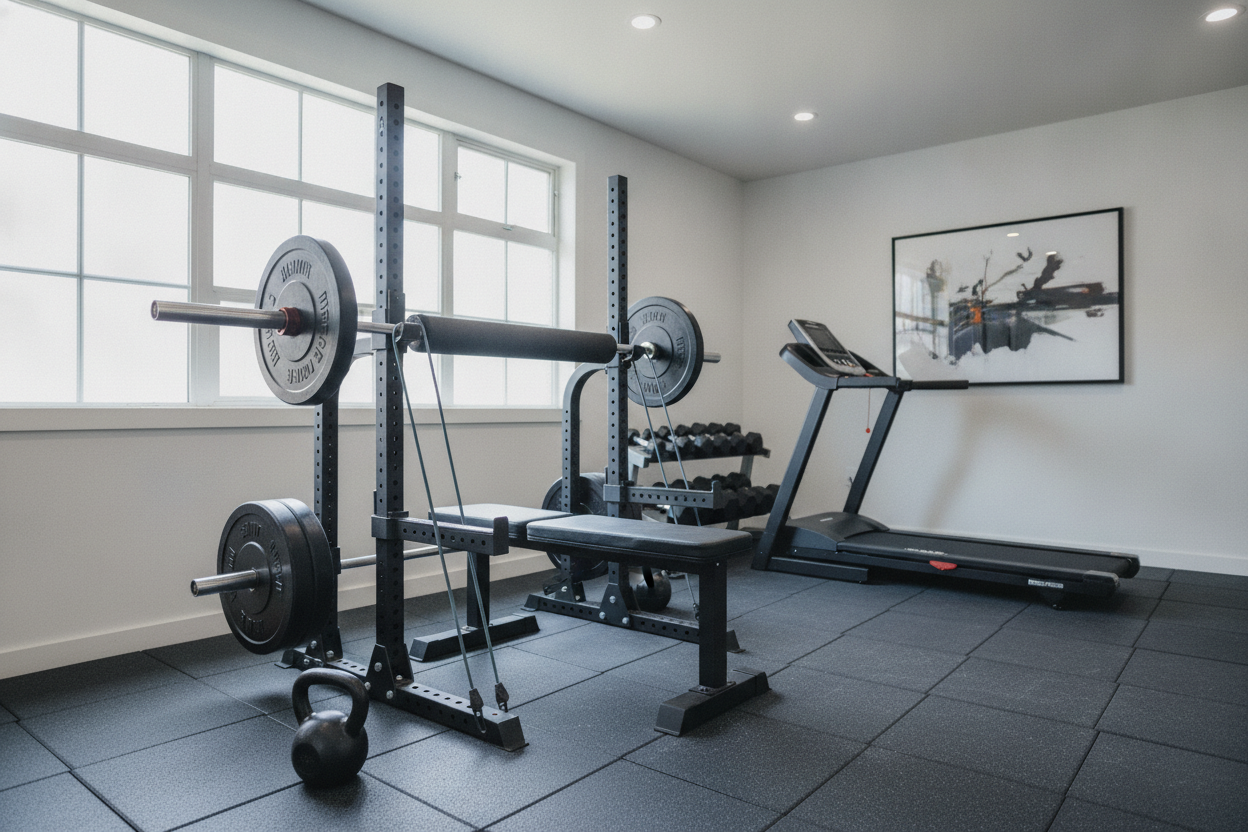
Position your bench so the long side is flush against the uprights of your power rack. If your rack has a cross-member at the bottom, even better—jam the feet of the bench against that steel. This transfers all the backward force into the weight of the rack itself. If your rack isn't bolted down, you might need to throw a few sandbags or heavy plates on the back of the rack to keep it from shifting. Another pro tip: if you use an adjustable bench, make sure it is in the flat position and the locking pin is fully engaged. There is nothing worse than the backrest collapsing mid-set because it wasn't seated correctly. If you don't have a rack, push the bench against a structural wall, but put a piece of plywood or a heavy mat between the bench and the drywall. I learned the hard way that a heavy hip thrust can punch a bench-shaped hole right through half-inch sheetrock.
Protecting Your Hips From the Iron
Let's talk about the pain. Not the 'good' muscle burn, but the 'my hip bones are being crushed' pain. Heavy knurling on a barbell is great for your grip, but it acts like a cheese grater on your pelvic bone. This is often the worst part of the setup for most people. If it hurts to hold the bar, you will cut your set short long before your glutes actually fatigue. You need a barrier.
I have seen people use rolled-up towels, but they compressed too easily. A cheap pool noodle works for about a week before it disintegrates. If you want a DIY fix that actually works, take a thick yoga mat and fold it into thirds, then wrap it around the bar. However, if you are moving more than 225 pounds, you really should invest in a dedicated high-density foam barbell pad. Look for one with 'squat pad' in the name that has velcro straps. It stays centered on the bar so you aren't constantly adjusting it between reps. Your hips will thank you, and you won't walk around with rectangular bruises for the rest of the week.
When the Heavy Setup Just Isn't Worth the Hassle
There are days when the garage is cold, your back is tight, and the thought of moving the bench and loading ten plates makes you want to skip the workout entirely. You have to know when to pivot. If you are pressed for time, switching to a 1 leg variation can give you a massive stimulus with about 10% of the setup effort. You can use a single dumbbell or even just your body weight, focusing on a massive pause at the top.
Don't fall into the trap of thinking it only 'counts' if there is a barbell involved. A heavy single-leg thrust will expose imbalances you didn't even know you had. It is also much easier on the joints if you are feeling beat up. Use the barbell for your heavy strength blocks, but don't be afraid to go unilateral when you need to get in and out of the gym in thirty minutes. Training is about consistency, and sometimes the best setup is the one that actually gets done.
Personal Experience: The 315-lb Mistake
A few years back, I was feeling cocky and loaded 315 lbs onto the bar without checking my bench anchor. I was using a cheap adjustable bench that wasn't pushed against the rack. On my third rep, the bench skidded back on the horse stall mats, and the barbell rolled down my thighs, pinning my legs to the floor while I was stuck in a half-bridge position. I had to awkwardly roll the bar off my shins, which left me with bruises for a month. It was a humbling reminder that in a home gym, you are the safety officer. Now, I never lift without double-checking that the bench is wedged tight against the rack uprights.
Frequently Asked Questions
What is the ideal bench height for hip thrusts?
Most lifters find the sweet spot between 12 and 16 inches. If the bench is too high, you will struggle to get your shoulder blades in the right spot. If it is too low, you won't get a full range of motion.
Can I use a Smith Machine for hip thrusts?
Absolutely. In fact, it is one of the few exercises where a Smith Machine might actually be superior because it eliminates the stability requirement and the bench-slide issue. However, you still need a good pad for the bar.
How do I stop the bar from rolling away between reps?
If your floor is slightly uneven, the bar will wander. You can use 'dead wedge' rubber wedges or simply place a small 2.5lb plate on either side of the floor to act as a stopper.