Hip Stretches Pain Relief Blueprint: 5 Movement Blueprints, Joint Alignment Cues, and Floor Mat Staging
Understanding Hip Joint Tension Mechanics and Movement Vectors
Hip tightness rarely develops in isolation. The hip joint operates as a multi-axial ball-and-socket structure governed by dozens of overlapping muscle groups across anterior, posterior, adductor, and lateral planes. When prolonged sitting, repetitive lifting, or intense conditioning alters pelvic balance, targeted hip stretches pain management protocols help re-establish balanced range of motion.
Addressing hip discomfort requires viewing the pelvis and femur as an integrated mechanical system. Simply wrenching the joint into arbitrary end-ranges often prompts compensatory arching through the lumbar spine or shearing at the sacroiliac joint. Effective stretching requires controlled stabilization, steady diaphragmatic breathing, and neutral spinal alignment across every movement plane.
The 5 Targeted Hip Relief Movement Blueprints
These five biomechanical movements target specific vectors of hip restriction, from the anterior hip flexors to the deep external rotators and inner adductors. For visual guidance on flowing between positions, explore our follow-along hip mobility routine.
Blueprint 1: Half-Kneeling Posterior Pelvic Tilt (Anterior Flexor Opening)
Prolonged sitting keeps the psoas and rectus femoris in a shortened state, leading to stiffness across the front of the hip. This half-kneeling setup restores anterior hip extension without stressing the lower back.
- Setup: Place one knee down on a cushioned surface and step the opposite foot forward so both knees form 90-degree angles.
- Cues: Squeeze the glute of the trailing leg and tuck the pelvis backward into a slight posterior pelvic tilt. Avoid pushing the hips forward with an arched lower back.
- Execution: Maintain an upright rib cage and gently shift bodyweight forward just one to two inches until a distinct stretch is felt across the front of the hip and upper thigh. Hold for 30 to 45 seconds while breathing smoothly.
Blueprint 2: Supine Figure-Four / Reclined Pigeon (Posterior Rotator & Glute Release)
Tightness in the piriformis and deep lateral rotators can produce deep posterior hip ache. Performing this release in a supine position fully supports the spine against the floor.
- Setup: Lie flat on your back with knees bent and feet planted flat on your mat.
- Cues: Cross your right ankle over your left knee, keeping the right foot lightly dorsiflexed to stabilize the knee joint.
- Execution: Reach both hands through to grasp behind your left hamstring. Gently draw the left thigh toward your chest while keeping head, shoulders, and tailbone resting flat on the floor. Hold for 40 seconds per side.
Blueprint 3: Half-Kneeling Adductor Rock-Back (Medial Chain Mobility)
The adductor complex runs along the inner thigh, directly influencing hip socket freedom and lateral pelvic tracking.
- Setup: Begin on all fours on your mat. Extend your right leg straight out to the side with the entire sole of the foot or the inside edge resting on the floor.
- Cues: Keep the hands planted directly under the shoulders and maintain a flat, neutral spine.
- Execution: Slowly rock your hips backward toward the left heel until you feel a gentle opening along the inner right thigh. Pause for 2 to 3 seconds at the comfortable end-range, then rock forward. Complete 8 to 10 controlled repetitions before switching legs.
Blueprint 4: Supported 90-90 Hip Rotation (Internal and External Socket Mobility)
Restricted internal rotation often causes the outer hip musculature to overwork. The 90-90 stretch targets both internal and external rotation simultaneously.
- Setup: Sit on the floor with your lead leg bent at a 90-degree angle in front of you and your trail leg bent at 90 degrees out to the side.
- Cues: Keep your torso upright. Place your hands on the floor beside your hips for balance if your hips feel tight.
- Execution: Hinge slightly forward from the hips over the front shin to stretch the lead hip external rotators. Return upright, then gently press the back hip downward to engage internal rotation. Hold each position for 30 seconds.
Blueprint 5: Standing Side-Bending Lateral Band / Tensor Release
Tightness along the tensor fasciae latae and lateral hip line can create discomfort down the outside of the thigh.
- Setup: Stand upright next to a wall or stable support surface.
- Cues: Cross the leg you wish to stretch behind your stance leg, planting the foot firmly.
- Execution: Reach the arm on the stretching side overhead and gently side-bend your torso away from the back leg, pushing your hip slightly outward toward the wall. Maintain long posture without twisting the hips or shoulders. Hold for 30 seconds per side.
Home Gym Floor Staging and Joint Protection Protocols
Floor-based mobility work requires thoughtful environmental staging. Attempting half-kneeling hip flexor openers, quadruped adductor rock-backs, or seated rotational drills directly on hard concrete, tile, or unyielding hardwood can cause uncomfortable pressure points under kneecaps, ankles, and sit bones.
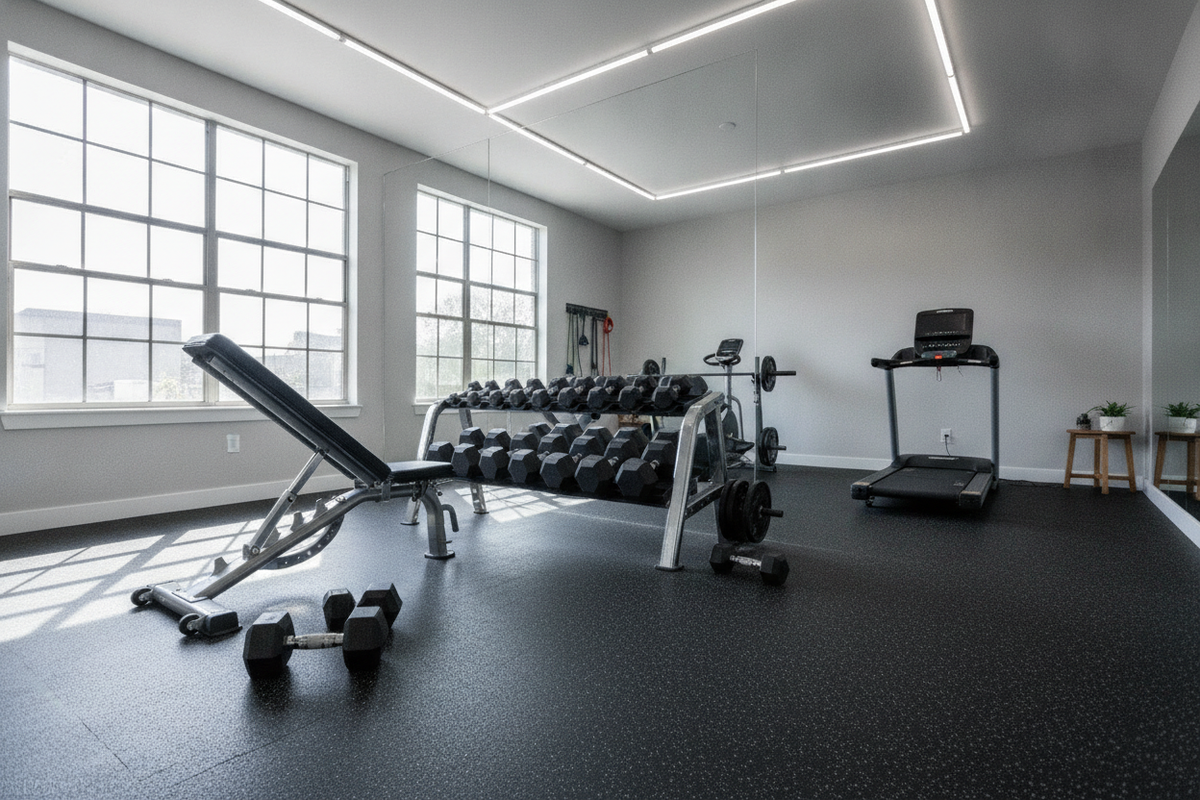
Using a large high-density home workout mat creates a stable, padded foundation that cushions sensitive bony landmarks while preventing sliding during active ranges of motion. A reliable surface allows you to relax into hip stretches without distraction, especially when transitioning through wider leg stances. If you are building out a dedicated stretching space, reviewing options across a protective gym mat collection ensures you find the appropriate dimensions and density for your flooring type. For those managing broader spinal or lower-body sensitivity, combining these hip stretches with a joint-friendly lower body movement guide helps maintain strength without excessive compressive loading.
Structuring a Daily Hip Mobility Routine: Frequency and Tempo Rules
Consistency and gentle pacing produce better mobility outcomes than forceful, sporadic stretching. Apply these structural guidelines to optimize your sessions:
- Warm-Up First: Perform hip mobility drills after a brief walk or light dynamic movement when muscle tissue temperature is elevated.
- Avoid Forcing End-Ranges: Move only to the point of mild tension. Sharp discomfort or pinching in the joint capsule is a cue to back out of the stretch immediately.
- Maintain Slow Nasal Breathing: Take slow, steady breaths during every static hold to encourage muscular relaxation.
- Daily Cadence: Performing 10 to 15 minutes of dedicated hip mobility daily—particularly after prolonged seated work—helps maintain joint symmetry and fluid lower-body movement.