Gym Flooring Tile: What to Know Before You Build
There is nothing quite like the heart-stopping crack of a deadlift slipping from your grip and crashing directly onto a bare concrete garage floor. Whether you are battling limited space, noisy equipment echoing through the house, or joint pain from plyometrics on a hard surface, your foundation dictates your workout quality. Choosing the right gym flooring tile is the single most important preventative investment you can make for your home gym.
But navigating the world of rubber flooring tiles for gym setups can be overwhelming. From thickness ratings to material density, this guide will help you build a safe, indestructible training space.
Key Takeaways
- Thickness is crucial: 8mm (5/16-inch) is the baseline for general fitness, while heavy lifters need 1/2-inch to 3/4-inch to protect concrete.
- Interlocking vs. Straight Edge: Interlocking gym rubber tiles are DIY-friendly and rarely need adhesive, whereas straight edges offer a seamless look but require taping.
- Material matters: High-density recycled rubber is budget-friendly and durable, while virgin rubber offers better color options and less odor.
- Subfloor protection: A proper rubber tile for gym use protects both your expensive bumper plates and the concrete beneath them.
Choosing Your Armor: Thickness and Material
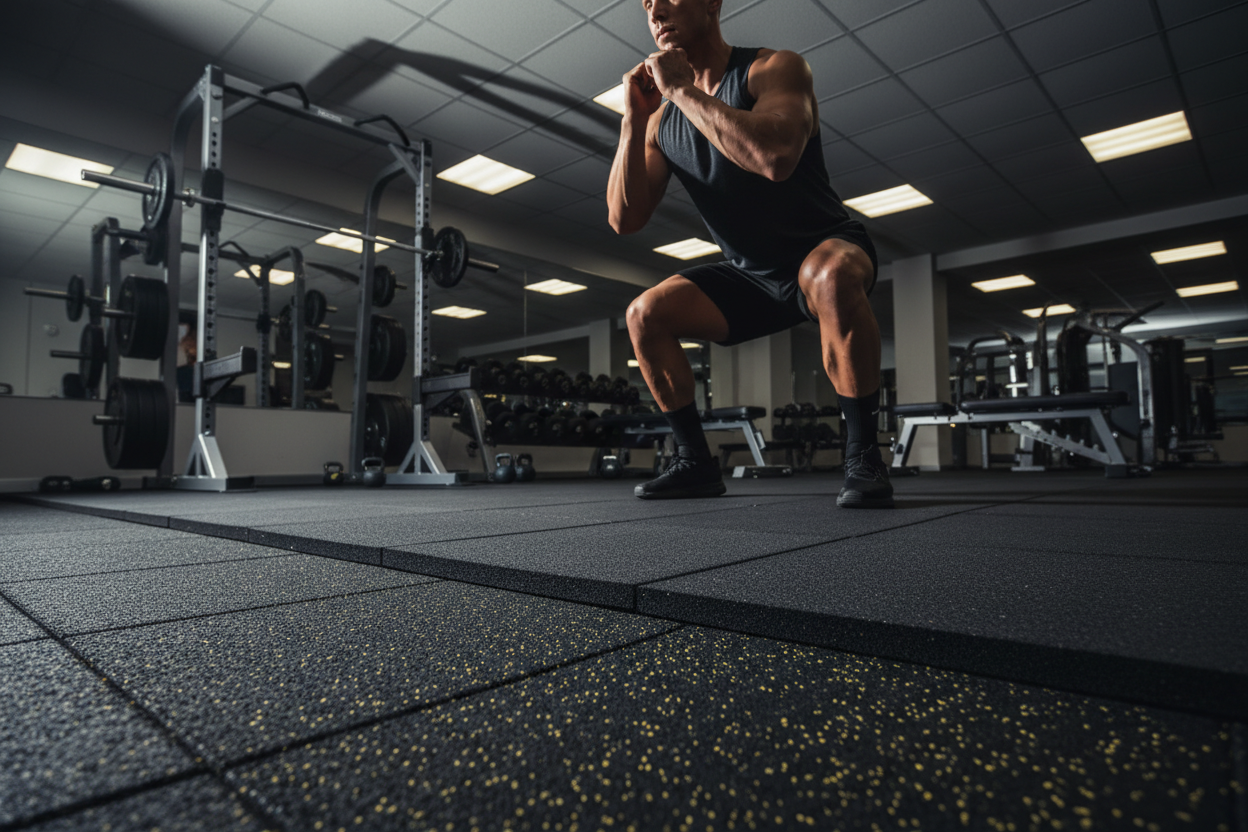
The biggest mistake home gym owners make is buying cheap, foam-based tiles meant for children's playrooms instead of dense rubber gym flooring tile. Foam compresses under heavy racks, creating a dangerous, unstable lifting surface.
Finding the Right Thickness
If your training consists mostly of yoga, dumbbells, and a stationary bike, a standard 8mm thickness will suffice. However, if you are dropping barbells or housing a heavy power rack, you need a minimum of 1/2-inch or even 3/4-inch thick rubber tiles for gym longevity. The thicker the tile, the better the shock absorption and sound dampening.
Space Planning for Gym Floor Tiling
Unlike massive, heavy rolls of rubber, tiles offer incredible modularity. This makes them perfect for irregular basement footprints or half-garage setups.
Measuring and Cutting
When planning your layout, always order 10% more square footage than your room measures to account for cutting errors. Interlocking rubber floor gym tiles can easily be trimmed to fit around drywall corners or support beams using a sharp utility knife and a metal straight edge.
Durability and Maintenance
A high-quality gym flooring tiles rubber setup is remarkably low maintenance, but it does require some basic care to keep it looking fresh and performing well for years.
Keeping It Clean
Vacuum up chalk dust regularly. For sweat and grime, a damp mop with a pH-neutral cleaner works wonders. Avoid harsh chemicals like bleach, which can break down the rubber over time.
From Our Gym: Honest Take
When we built out our 400-square-foot basement testing facility, we opted for 1/2-inch interlocking rubber tile gym flooring. Installation took two of us less than three hours. I will be honest: for the first two weeks, there was a noticeable rubber tire smell, which is standard for recycled materials. We kept a fan running and windows open, and it faded completely. Eight months later, the seams are still tight, and despite heavy rack pulls and dropped kettlebells, the floor has not dented once. The peace of mind—knowing my foundation is secure and my equipment is protected—is easily worth the upfront cost.
Frequently Asked Questions
Are rubber tiles for gym better than horse stall mats?
Horse stall mats are incredibly durable and cheap, but they are notoriously heavy (often 100+ lbs each), difficult to move, and can have a very strong odor. Purpose-built gym floor tiling is easier to install, usually features interlocking edges to prevent shifting, and is cut with precision for a seamless look.
Do I need to glue down my gym rubber tiles?
In most residential home gyms, no. The sheer weight of high-density rubber tiles, combined with interlocking teeth or double-sided carpet tape on the perimeter, is more than enough to keep the floor locked in place under heavy traffic.
How do I reduce the smell of a new rubber gym flooring tile?
Ventilation is key. Before moving your equipment in, mop the new floor with a mild soap and water solution, keep the room well-ventilated with fans, and allow it to off-gas for a few days. The odor from a standard rubber tile for gym use typically dissipates within a week or two.

