Exercise Tips for Beginners at Home: The Joint-Stacking Rule
A few years ago, I was training a new client in her cramped, 400-square-foot apartment. She had spent a small fortune on adjustable dumbbells and resistance bands, but every time she tried to squat or lunge, her knees ached. She was ready to throw in the towel. If you are scouring the internet for exercise tips for beginners at home, you might be facing the exact same frustration. The truth is, people rarely quit because they lack fancy equipment. They quit because their bodies hurt.
When you exercise without a trainer watching your form, it is incredibly easy to move in ways your body hates. That is why I teach all my clients a concept I call the 'Joint-Stacking' rule. Before you worry about rep counts, heart rate zones, or buying a 50-pound kettlebell, you need to learn how to align your ankles, knees, hips, and shoulders. Mastering this single biomechanical principle makes living room workouts instantly safer and infinitely more effective.
Quick Takeaways
- Stack before you move: Ensure your ankles, knees, hips, and shoulders form a stable, vertical line before initiating any exercise.
- Ditch the momentum: Relying on structural alignment forces your muscles to do the actual lifting, preventing joint strain.
- Surface matters: Joint stacking requires a firm, non-slip floor. Squishy living room carpets ruin foot stability.
- Quality over quantity: Five perfectly stacked repetitions will build more strength than twenty sloppy, misaligned ones.
Why Most Home Workouts Fail (And How to Fix It)
I have built dozens of home gyms over the last decade, ranging from fully outfitted garage setups to minimalist corner spaces. The most common mistake I see beginners make is prioritizing intensity over mechanics. You load up a video, the instructor yells at you to push harder, and suddenly your form falls apart. Your knees cave inward during a squat, or your lower back arches dangerously during a plank.
This is a recipe for early burnout. When your form breaks down, your joints absorb the shock that your muscles are supposed to handle. A week later, your shoulder is throbbing, your lower back is stiff, and your new workout gear becomes an expensive clothing rack.
The fix is the Joint-Stacking rule. Think of your body like a skyscraper. If the foundational pillars are not perfectly vertical, the whole structure is compromised under pressure. By consciously aligning your major joints—ankles, knees, hips, and shoulders—you create a biomechanically sound base. This alignment automatically shifts the mechanical load away from your fragile ligaments and directly onto the belly of your muscles. It is the ultimate insurance policy for your body.
The Joint-Stacking Rule Explained
So, what does joint stacking actually look like in practice? Let us break down the biomechanics. When you stand up, your skeleton naturally wants to find the path of least resistance against gravity. Stacking means actively organizing your skeletal structure so that a plumb line could drop straight down from your ear, through your shoulder, down to your hip, past your knee, and finish right at your ankle bone.
Take a basic bodyweight squat, for example. Before you even bend your knees, you need to establish your stack. Plant your feet shoulder-width apart. Squeeze your glutes slightly to push your hips directly under your ribs. Pull your shoulders back and down. Now, when you lower yourself, you are tracking your knees directly over your toes, maintaining that structural integrity.
If you fail to stack, your body compensates. Your heels might lift, shifting the shearing force directly into your patellar tendon. Or your shoulders might round forward, putting a massive strain on your lumbar spine. When you finally transition to a full 45 minute workout routine for beginners at home, maintaining this stacked posture throughout the entire session is what guarantees you finish feeling energized rather than broken. It forces your quads, hamstrings, and glutes to do 100 percent of the work, completely eliminating the dangerous momentum that beginners often rely on.
Essential Workout Tips for Beginners at Home
One of the most critical workout tips for beginners at home is understanding that your physical environment dictates your form. You cannot practice proper joint alignment if you are exercising on a surface that constantly shifts underneath you. I see people trying to do reverse lunges on plush, two-inch thick shag carpets, and their ankles are wobbling like they are on a ship at sea.
To stack your joints, you need sensory feedback from the floor. Your foot has three main points of contact: the base of the big toe, the base of the little toe, and the heel. We call this the 'foot tripod.' When you press these three points into a firm surface, it sends a signal up your nervous system to stabilize your knee and hip. A squishy floor completely mutes this signal.
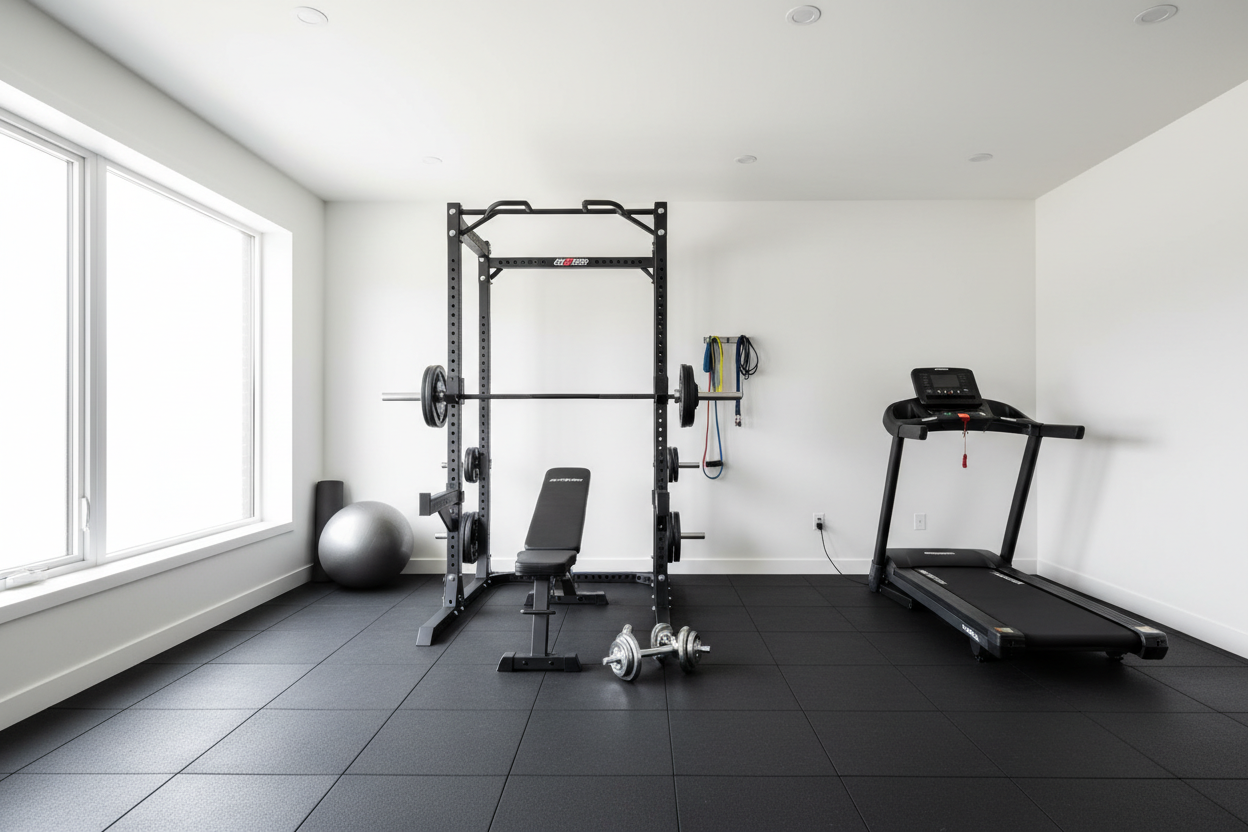
This is exactly why investing in a large exercise mat for home gym use is my number one recommendation for new clients. You need a dense, high-traction surface that mimics the professional flooring of a commercial facility. It allows you to grip the floor with your toes, locking your ankles into place so the rest of your body can stack efficiently above them.
Creating a Dedicated 'Stacking' Zone
When I was testing equipment for a client's basement gym last year, I brought in several different flooring options. I quickly realized that standard yoga mats are simply too small for dynamic movements. The moment you step off the mat during a lateral lunge, your foot slips on the hardwood, and your joint stack instantly collapses.
My honest takeaway? I highly recommend laying down a dedicated 6x8ft exercise mat yoga mat gym flooring. Having a 48-square-foot footprint gives you the freedom to step, lie down, and stretch without constantly repositioning yourself. The only downside I found while testing these larger mats is that they are quite heavy—usually weighing upwards of 25 pounds—so they are difficult to roll up and store away every single day. You will want to pick a permanent spot in your room and leave it there.
Applying the Rule to Upper Body Movements
Joint stacking is not just for your legs; it is equally vital for your upper body. Think about the standard push-up. Most beginners set their hands too wide and flare their elbows out at a 90-degree angle. This un-stacks the shoulder joint, placing immense grinding pressure on the rotator cuff.
To apply the stacking rule here, place your hands directly under your shoulders. When you lower your body, your elbows should track back at a 45-degree angle. At the top of the movement, your wrist, elbow, and shoulder should form a perfectly straight vertical line. This bone-on-bone alignment allows your skeleton to support your body weight, giving your chest and triceps a stable base to push from.
The same logic applies to planks. If your elbows are too far forward, your core disengages and your lower back sags. By pulling your elbows directly beneath your shoulders, you lock the torso into place. If you are looking to build upper body strength safely, applying these stacking principles to a shoulder workout at home for beginners will yield massive results without requiring a single dumbbell. You will find that holding a strict, stacked posture is incredibly taxing on the muscles, even with zero equipment.
Fitness Tips for Beginners at Home: Consistency Over Intensity
When you are looking for fitness tips for beginners at home, the most valuable advice I can give you is to prioritize consistency over intensity. The fitness industry loves to glorify the 'no pain, no gain' mentality. But if you are just starting out in your living room, chasing extreme soreness is a terrible strategy.
Your nervous system needs time to learn these new movement patterns. If you try to rush through 20 sloppy squats, you are just reinforcing bad habits and inching closer to an injury. Instead, focus on executing five perfectly stacked repetitions. Pause at the top of every movement. Check your ankles. Are they stable? Check your knees. Are they bowing inward? Check your shoulders. Are they hunched?
By slowing down and hyper-focusing on your joint alignment, you build a foundation of strength that will last a lifetime. You will wake up feeling capable instead of crippled. Over time, as stacking becomes second nature, you can start adding resistance and increasing your rep counts. But for now, let your form be your primary metric for success.
Frequently Asked Questions
Can I practice joint stacking if I have bad knees?
Absolutely. In fact, joint stacking is often the best remedy for knee pain. By ensuring your hips and ankles are properly aligned, you remove the unnatural shearing forces that typically aggravate bad knees during squats and lunges.
Do I need shoes to practice proper alignment?
I usually recommend that beginners practice barefoot or in grip socks when starting out. Exercising barefoot on a firm mat allows your toes to splay and grip the floor, which significantly improves your ankle stability and overall stack.
How long does it take to learn proper form?
Most beginners can grasp the basic mechanics of joint stacking in just a few sessions. However, building the muscular endurance to maintain that perfect posture throughout a full 30-minute workout usually takes about three to four weeks of consistent practice.
