Can You Practice Yoga With a Rotator Cuff Injury? The Truth
There is nothing quite as frustrating as stepping onto your mat, ready to flow, only to be stopped dead by that sharp, nagging pinch in your shoulder. If you are dealing with the intersection of yoga and rotator cuff injury issues, you are not alone. The shoulder is the most mobile joint in the body, but in yoga, we often treat it like a weight-bearing joint—a job it wasn't originally designed to do.
Whether you are nursing a minor strain or navigating a diagnosed tear, the question isn't necessarily if you should stop yoga, but rather how you must change it. Continuing blindly can lead to surgery, but the right approach can actually facilitate healing.
Key Takeaways: Quick Summary
- Stop "Pushing Through": Pain during overhead movements or internal rotation is a red flag to stop immediately.
- Modify Chaturanga: This is the number one aggravator. Drop your knees or skip it entirely.
- Focus on Stability: Prioritize isometric holds over dynamic, repetitive flowing to protect the joint capsule.
- Avoid Deep Internal Rotation: Poses like "binding" or full internal rotation can exacerbate impingement.
- Consult a PT: If you suspect a tear, imaging and professional diagnosis are non-negotiable before returning to the mat.
The Biomechanics: Why Yoga Challenges the Rotator Cuff
To understand yoga for rotator cuff injuries, you have to look at the anatomy. The rotator cuff is a group of four small muscles responsible for stabilizing the head of the humerus (upper arm bone) inside the shoulder socket. They are fine-tuners, not power lifters.
In Vinyasa or Power Yoga, we perform repetitive push movements (Chaturanga Dandasana) and hold significant body weight overhead (Down Dog, Handstand). When the large prime movers (pecs and lats) take over, they can pull the shoulder forward. This leaves the smaller cuff muscles overworked and vulnerable to impingement or tearing.
The Danger Zone: Yoga Poses to Avoid for Torn Rotator Cuff
If you are managing an acute injury, certain shapes are strictly off-limits. Continuing to force these positions can turn a grade 1 strain into a full rotator cuff tear.
1. Chaturanga Dandasana (Four-Limbed Staff Pose)
This is the most common culprit in rotator cuff yoga injuries. Lowering from high plank to low plank places the shoulder in extension while bearing load. If the shoulders dip below the elbows (the "dumping" effect), the pressure on the supraspinatus tendon is immense.
2. Full Wheel (Urdhva Dhanurasana)
Deep backbends require extreme external rotation and flexion. If your cuff is inflamed, it cannot clear the acromion process efficiently, leading to painful impingement.
3. Behind-the-Back Binds
Poses like Bird of Paradise or Bound Side Angle force the shoulder into deep internal rotation. For a yoga torn rotator cuff scenario, this creates a grinding effect on the injured tissue.
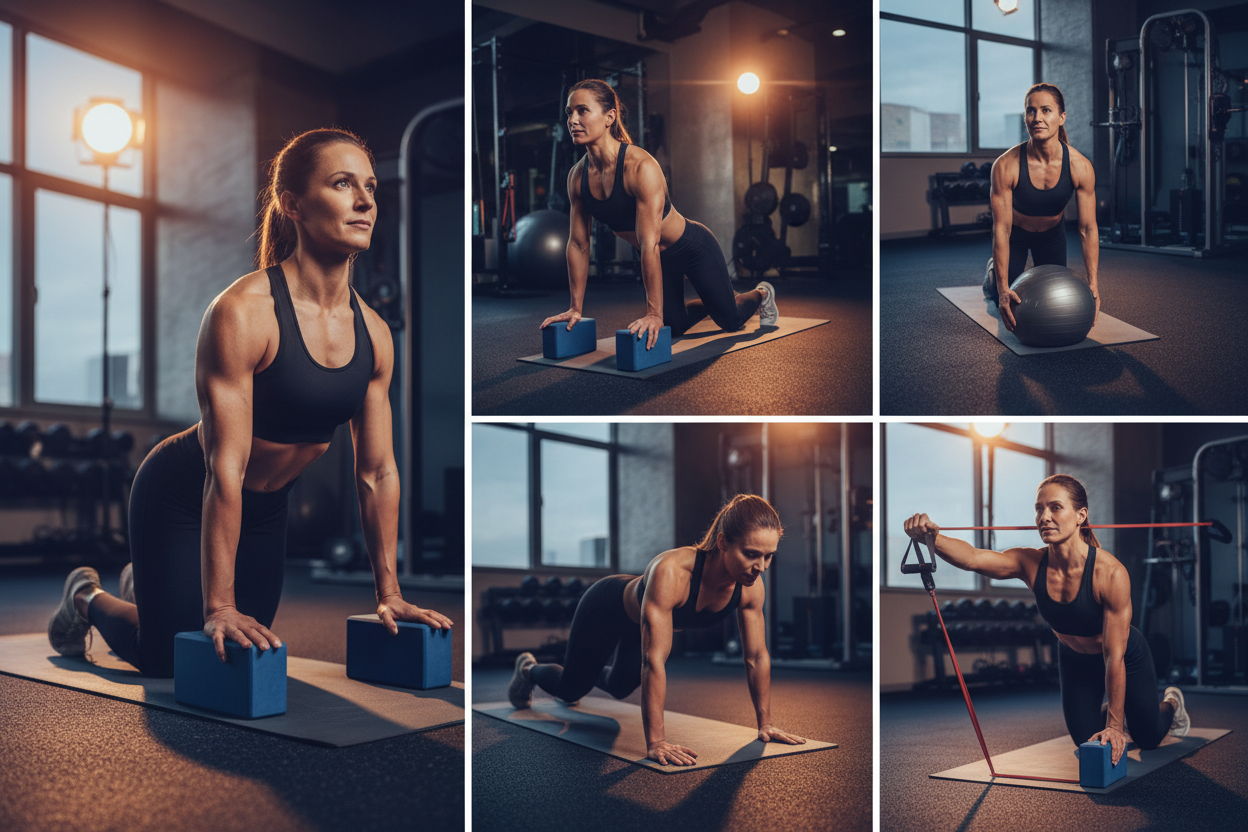
How to Adapt: Yoga for Rotator Cuff Tear and Recovery
You don't have to quit your practice, but you do need to check your ego. Here is how to approach yoga for rotator cuff rehabilitation safely.
Embrace the Knees-Down Modification
When moving through a Vinyasa, drop your knees before you lower down. This reduces the load on the shoulder girdle by nearly half. It allows you to focus on keeping the humeral head plugged into the socket rather than just surviving gravity.
Keep Elbows Forward
In poses like Cobra or Upward Dog, keep a micro-bend in the elbows and hug them toward your ribs. Locking out the arms often causes the shoulders to shrug up toward the ears, deactivating the stabilizing muscles you are trying to strengthen.
Isometric Strengthening
Yoga poses for rotator cuff injury recovery should focus on stillness. Dolphin Pose (Forearm Dog) is excellent if—and only if—you press firmly into the forearms to protract the shoulder blades. This engages the serratus anterior, which supports the rotator cuff.
My Personal Experience with Yoga and Rotator Cuff Injury
I learned this the hard way. A few years ago, I was obsessed with nailing the transition from Crow Pose to Chaturanga. I ignored the warning signs—specifically, a dull, toothache-like throb deep in the front of my right shoulder after class.
One morning, during a simple Sun Salutation A, I felt a sickening "pop" followed by immediate weakness. It wasn't the dramatic pain of a broken bone, but a weird inability to lift my arm sideways past shoulder height. I couldn't even reach for my seatbelt without wincing.
The hardest part wasn't the physical rehab; it was the mental aspect of being in class and skipping the Vinyasas. I felt like a beginner again. I remember vividly the wobble in my arm just trying to hold a static Table Top position. I had to use a strap for months just to keep my elbows from flaring out. But that regression was necessary. It taught me that the "fancy" stuff relies entirely on the boring, invisible stabilizer muscles I had been neglecting.
Conclusion
Navigating rotator cuff and yoga requires a shift in mindset. You are moving from a performance-based practice to a therapeutic one. Respect the biological limits of your shoulder. If you treat the injury with patience and modify your movements, yoga can actually aid in blood flow and tissue organization. But if you ignore the pain, the mat will wait—but your shoulder might not recover.
Frequently Asked Questions
Can I still do yoga with a torn rotator cuff?
It depends on the severity of the tear. For minor tears, yoga is possible if you avoid overhead loading and push-ups (Chaturanga). However, for full-thickness tears, you should pause all upper-body weight-bearing exercises and consult an orthopedic specialist immediately.
Is Downward Dog bad for rotator cuff injuries?
Downward Dog can be aggravating because it places the arms overhead under load. If it causes pain, modify it by doing Puppy Pose or Dolphin Pose, or simply skip it and rest in Child's Pose until the inflammation subsides.
What is the best yoga pose for rotator cuff strength?
Forearm Plank is excellent for building stability without the risks associated with deep extension. Focus on pushing the floor away to engage the serratus anterior, which helps stabilize the shoulder blade and protect the cuff.
