Building a Fitness Programme Around Your Current Home Setup
I remember walking into a client's spare bedroom that was doubling as a home office. They had a single 35-pound kettlebell, two resistance bands hooked to a doorknob, and a printed spreadsheet of a 5-day bodybuilder split. They were frustrated because they couldn't do leg presses or lat pulldowns in their cramped apartment. This is the exact moment I realized most people approach home workouts backward. Instead of buying a cookie-cutter fitness programme and stressing over the equipment you lack, you need to reverse-engineer your routine.
- Audit your gear: Take a physical inventory of your weights before writing a single rep or set.
- Map fundamental movements: Assign basic human movement patterns strictly to the tools you already own.
- Define your space: Designate a specific physical boundary for your workouts to improve mental focus and safety.
- Master tempo: Use slow negatives and pauses to make light weights feel incredibly heavy.
The Problem With Copy-Pasting a Commercial Fitness Programme
Most downloadable PDF routines are written for a fully stocked commercial facility. They assume you have access to a cable crossover tower, a squat rack, and a full run of dumbbells from 5 to 100 pounds. When you try to force that commercial plan into a 10x10 foot spare room, you end up skipping half the exercises. You swap a heavy barbell squat for a flimsy bodyweight squat, lose the intended stimulus, and eventually quit out of sheer frustration.
I've seen this happen with dozens of clients. They buy a fitness exercise program designed by a fitness model, get to day three, and realize they need a seated leg extension machine. The solution isn't to max out your credit card on a bulky functional trainer. The solution is to flip the script. Look at the dusty corner of your garage, see a pair of adjustable 5-52.5 lb dumbbells and a pull-up bar, and ask what you can build with exactly that. By starting with your inventory, you guarantee total compliance. You never have to skip a movement because you lack the hardware.
Step 1: The Honest Home Gym Inventory Audit
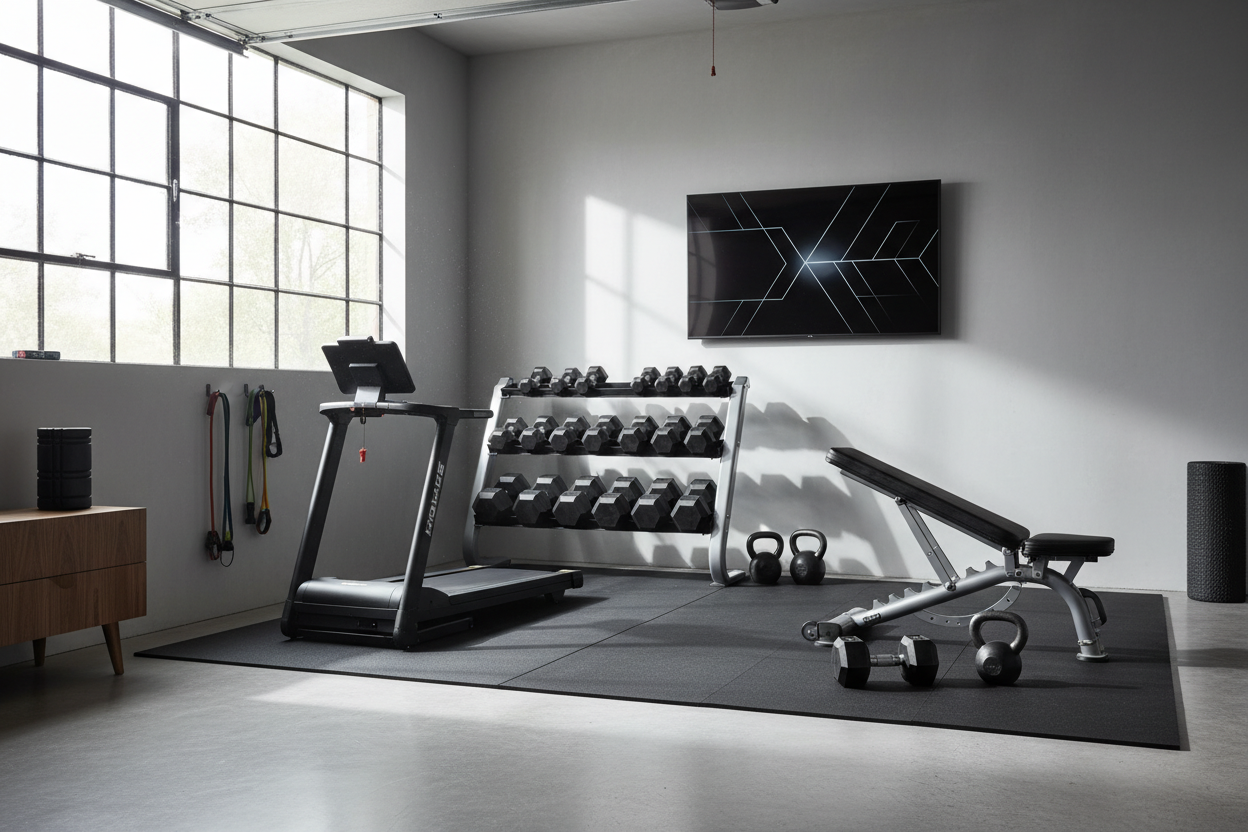
Grab a notepad and walk into your workout space. I want you to write down every single piece of resistance equipment you own. Don't just write 'dumbbells.' Write 'rubber hex dumbbells: 10lbs, 15lbs, 25lbs.' If you have resistance bands, note their tension levels. If you have an adjustable bench, check if it goes to a full 90-degree incline or just 45 degrees. Knowing your exact mechanical limitations is the foundation of your new routine.
Next, measure your floor space. A 6x6 foot area is the absolute minimum for a comfortable lunge or burpee without kicking a wall. If your space is cramped, you will naturally avoid dynamic movements. This is also the time to assess your flooring. Doing heavy kettlebell swings on a slippery hardwood floor or a plush bedroom carpet is a recipe for rolled ankles. I usually have my clients browse large exercise mat collections to find something that gives them enough grip and joint support.
Once you have your list, group the items by heavy, medium, and light resistance. That 50-pound sandbag is your heavy lower-body tool. Those 10-pound dumbbells are your light shoulder isolation tools. This simple categorization makes building the actual workouts incredibly fast later on.
Establishing Your Base Training Zone
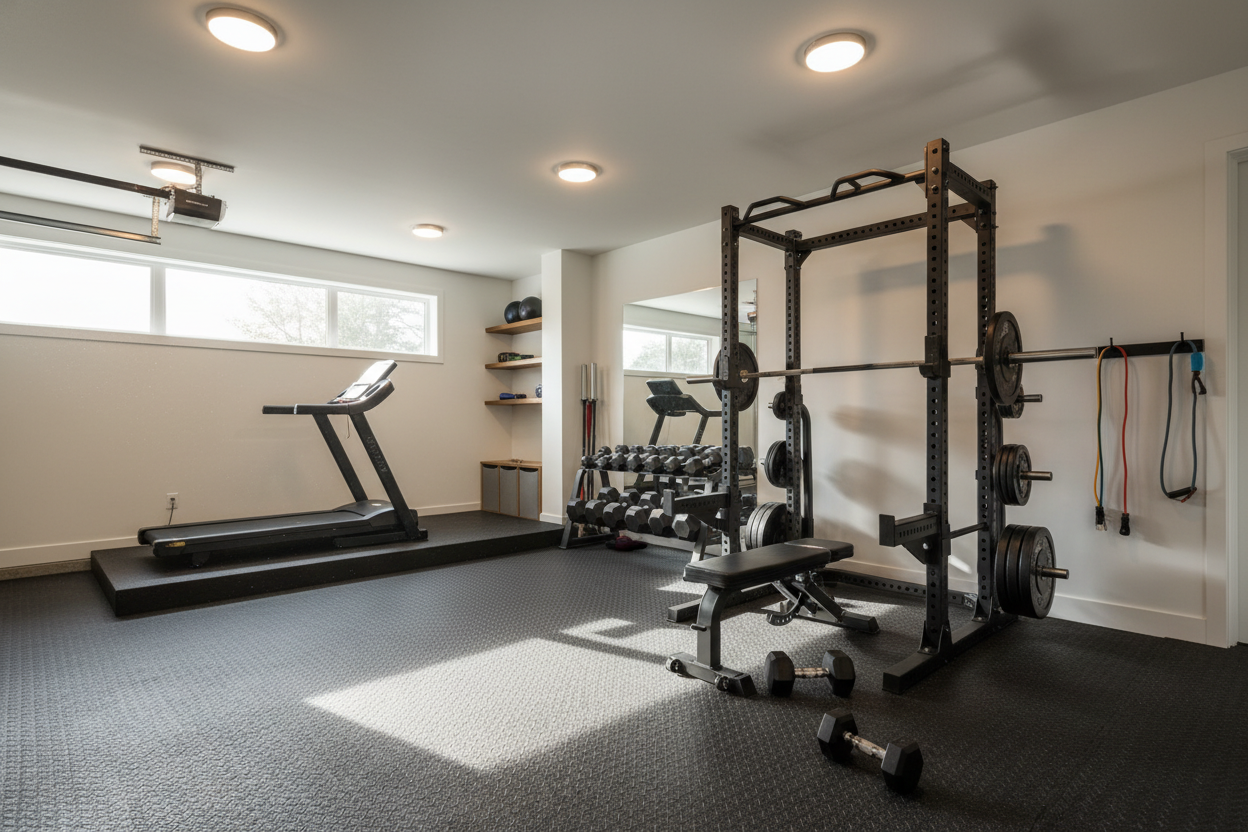
Your brain needs a physical trigger to switch from 'home mode' to 'workout mode.' If you just stand in the middle of your living room next to the couch, you are going to get distracted by the television or the laundry basket. You need a defined boundary. Think of it as an island where work gets done.
I recommend laying down a dedicated surface that stays put. For example, rolling out some 6x8ft gym flooring for home workouts creates an instant, psychological gym boundary. It dampens the noise of dropping a 30-pound dumbbell and protects your subfloor from gouges. When you step onto that specific area, your only job is training. When you step off, you are done.
Step 2: Mapping an Exercise Fitness Program to Your Gear
Now we assign exercises to your gear list. Every effective routine needs four basic human movements: push, pull, squat, and hinge. Look at your inventory and pick one or two exercises for each category based solely on what you own.
If you only have a 35-pound kettlebell, your squat is a goblet squat. Your hinge is a kettlebell swing or a single-leg Romanian deadlift. Your push might be a single-arm floor press, and your pull is a bent-over row. That is your core routine. You don't need a complex exercise fitness program with 15 variations of a bicep curl. You just need to hit the fundamental patterns hard with the tools at hand.
If you get stuck trying to figure out what to do with a weird piece of gear like a suspension trainer, consult a comprehensive home training guide to spark some ideas. The goal is to create a menu of movements you can execute safely in your space. Write these down. This is your personal exercise bank. From now on, you only pull from this list. No more staring at your phone mid-workout wondering how to mimic a seated cable row with a single resistance band.
Substituting Machines With Floor Work
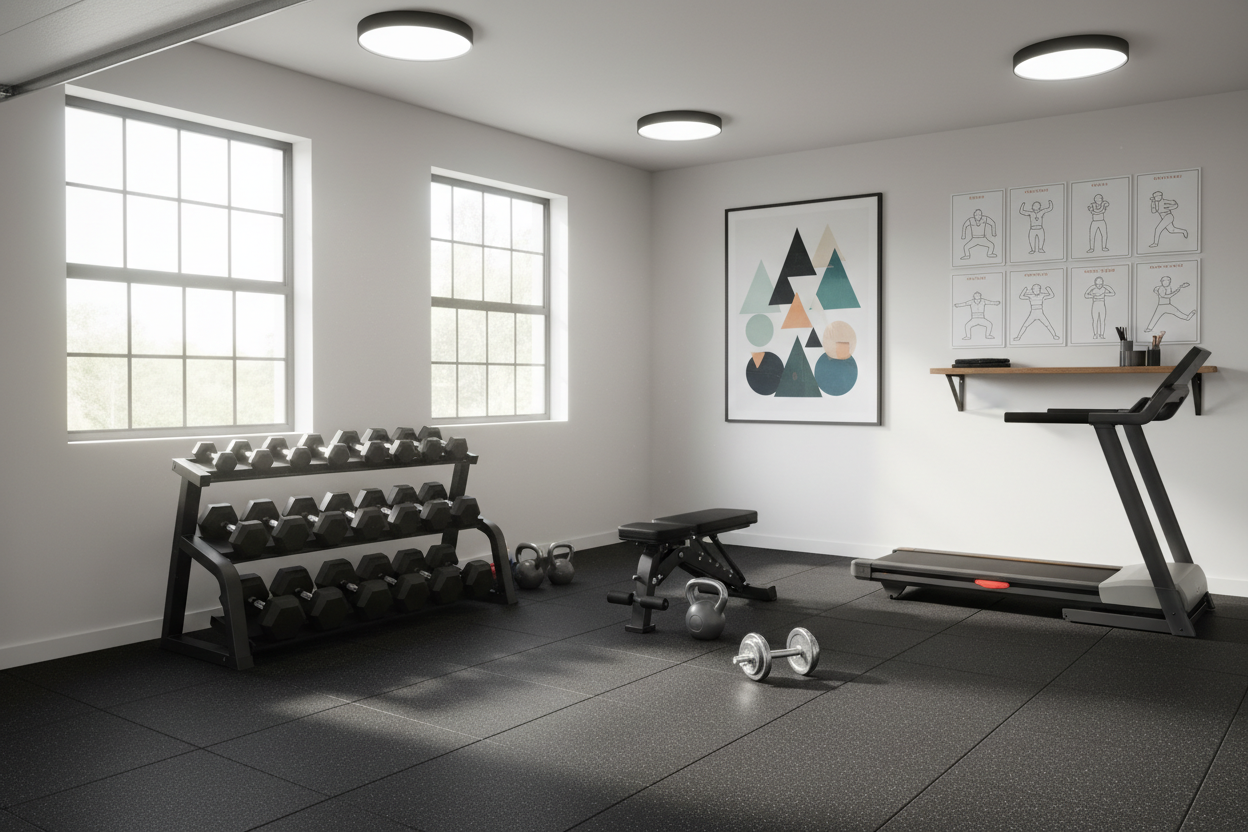
Ditching commercial gym machines means you will be spending a lot of time on the ground. Instead of a leg curl machine, you will be doing sliding hamstring curls on the floor. Instead of a chest press machine, you will be doing deficit push-ups or dumbbell floor presses.
This transition requires your body to stabilize the weight, which is fantastic for your core, but it can be rough on your contact points. Doing hollow body holds or Turkish get-ups on bare concrete or thin carpet will bruise your tailbone and knees. You need to choose the right exercise mat that offers at least 7mm of high-density foam. This ensures you can push to muscular failure on floor-based movements without joint pain stopping you prematurely.
Step 3: Structuring Your Exercise Fitness Training Week
With your exercise bank full, it is time to build your weekly schedule. Because you are likely working with lighter weights than you would find in a commercial gym, you can train muscles more frequently. A heavy barbell deadlift might take four days to recover from, but a 50-pound dumbbell Romanian deadlift might only take two.
I usually start clients on a full-body split, three days a week. Pick one squat, one hinge, one push, and one pull from your list for Monday. Pick different variations for Wednesday and Friday. Aim for 3 to 4 sets of 10 to 15 reps for each movement.
This is where your exercise fitness training actually takes shape. If your heaviest dumbbell is 20 pounds, you might need to push those rep ranges up to 20 or 25 to get close to failure. The muscle doesn't know how much weight is in your hand; it only knows tension and fatigue. Keep your rest periods strict—around 60 to 90 seconds—to keep the intensity high even with limited resistance.
Evolving Your Programme Fitness Plan Over Time
Eventually, doing 15 reps with your heaviest kettlebell will feel easy. When that happens, you don't necessarily need to rush out and buy heavier weights. You can manipulate the tempo. Try a 4-second negative (lowering phase) and a 2-second pause at the bottom of your squat. Suddenly, that 35-pound weight feels like 80 pounds.
Another progression tactic for your programme fitness plan is shifting to unilateral (one-sided) work. If two-legged Bulgarian split squats are too easy with your current dumbbells, try single-leg pistol squats assisted by a chair. By continuously tweaking the tempo, rest periods, and stability requirements, you can milk years of gains out of a very basic home setup.
Personal Experience: Testing the Bare Minimum
I recently tested this exact reverse-engineering method in my own garage using nothing but a pair of 5-52.5 lb adjustable dumbbells and a flat bench. I ran a strict 6-week block. The convenience was incredible, and I maintained all my muscle mass without touching a barbell. However, the honest downside is the setup time for drop sets. Changing the dials on adjustable dumbbells takes about 5 to 10 seconds, which ruins the immediate tension required for a true mechanical drop set. You have to adapt your intensity techniques accordingly and stick to rest-pause sets instead.
FAQ
How many days a week should I train at home?
For most people using limited equipment, 3 to 4 days of full-body training works best. It allows you to hit muscle groups frequently without burning out your central nervous system or requiring massive loads.
What if I only have resistance bands?
You can build a complete routine with bands. Focus on anchoring them securely at different heights (high, chest-level, low) to replicate the angles of a cable machine for pushes and pulls.
How do I track progress without adding weight?
Track your total repetitions, the strictness of your form, and your rest times. If you did 3 sets of 12 push-ups with 90 seconds rest last week, try doing them with 60 seconds rest this week. Decreasing rest is a guaranteed form of progressive overload.