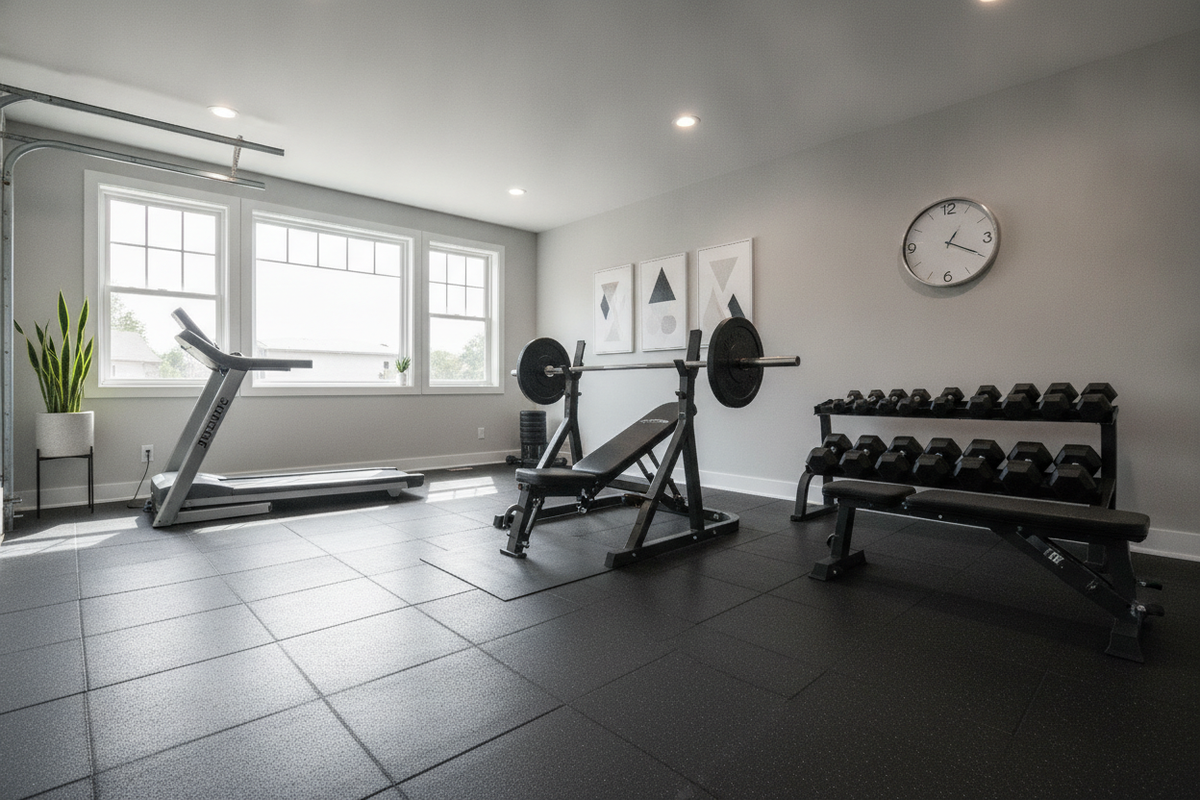
Barbell Floor Glute Bridge: Biomechanical Setup, Movement Execution, and Protective Mat Staging
Understanding the Barbell Floor Glute Bridge
The barbell floor glute bridge is a foundational horizontal hip extension movement performed entirely on the ground. By removing the elevated bench required in standard hip thrusts, this variation creates an exceptionally stable base of support that prioritizes pure hip drive and terminal pelvic extension.
Because your upper back, shoulders, and head remain supported by the floor throughout the repetition, the movement significantly reduces shear forces and simplifies torso stabilization. The floor serves as an immovable reference plane, providing immediate tactile feedback that helps lifters maintain a neutral spine and focus tension directly into the gluteal musculature.
Biomechanical Differences: Floor Glute Bridge vs. Elevated Hip Thrust
While both exercises target the posterior chain, their biomechanical profiles differ considerably:
- Range of Motion: In an elevated hip thrust, your hips descend below bench level, creating a deeper stretch in hip flexion. The floor bridge stops the descent as soon as the plates or thighs approach the floor, resulting in a shorter, lockout-focused range of motion.
- Torso Angle and Stability: The elevated thrust requires you to pivot along the edge of a bench, which demands constant upper-body repositioning and torso rigidity. The floor bridge keeps the entire thoracic region grounded, eliminating balance challenges.
- Knee and Shin Tracking: Because the range is condensed, maintaining vertical shins at full extension is often simpler to replicate across consecutive repetitions on the floor.
How to Set Up Barbell Glute Bridge Safely at Home
Learning how to set up barbell glute bridge sessions efficiently in a home gym setting saves energy and protects your joints. When building out your lifting space, consulting a comprehensive barbell set guide can help you select the ideal bar and plate configurations for floor-based lifts.
To set up the movement:
- Use Full-Diameter Plates: Loading standard-diameter bumper plates elevates the bar collar several inches off the floor, allowing you to easily roll the loaded bar over your legs and into your hip crease while seated.
- Position Barbell Padding: Place a dense, supportive barbell pad or a folded workout mat across the center knurling to distribute pressure evenly across the pelvic bones.
- Establish Solid Footing: Set your feet flat on a non-slip surface, approximately shoulder-width apart, ensuring your shoes or bare feet maintain traction throughout the set.
Equipment Staging and Floor Protection Strategies
Floor bridges place concentrated loads on both the equipment and your subfloor during the roll-in, loading, and touchdown phases. Utilizing heavy-duty flooring or an integrated barbell set product setup safeguards your foundation against repeated contact.
Placing high-density rubber mats beneath your setup dampens vibration, prevents barbell drift between reps, and provides a comfortable, grippy surface for your upper back and heels. A textured, slip-resistant mat also prevents your feet from sliding forward during maximum hip extension efforts.
Step-by-Step Execution: How to Barbell Glute Bridge
Executing the movement with pristine form maximizes posterior chain recruitment while preventing compensatory strain through the lower back. Follow these sequential steps for how to barbell glute bridge with precision:
- Starting Position: Sit on the floor with your legs extended. Roll the padded barbell over your shins and thighs until it sits squarely in the crease of your hips. Lie back flat on the floor, resting your head, neck, and upper back firmly against the mat.
- Foot Placement: Bend your knees and slide your heels back toward your glutes. Position your feet flat, roughly hip-to-shoulder width apart, with toes pointed straight ahead or slightly flared outward. Your shins should be roughly vertical when your hips reach full extension.
- Abdominal Bracing and Pelvic Tuck: Grip the barbell firmly with both hands outside your hips to stabilize it. Take a deep breath, brace your core, and lightly posteriorly tilt your pelvis to flatten your lower back against the ground.
- The Drive Phase: Drive forcefully through your heels and midfoot, extending your hips upward toward the ceiling. Keep your chin slightly tucked and your gaze directed forward along your torso rather than looking back overhead.
- Terminal Lockout: Continue driving until your knees, hips, and shoulders form a straight diagonal line. Squeeze your glutes hard at the apex of the movement, ensuring that your rib cage stays pulled down and connected to your pelvis.
- Controlled Descent: Lower the barbell under control by hinging at the hips, returning the plates to light contact with the floor before initiating the next repetition.
Common Faults and Pelvic Alignment Fixes
Even experienced lifters can introduce inefficiencies into the movement pattern. Watch for these common faults:
- Lumbar Hyperextension: Over-arching the lower back to achieve perceived height shifts load away from the glutes and into the lumbar spine. Fix: Think of tucking your tailbone under and stopping the lift when your hips align with your torso, rather than driving the stomach upward.
- Heel Lifting: Pushing through the toes shifts tension into the quadriceps and destabilizes the foot. Fix: Focus your drive through the midfoot and heel, rooting your feet firmly into a high-traction mat.
- Barbell Migration: Allowing the bar to roll along the thighs during repetitions compromises leverage. Fix: Keep your hands anchored on the bar with a firm overhand grip, pinning the bar securely into the hip crease.
Programming Frameworks and Home Gym Integration
The barbell floor glute bridge adapts easily into various training structures. Because of its grounded stability and manageable learning curve, it serves multiple roles within a weekly split:
- Primary Strength Movement: Use moderate-to-heavy loads for structured sets to build baseline hip extension power and gluteal density.
- Lower-Body Accessory: Position the exercise after compound lifts such as squats or deadlifts to accumulate posterior volume without placing additional spinal loading on fatigued back muscles. You can explore how it complements leg-dominant routines in our barbell guide.
- High-Rep Finisher: Perform higher-repetition sets with controlled tempos and isometric pauses at lockout to induce metabolic conditioning in the glute muscles.
By pairing deliberate pelvic mechanics with a stable, protective floor setup, the barbell floor glute bridge becomes one of the most reliable and effective strength movements you can execute at home.