A Workout Routine at Home for Beginners That Actually Feels Good
I have seen it happen a hundred times. A client clears out a corner of their cramped living room, determined to finally stick to a fitness plan. They find a random 20-minute high-intensity video, push themselves to the point of nausea, and wake up the next morning feeling like they were hit by a truck. By day three, the sheer agony of walking down a flight of stairs kills their motivation entirely.
When you are trying to establish a workout routine at home for beginners, severe muscle soreness is your biggest enemy. It destroys consistency. As a personal trainer who has built and tested dozens of home setups for clients, I approach entry-level training differently. We do not chase exhaustion. Instead, we use a method I call the Tension-Flush.
This approach pairs every strength movement immediately with a specific active stretch or mobility drill. It flushes out lactic acid, preserves your joints, and eliminates the crippling next-day soreness that typically causes new trainees to quit.
Quick Takeaways
- Ditch the exhaustion mindset: Beginner routines should leave you feeling energized, not destroyed.
- Pair tension with release: Follow every strength exercise with an immediate 30-second mobility drill to clear lactic acid.
- Define your space: Creating a dedicated, cushioned physical boundary helps trigger psychological readiness.
- Master tempo over weight: Progress by slowing down your movements before you ever pick up a dumbbell.
Why Most Beginners Quit by Day Three
When you introduce your body to new physical stress, you experience Delayed Onset Muscle Soreness, or DOMS. Traditional beginner programs cause a massive amount of metabolic damage because they focus on high repetitions and short rest periods. Your muscles fill with lactic acid and micro-tears accumulate rapidly.
For an advanced athlete, DOMS is just a nuisance. For someone starting a beginner home exercise routine, it is a massive psychological barrier. If sitting on a chair requires holding onto the wall for dear life, you are not going to work out again that week. The habit dies before it even takes root.
The Tension-Flush concept is the antidote. Instead of letting metabolic waste pool in your muscle tissue, we actively pump it out. By alternating a high-tension muscle contraction with a low-tension, targeted stretch, we encourage blood flow and lymphatic drainage right in the middle of the workout. You build strength and stability, but you wake up the next day feeling loose and capable instead of stiff and miserable.
The Psychology of Your Training Space
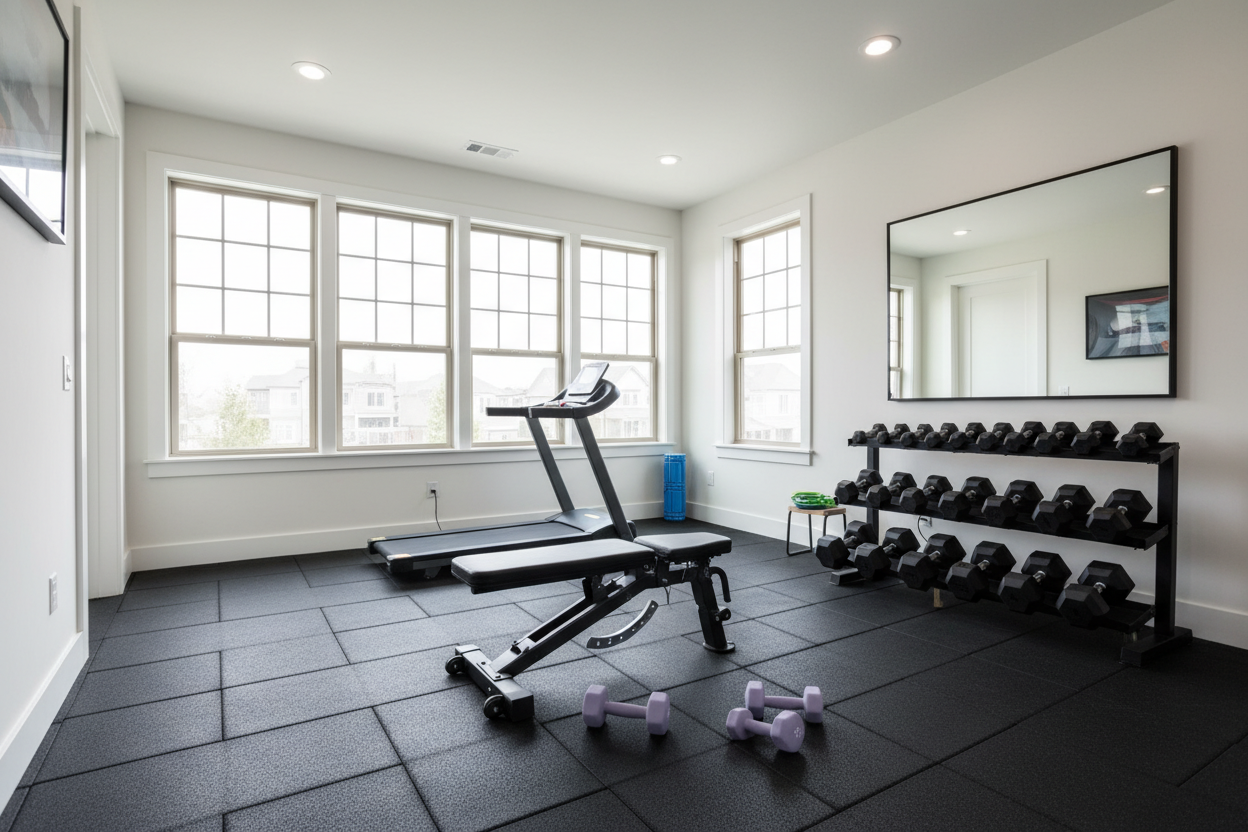
Before you do a single squat, you need to address where you are training. Working out on a hard hardwood floor or a slippery living room rug is a recipe for joint pain and rolled ankles. You need a dedicated physical zone.
Having a specific area that is permanently or semi-permanently set up for fitness creates a psychological boundary. When you step onto that surface, your brain knows it is time to work. I always advise my clients to invest in proper gym flooring for home workout setups. A 6x8 foot area is usually the sweet spot.
A dense, 7mm thick mat provides enough cushioning to protect your knees during floor stretches, but it remains firm enough that your feet will not sink and compromise your balance during standing exercises. This boundary tells your household that this space is reserved for your health, minimizing distractions and excuses.
Anatomy of a Tension-Flush Exercise Routine
Most exercise routines at home for beginners fail because they group all the hard work together and leave a half-hearted stretch for the very end. The Tension-Flush method integrates recovery directly into the working sets.
The mechanics are simple. You perform a strength movement that creates high tension in a specific muscle group. As soon as you finish the last repetition, you drop into a low-tension mobility drill that lengthens that exact same muscle group. You hold that active stretch for 30 to 45 seconds, breathing deeply to oxygenate the tissue.
This active recovery phase forces fresh blood into the muscle belly, clearing out hydrogen ions and lactic acid before they can settle. It also reinforces proper joint mechanics. When you master the 5 patterns of basic human movement—squatting, hinging, pushing, pulling, and carrying—using this method, you teach your nervous system how to contract and relax efficiently.
For example, if you do a set of squats that leaves your thighs burning, immediately dropping into a kneeling quad stretch uses that elevated heart rate to pump out the burn. By the time you stand back up for your next set, your legs feel fresh.
The Core Movements to Master First
To execute this properly, you need to transition smoothly from standing tension to floor-based flushing. This is why having ample floor space is non-negotiable. If you are tripping over a coffee table trying to get into a stretch, you lose the cardiovascular benefit of the pairing.
Make sure you are utilizing a large exercise mat for home gym spaces so you have a safe, non-slip surface for these transitions. We are going to focus on two primary pairings that target the entire body safely.
Lower Body: The Squat & Hip Flush
The bodyweight box squat is your foundational lower body movement. Stand a few inches in front of a standard chair or couch. Push your hips back, keep your chest up, and slowly lower yourself until your glutes tap the seat. Drive through your heels to stand back up. Perform 10 to 12 controlled repetitions.
Immediately after your last rep, transition to the floor for the hip flush. Get into a half-kneeling position, like you are proposing. Tuck your tailbone slightly under and gently lean forward until you feel a deep stretch in the front of the hip of the kneeling leg. Hold this for 30 seconds per side.
The box squat builds tension in the quads and glutes, while the kneeling hip-flexor stretch releases the front of the legs, preventing the severe stiffness that usually follows leg day.
Upper Body: Incline Pushing & Pec Release
For the upper body, standard push-ups from the floor are often too aggressive for absolute beginners. Instead, place your hands on the back of a sturdy couch or against a wall. Lower your chest toward the surface, keeping your elbows tucked at a 45-degree angle, then press back to the starting position. Aim for 8 to 10 repetitions.
As soon as you finish, step into a doorway for the pec release. Place your forearms flat against the doorframe with your elbows at shoulder height. Gently step one foot forward through the doorway until you feel a stretch across your chest and the front of your shoulders. Hold for 45 seconds.
This pairing builds pushing strength in the chest and triceps without locking up your shoulder capsule, ensuring you maintain great posture.
Progressing Your Plan Without Burning Out
After your first two weeks, these movements will start to feel easy. The instinct is usually to rush out and buy heavy dumbbells, but that often leads to sloppy form and joint pain. Instead, we are going to manipulate movement speed.
By slowing down the eccentric phase—the lowering part of the movement—you dramatically increase the challenge without adding external load. Try taking three full seconds to lower yourself into the box squat, pause for one second at the bottom, and stand up normally.
This approach increases your time under tension, forcing the muscle fibers to work harder while keeping the joints perfectly safe. When you focus on mastering tempo, you can squeeze months of progression out of simple bodyweight movements before you ever need to spend money on weights.
Putting It Together: Your Weekly Schedule
Consistency beats intensity every single time. You do not need to train every day to see incredible results. A simple three-day-a-week schedule is highly realistic and allows for adequate recovery between sessions.
Try training on Monday, Wednesday, and Friday. Perform three rounds of the Squat and Hip Flush pairing, resting one minute after the stretches. Then, move on to three rounds of the Incline Pushing and Pec Release pairing. The entire session takes less than 20 minutes.
If you are executing this schedule in a tight apartment or a bedroom corner, a compact exercise mat gym flooring setup is perfect. It rolls out quickly and provides just enough space for your squats and doorway stretches without dominating the room.
My Personal Experience with Home Setups
Over the years, I have tested countless pieces of gear while designing home gyms for my clients. Recently, I set up a client with a high-density 7mm thick mat for this exact Tension-Flush routine. The durability is outstanding; after 1000+ reps of squats and lunges, it shows zero compression divots.
However, I will share one honest downside. When you first transition from a hard floor to a thick, cushioned mat, balancing on one leg can feel slightly trickier. Your foot has to work a bit harder to find stability in the foam. It takes about a week for your ankles to adapt, but once they do, the joint relief during floor stretches is entirely worth it.
Frequently Asked Questions
How long will it take to see results from a beginner routine?
You will feel a difference in your energy levels and joint mobility within the first two weeks. Noticeable strength gains and muscle tone typically become visible around the six-to-eight-week mark of consistent training.
Should I work out if I am still sore from the last session?
If the soreness is mild, a light workout can actually help flush the muscles and reduce stiffness. However, if the soreness alters your movement mechanics or causes sharp pain, take an extra rest day.
Do I need to wear shoes while training at home?
If you have a high-quality, supportive mat, barefoot training is excellent for strengthening the small stabilizing muscles in your feet and ankles. If you are on a hard floor or need arch support, wear dedicated indoor training shoes.

