You Don't Need Weights for a Perfect Beginner Hip Thrust
I remember the first time I saw a guy at my local gym loading up six 45-pound plates for a hip thrust. I was impressed until I saw his range of motion—about two inches of shaky ego-lifting that did more for his chiropractor's bank account than his glutes. If you are just starting out, a beginner hip thrust is about one thing: neurological connection. If you can't feel your glutes working with just your bodyweight, adding a barbell is just adding weight to a broken system.
- Master the bodyweight pivot before touching a bar.
- The chin tuck is your secret weapon for a flat spine.
- Aim for high-quality reps over high-quantity numbers.
- A stable bench is mandatory—don't use a rolling chair.
Put the Barbell Down (For Now)
Most people want to jump straight to the heavy stuff because they've seen the highlight reels. But here is the cold truth: if you start with a barbell, you will almost certainly compensate with your lower back. I've spent years watching lifters complain about 'tightness' in their lumbar spine after a glute session. That is a massive red flag. When you add weight too early, your body finds the path of least resistance, which is usually your spine rather than your hips.
By sticking to bodyweight thrusts initially, you force your brain to actually find the gluteal muscles. You want to feel that 'cramp-like' sensation at the top of the movement. If you don't have that, the weight is just a distraction. I tell my clients to earn the right to load the movement. If you can't control your pelvis without a 45-lb bar digging into your hips, you have no business adding plates yet.
The Ultimate Beginner Hip Thrust Setup
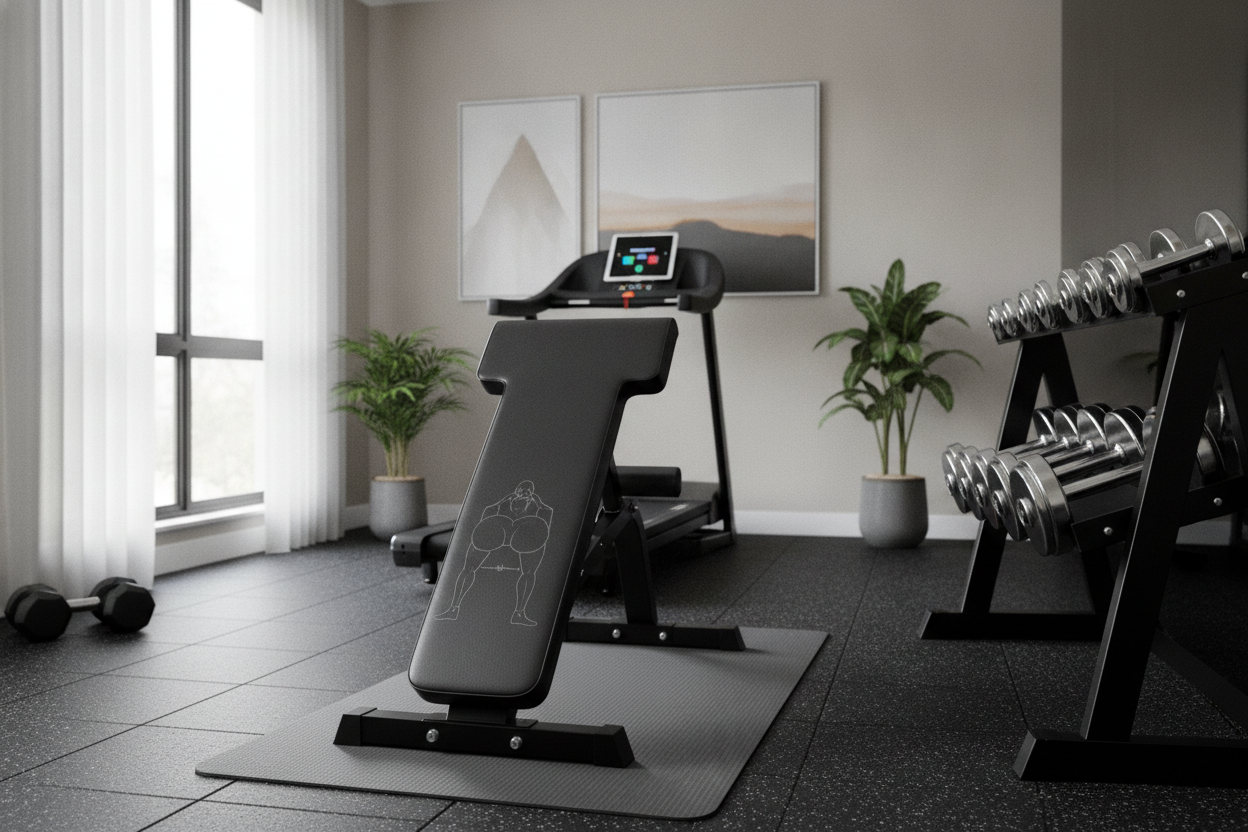
Setup is where 90% of people fail. You need a solid pivot point. I personally use a Gxmmat Adjustable Weight Bench because it has enough grip to stay put on the floor and the height is perfect for getting my shoulder blades right on the edge. If your bench is too high, you'll struggle to get a full range of motion; if it's too low, you'll be awkward at the lockout.
Position yourself with your shoulder blades resting against the bench. Your feet should be flat on the floor, about shoulder-width apart. When you reach the top of the movement, your shins should be vertical—like table legs. If your feet are too far out, you'll feel it in your hamstrings. Too close to your butt, and your quads will take over. It takes some trial and error to find your 'sweet spot,' so don't be afraid to shimmy your feet around until the glutes scream.
Stop Overarching Your Lower Back
This is the most common mistake I see in my home gym coaching. People think that 'higher is better,' so they arch their back to get the hips up. Stop it. Your ribs should stay pulled down toward your belt line. Think about a 'posterior pelvic tilt'—tucking your tailbone under you as you drive up. If you look at the ceiling, you’ll arch. If you keep your chin tucked to your chest and look straight ahead, your spine will naturally stay in a safer, more effective position.
Exactly How Many Hip Thrusts Should I Do Without Weights?
I get asked this constantly: how many hip thrusts should i do without weights before I'm just wasting my time? The answer isn't a magic number, but a feeling. For most beginners, I recommend 3 to 4 sets of 15 to 20 repetitions. But here is the catch—each rep must include a 2-second hard squeeze at the top. If you are just pumping through reps like a piston, you aren't building anything.
Focus on 'time under tension.' If you do 20 reps with a 2-second pause, that is 40 seconds of intense glute contraction per set. That is plenty of stimulus to start seeing changes in muscle tone and strength. If you can breeze through 20 reps without feeling a deep burn, you are either a glute god or, more likely, you are using your momentum instead of your muscles. Slow down the eccentric (the way down) and hold the top.
Three Signs You Are Finally Ready to Add Weight
Don't rush the process. I stayed on bodyweight thrusts for a full month when I was coming back from a back injury, and it was the best thing I ever did for my lifting career. You are ready to add weight when you hit these three benchmarks: First, you can do 20 reps with a 2-second pause without your form breaking down. Second, you feel zero pain in your lower back during or after the set. Third, you can actually 'feel' your glutes doing the work from the first rep to the last.
Once you hit those marks, you can start looking at How to Load a Free Weight Hip Thrust Without the Bruises. Loading the movement is a skill in itself, and you want to make sure you aren't trading your skin and bone comfort for a few extra pounds on the bar. Start small and stay consistent.
The First Step Up: Dumbbells and Bumper Plates
You don't have to go from zero to a 45-lb Olympic bar. That is a huge jump for many people. My favorite bridge is using a single plate from my Gxmmat Bumper Plate Sets. A 25-lb bumper plate is wide enough to sit comfortably across your lap without digging into your hip bones like a dumbbell might. It provides just enough resistance to challenge that lockout without compromising your mechanics.
Rest the plate right in the crease of your hips. You might want to use a small towel or a foam pad if it feels uncomfortable. Perform the exact same movement—chin tucked, ribs down, 2-second squeeze. If you can handle a 25-lb plate for 15 reps, then you can move up to a 45-lb plate. Only after you've mastered the 'plate thrust' should you bother with the setup of a full barbell and rack.
Beginner Hip Thrust FAQ
Where should my eyes be looking?
Look straight ahead at the opposite wall. Never look at the ceiling. Keeping your gaze forward helps maintain the chin tuck, which protects your lower back and keeps the focus on your glutes.
How often should I train them?
Since bodyweight thrusts have a lower recovery demand than heavy barbell work, you can do them 3 times a week. Just make sure you have at least one day of rest between sessions to let the tissue recover.
What if I only feel it in my quads?
Your feet are likely too close to your butt. Move your feet forward a few inches. This changes the knee angle and forces the posterior chain to take over the drive.