Why I Replaced Single-Leg Work With the B-Stance Hip Thrust
I used to spend half my lower-body sessions looking like a baby giraffe on ice. I was trying to chase that unilateral glute burn with standard single-leg hip thrusts, but I spent more energy trying not to tip over than I did actually moving the weight. My garage floor isn't exactly level, and my balance is even worse. That all changed when I finally committed to the b-stance hip thrust.
Stop Fighting Your Balance (And Start Lifting)
Traditional single-leg work is great in theory, but in a home gym, it’s often a logistical nightmare. You're trying to keep one leg hovering in the air while balancing a dumbbell on your hip and hoping your bench doesn't slide. It’s a mess. The frustration of failing a set because of your vestibular system rather than your glute strength is real.
The staggered stance hip thrust solves this by giving you a 'kickstand.' You get all the benefits of unilateral training—fixing those left-to-right strength gaps—without the circus act. It’s the middle ground that actually lets you load the movement heavy enough to see results.
- Stability: The non-working leg stays on the ground, providing a tripod-like base.
- Heavy Loading: You can use 50-100% more weight than a true single-leg variation.
- Mind-Muscle Connection: You can actually feel the working glute because you aren't panicked about falling.
- Versatility: Works equally well with a barbell, dumbbell, or sandbag.
What Actually Is the Kickstand Setup?
If you're wondering what is b stance hip thrust mechanics exactly, it’s all about the weight distribution. You aren't using both legs equally. Instead, you shift about 70-80% of the load onto your working leg. The other leg—the B-stance leg—is positioned slightly forward, resting on the heel or toe to act as a stabilizer.
In my setup, I found that using a dedicated Gxmmat Hip Thrust Bench makes a world of difference. Standard flat benches are often too tall (17 inches is the industry standard, but 12-14 inches is better for thrusts), which makes locking in that staggered hip thrust position feel awkward. A lower, stable platform allows you to drive through the working heel without the bench tipping backward.
How to Nail the Staggered Stance on Your First Try
Learning how to do b stance hip thrust movements starts with your feet. Set up like a normal thrust, then slide one foot forward about half a foot-length. This creates your hip thrust stance. You can experiment with a narrow stance hip thrust for more direct gluteal focus or a slightly wider stance if you have longer limbs and need more room for your hips to hinge.
The key to the b stance hip thrust muscles worked is the pivot. Your shoulder blades should act as the hinge on the bench. As you drive up, tuck your chin. This keeps your spine neutral and prevents you from arching your lower back. If you feel it more in your quads, move your working foot slightly further out. If it's all hamstrings, pull that foot in closer to the bench.
Dumbbells vs. Barbells for the B-Stance
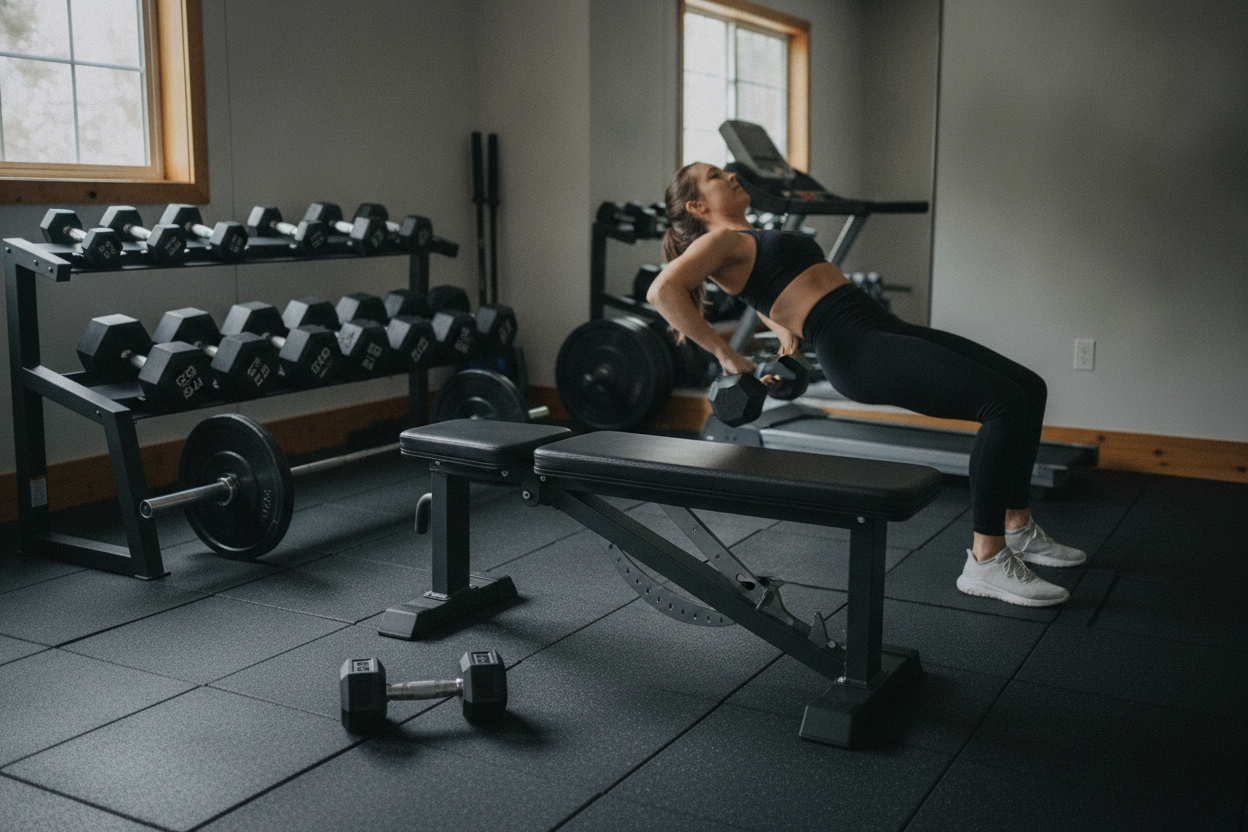
In a cramped garage, the b-stance hip thrust with dumbbell is usually my go-to. Dragging a seven-foot Olympic bar into a 6x8 foot corner just to do unilateral work is a chore. A b stance dumbbell hip thrust is faster to set up and easier to bail on if your form breaks down. I actually swapped my barbell for the dumbbells hip thrust for most of my accessory days because the setup-to-work ratio is just better.
If you are going heavy, you'll want to know how to do a dumbbell hip thrust without crushing your pelvis. Use a thick foam pad or even a rolled-up yoga mat. The barbell b stance hip thrust is great for max strength, but for high-rep hypertrophy, the dumbbell is king. It allows for a more natural path and doesn't require a squat rack just to load the plates.
Why I Prefer the B-Stance Over the Standard Two-Leg Thrust
When comparing b-stance hip thrust vs hip thrust (the standard two-leg version), it comes down to intent. The standard version is for moving the most weight possible. But most of us have a 'lazy' side. The b stance glute bridge or thrust forces that weaker side to show up and do the work. It’s also a great bridge to the b stance kas glute bridge, which uses a smaller range of motion to keep constant tension on the muscle fibers.
The biggest of the b stance hip thrust benefits is the reduced systemic fatigue. You don't need 400 lbs on the bar to get a stimulus. You can get a brutal workout with a 50-lb dumbbell and some focus. That means less wear and tear on your spine and a lot more growth in your glutes.
Personal Experience: My 'Aha' Moment
I spent years ego-lifting on the barbell thrust. I’d load up four plates and wonder why my lower back felt like a discarded accordion the next day. When I switched to the b stance bridge and started using 100-lb dumbbells, my glute development actually improved because I was finally hitting the target muscle instead of just 'surviving' the set. My biggest mistake was trying to keep the kickstand leg too active—remember, that leg is just there for balance, not for pushing.
FAQ
Is b stance better than single leg?
For 90% of people, yes. It offers more stability which allows for higher mechanical tension. You spend less time wobbling and more time actually fatiguing the muscle.
Where should I feel the b-stance hip thrust?
You should feel it primarily in the glute of the leg that is planted firmly on the ground. If you feel it in your lower back, you're likely over-arching at the top of the movement.
Can I do this with a resistance band?
You can, but it's tricky to keep the band from sliding up your thighs. A stance hip thrust is best served with some form of dead weight like a dumbbell or kettlebell.