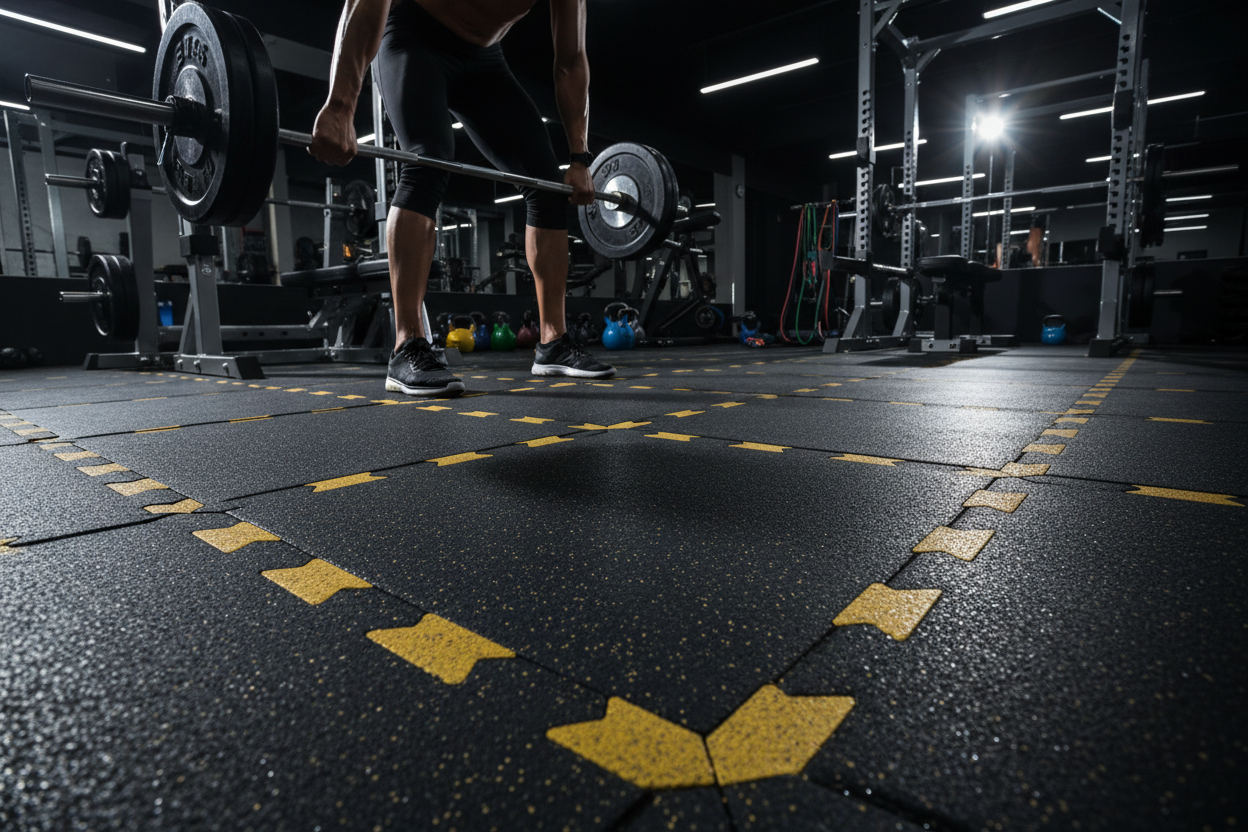
Tiles for Gym Floor: Stop Wasting Money on Bad Mats
Dropping a 400lb deadlift on bare concrete is a recipe for disaster. Whether you're dealing with a cold basement or a noisy garage, your flooring is the unsung hero of your training space.
Choosing the right tiles for gym floor setups isn't just about aesthetics; it's about protecting your equipment, your foundation, and your joints. In this guide, we'll break down exactly what to look for so you can build a safe, durable foundation for your home gym without overspending.
Key Takeaways
- Thickness matters: 3/8-inch to 1/2-inch is the sweet spot for most home gyms, while 3/4-inch is required for heavy Olympic lifting.
- Material dictates durability: Vulcanized rubber offers superior shock absorption compared to cheap EVA foam.
- Interlocking designs save time: They require no adhesive and can be easily replaced if a single tile gets damaged.
- Density prevents compression: High-density tiles won't squish under heavy power racks or treadmills.
Decoding Thickness and Material
Foam vs. Rubber
You'll often see cheap EVA foam marketed as gym mat floor tiles. While foam is fine for yoga or light stretching, it completely compresses under heavy loads like squat racks and dumbbells. For serious strength training, you need high-density rubber to provide a stable, safe lifting platform.
Finding the Right Thickness
If you're just using kettlebells and a stationary bike, a 3/8-inch thickness is plenty. However, if you're dropping loaded barbells, you'll want to upgrade to 1/2-inch or even 3/4-inch interlocking rubber gym flooring tiles to absorb the impact and prevent concrete micro-fractures.
Sizing Up Your Space
Measuring for Garage and Basement Gyms
Most premium tiles come in 24x24 inch (2x2 feet) squares. When planning your layout, buy 10% more than your square footage dictates to account for wall cuts, awkward corners, and future expansions.
The Interlocking Advantage
The beauty of interlocking tiles is that they float over your existing floor. You don't need messy glues or professional installers. Just a rubber mallet, a utility knife, and a straight edge are all it takes to fit them perfectly around support columns or drywall edges.
From Our Gym: Honest Take
When we outfitted our main testing garage last winter, we initially skimped on flooring to budget for a fancier functional trainer. Big mistake. Within three months, our cheap foam tiles were permanently indented by the power rack, and dropping a 45lb bumper plate sounded like a bomb going off. We eventually swapped everything out for 1/2-inch commercial-grade rubber tiles.
The difference in shock absorption was night and day, and my knees definitely thanked me during heavy plyometric circuits. The only caveat? Fresh rubber tiles have a distinct 'tire shop' smell for the first week. Make sure to leave your garage door open and run a fan to let them off-gas.
Frequently Asked Questions
Are tiles for gym floor setups better than rolled rubber?
Tiles are generally better for DIY home gym owners because they are easier to transport, cut, and install solo. Rolled rubber is incredibly heavy and often requires adhesive, making it better suited for large commercial spaces.
Can I put a power rack directly on top of gym floor tiles?
Yes, provided you are using high-density interlocking rubber gym flooring tiles. Cheap foam tiles will compress and cause your rack to wobble, which is a major safety hazard.
How do I clean my rubber gym tiles?
Vacuum up loose chalk and dust first. Then, mop with a mixture of warm water and a few drops of mild dish soap or a specialized pH-neutral rubber floor cleaner. Avoid bleach or ammonia-based products.

