
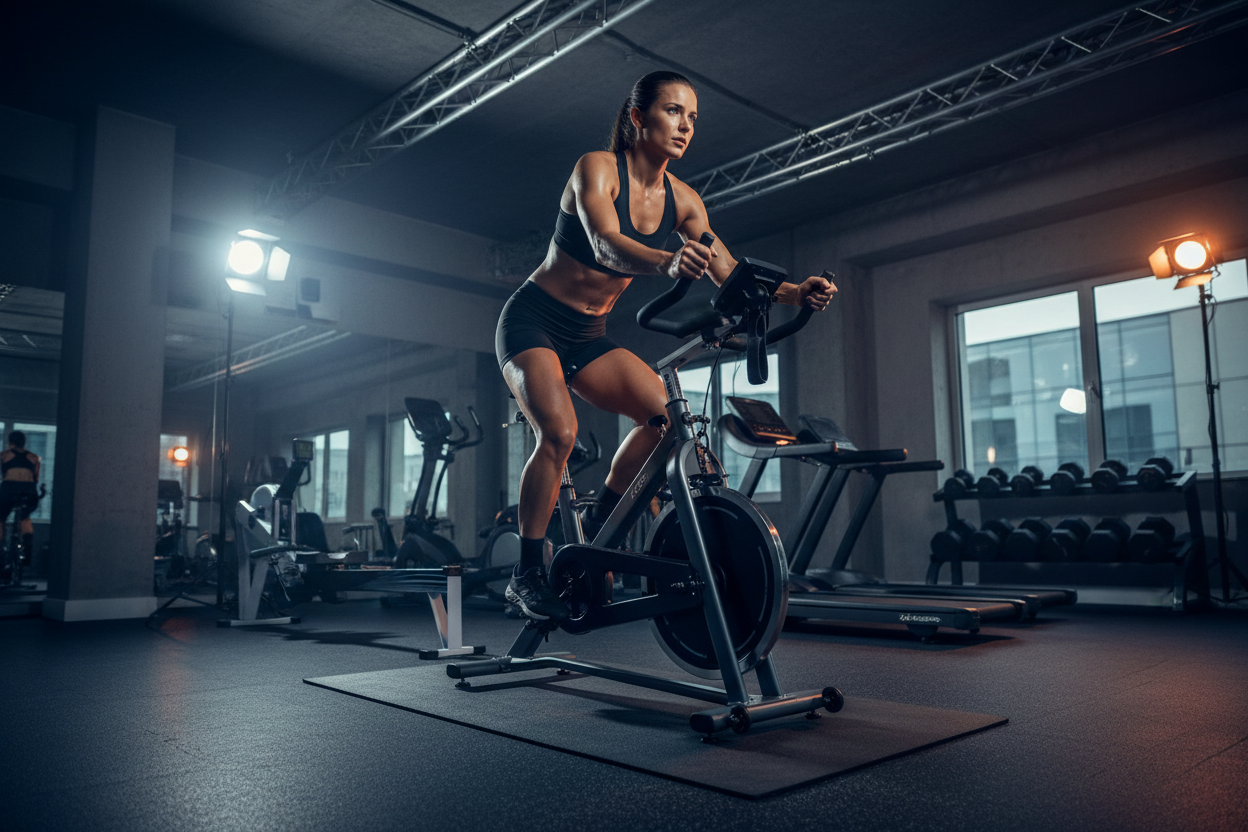
Stop Mimicking Bad Images of Squat Exercise (Visual Guide)
When you scroll through social media or Google looking for motivation, you are bombarded with images of squat exercise variations. But here is the hard truth: mimicking a static photo without understanding the mechanics behind it is a one-way ticket to injury. A picture captures a split second, often posed for aesthetics rather than biomechanical efficiency.
You need to look past the lighting and the outfit. You need to understand the angles, the tension, and the leverage points hidden within a squat photo. This guide breaks down exactly how to interpret visual references so you can translate them into safe, heavy lifts in the gym.
Key Takeaways: Analyzing Squat Visuals
- Check the Spine: In valid squat exercise images, the spine should remain neutral, not hyperextended or rounded (butt wink).
- Knee Tracking: Look for pictures of squats where the knees track directly over the toes, not caving inward (valgus).
- Depth Perception: A proper squat pic shows the hip crease dropping below the top of the knee (parallel or lower).
- Bar Placement: Distinguish between High Bar (traps) and Low Bar (rear delts) in squat workout images, as this dictates torso angle.
- Foot Stability: Good visuals show the weight distributed across the tripod of the foot, not lifting the heels.
Decoding the Setup: What to Look For
Before the movement even starts, the setup dictates success. When examining a picture of squat exercise setups, focus entirely on the feet and the upper back tightness.
Foot Stance and Angle
In most high-quality squat images, you will notice the stance width varies based on anatomy. However, the universal visual cue is the relationship between the foot and the knee. If you see a squat picture where the toes are pointed straight forward but the knees are angled out, that lifter is creating unnecessary torque. Look for alignment. The toes should turn out slightly (15-30 degrees), and the knees must follow that exact line.
The Upper Back Shelf
Zoom in on the upper body in squat exercise pictures. You shouldn't see a relaxed back. You should see the elbows tucked down and the chest puffed up. This creates a rigid "shelf" for the barbell. If a squat photo shows the elbows flaring backward like chicken wings, the lifter has lost upper back tightness, which will cause the chest to collapse forward during the ascent.
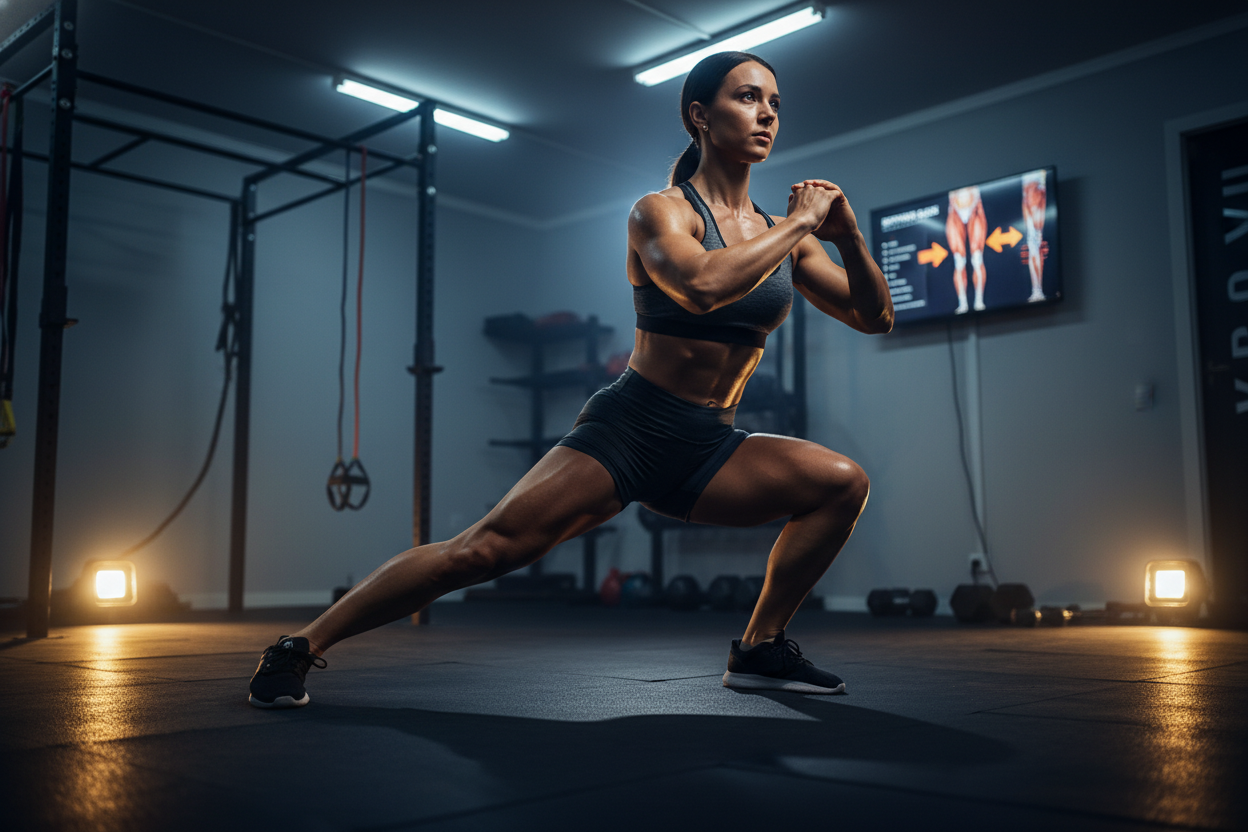
The Descent: Analyzing Depth and Hinge
This is where most people get confused by pictures of squats. A photo taken from a low angle makes a squat look deeper than it is, while a high angle flattens the depth.
The Hip Hinge Visual
Look for squat pics that capture the very start of the movement. The hips should unlock simultaneously with the knees. If you see an image where the knees shoot forward before the hips move, that is a visual example of a "knee-dominant" movement, which often leads to joint pain. Correct squat exercise images show the hips moving back and down, like sitting into a chair.
True Parallel
Don't be fooled by half-reps. A useful squat wallpaper or reference photo demonstrates full range of motion. The visual standard is the hip crease dropping below the top of the knee cap. If the photo shows the thighs parallel to the floor but the hip crease is higher than the knee, that is technically high. Use these visuals to calibrate your own depth when filming your sets.
Common Visual Lies in Fitness Photography
Not all squats photo examples on the internet are good for educational purposes. Fitness influencers often arch their backs excessively to accentuate glute shape. This is dangerous to replicate.
When searching for a squat workout images reference, ignore photos where the lifter is looking at the ceiling (strains the neck) or looking at their feet (rounds the upper back). The gaze should be neutral or slightly down. Furthermore, be wary of squats exercise pics involving Smith Machines if you are training with free weights; the biomechanics and center of gravity are completely different.
My Training Log: Real Talk
I remember the first time I tried to replicate the form from a famous bodybuilder's squat picture I saw in a magazine. The guy had a perfectly vertical torso, knees way over his toes, looking effortless.
I loaded the bar, forced my body into that upright posture, and immediately felt a sharp, pinching impingement in the front of my hips. I wasn't built like him. I have long femurs. That photo didn't show the 20 minutes of ankle mobility work he did beforehand, or the fact that he was wearing Olympic lifting shoes with a raised heel.
The reality of my squatting experience is much grittier than a stock photo. It's the feeling of the barbell knurling digging into my traps so hard it leaves a red abrasion that stings when I shower. It's the specific, shaky wobble in my quads on the final rep that a static image can never convey. Visuals are great starting points, but they don't capture the internal pressure of the brace or the mental fight against gravity.
Conclusion
Using images of squat exercise technique is a fantastic way to learn, provided you know how to filter the bad form from the good. Stop looking at the outfit or the physique, and start analyzing the joint angles, the spine position, and the foot stability. Use these pictures as a map, but let your body's feedback be the compass.
Frequently Asked Questions
How can I tell if a squat photo shows good form?
Check the spinal alignment. A straight line should run from the head to the hips. Additionally, ensure the heels are planted flat on the ground and the knees are not collapsing inward toward each other.
Why do my squats look different than the pictures?
Anatomy plays a massive role. Femur length, hip socket depth, and ankle mobility dictate your specific squat mechanics. You may lean forward more than a model in a stock photo, and that is perfectly fine as long as the bar path remains vertical over the mid-foot.
Where can I find accurate squat exercise images for reference?
Avoid general stock photography sites. Instead, look for resources from reputable strength and conditioning coaches, powerlifting federations, or medical journals which prioritize biomechanics over aesthetics.