Stop Guessing: The shoulder exercises chart That Saved My Joints
I used to wake up every Monday morning with a nagging clicking sound in my left AC joint. It was the predictable result of years of 'winging it' in my garage gym, chasing a heavy overhead press while completely ignoring the muscles I couldn't see in the mirror. I had the classic 'gorilla posture'—overdeveloped front delts pulling my shoulders forward, making my chest look smaller and my neck look stiff. I finally realized that my random assortment of dumbbell raises wasn't a program; it was a recipe for a labrum tear.
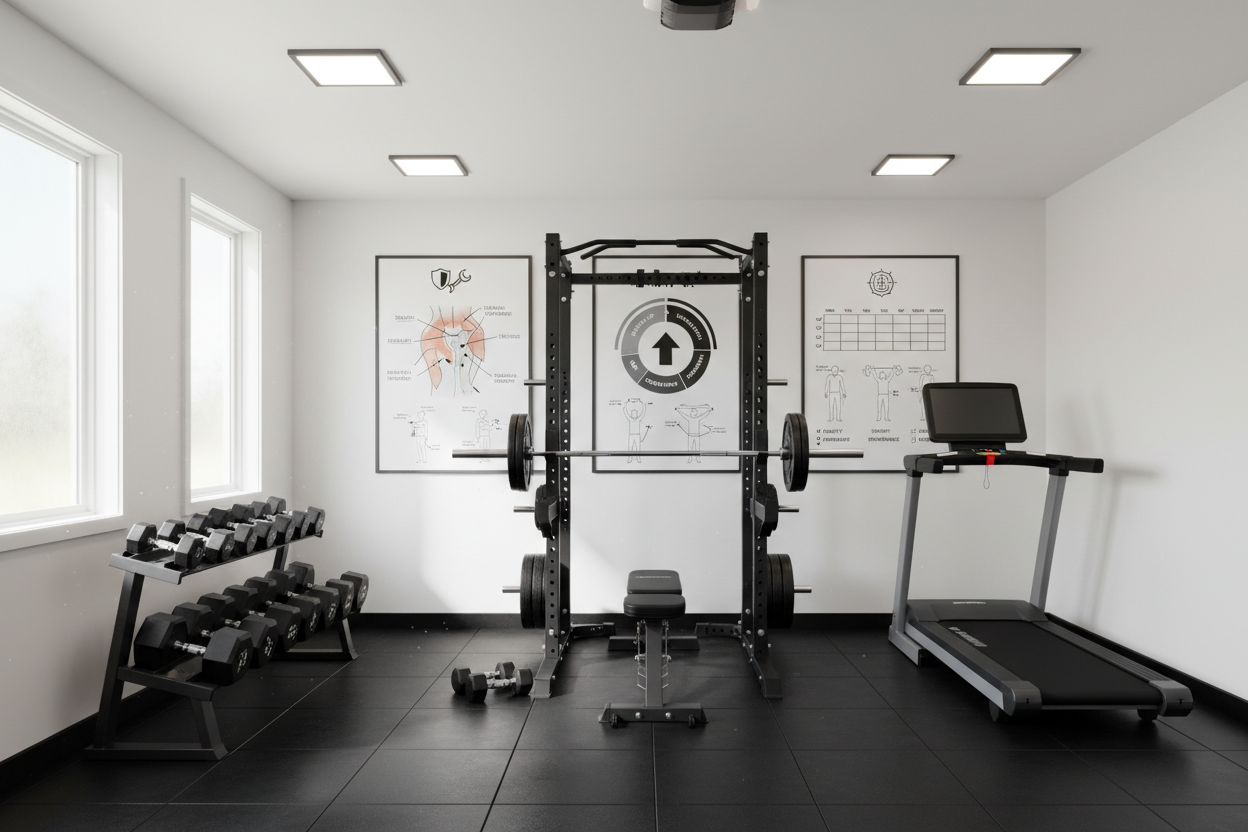
Everything changed when I stopped scrolling Instagram for 'burnout' finishers and actually sat down to map out a shoulder exercises chart. I needed a visual blueprint that forced me to treat my shoulders like a three-dimensional structure rather than just a shelf for a barbell. This wasn't about adding more weight; it was about adding the right angles. If you are tired of shoulder pain and stalled progress, it is time to look at your training through a more systematic lens.
- Balance is King: You need a 1:1 ratio of pulling to pushing to keep your joints centered.
- Visual Cues Matter: A physical chart prevents you from skipping the 'boring' rear-delt work.
- Anatomy First: Target the anterior, lateral, and posterior heads specifically every week.
- Trackable Growth: Using a fixed set of movements allows for actual progressive overload.
Why I Stopped Winging It on Shoulder Day
For a long time, my shoulder routine was basically 'press until it hurts, then do some side raises.' I thought that as long as I was moving heavy iron, the growth would follow. But the human shoulder is the most mobile joint in the body, which also makes it the most unstable. By randomly picking exercises, I created massive imbalances. My front delts were doing 90% of the work, even on chest day, while my rear delts were practically non-existent. Before you dive into specific muscle group programming, it is worth checking out a broader Workout Hub to see how these pieces fit into a full-body split.
The turning point was a failed 205-lb overhead press where my shoulder didn't just give up; it felt like it shifted out of place. I wasn't weak; I was unstable. I had spent years neglecting the small stabilizer muscles and the posterior head of the deltoid. I realized I needed a repeatable system. I needed a way to ensure that for every pressing movement I did, I was doing a corresponding fly or pull. That is where a structured visual guide became my most valuable piece of equipment, more important than my belt or my sleeves.
The Problem With Most shoulder exercise diagrams
If you walk into a big-box commercial gym, you will usually see a faded poster on the wall with about 50 different shoulder exercise diagrams. They are usually bloated with 'junk volume'—movements that look cool but offer very little stimulus for the average lifter. You don't need 14 different ways to do a front raise. In fact, most of us should probably stop doing isolated front raises altogether, considering how much work the anterior delt gets during bench and incline sessions.
Most of these charts are designed to look impressive, not to be functional. They confuse lifters by giving them too many choices. When you have 50 options, you end up doing the easy ones. A real, effective chart shouldn't be a menu; it should be a map. It needs to filter out the fluff and focus on high-yield movements that actually build thickness and stability. I threw away the generic posters and started focusing on a lean selection of movements that actually translated to a wider frame and healthier rotators.
Breaking Down a Real shoulder workout diagram
A functional shoulder workout diagram should be divided into three distinct zones: the anterior (front), lateral (side), and posterior (rear) heads. If your chart doesn't clearly distinguish between these, it is useless. To get that '3D' look, you have to hit the lateral head to create width and the posterior head to create that rounded 'pop' from the side and back. You can't just press your way to a complete physique. I learned this the hard way after years of flat-looking shoulders despite a decent bench press. Understanding How To Build 3D Delts With The Right Shoulder Workout Exercise selection is the difference between looking like a lifter and just looking like you do manual labor.
Your chart should also include a section for 'scapular health.' These aren't the 'glamour' muscles, but things like Face Pulls and Y-raises are what keep your shoulders from screaming at you when you turn 40. I make sure my personal chart has a 'pre-hab' column that I hit before I ever touch a heavy dumbbell. This primes the nervous system and gets the synovial fluid moving in the joint. If you aren't targeting all three heads with specific intent, you are leaving 60% of your shoulder growth on the table.
Building Your Own printable shoulder workout
When you sit down to create your printable shoulder workout, simplicity is your best friend. Pick one heavy compound press—either a standing overhead press or a seated dumbbell press—as your primary mover. Then, pick two 'accessory' movements: one for the lateral delt (like a Lu Raise or a cable side raise) and one for the rear delt (like a chest-supported reverse fly). That is it. Three high-quality movements done with intensity will beat six mediocre exercises every single time. For a deeper look at the heavy hitters, I often refer to this guide on how to Build Boulder Shoulders The Ultimate Gym Workout Shoulder Exercises.
The beauty of a printable plan is that you can actually write your numbers down. If you did 50-lb dumbbells for 10 reps last week, you know exactly what you need to beat this week. Without that visual reminder, most people just 'feel' their way through a workout, which usually means they stop two reps short of actual growth. I keep my sheet on a clipboard right next to my rack. It keeps me honest. No junk volume, no 'creative' new moves I saw on TikTok—just the 4 movements that I know work, performed with perfect form and progressive weight.
Putting Your New shoulder workouts chart into Practice
Once you have your shoulder workouts chart ready, the execution is where the gains happen. In a home gym, space is usually at a premium. I do most of my seated work on a 6X8Ft Exercise Mat Yoga Mat Gym Flooring For Home Workout because it gives me a stable, non-slip base for my bench and protects my concrete floor from dropped iron. Having a dedicated 'lifting zone' where your chart is visible makes a massive psychological difference. You aren't just 'working out'; you are executing a plan.
Don't be afraid to swap an exercise out, but only after a 6-week block. If your elbows start to flare on upright rows, swap them for high pulls. The chart is a living document, but it shouldn't change every day. Stick to the blueprint, track your reps, and focus on the mind-muscle connection. When you stop guessing, you stop plateauing. My shoulders have never been bigger, and more importantly, they have never felt more stable.
FAQ
How many times a week should I use a shoulder chart?
For most natural lifters, hitting shoulders twice a week is the sweet spot. One day can focus on heavy pressing, while the second day focuses on higher-rep isolation work for the lateral and rear heads. This allows for recovery while keeping protein synthesis elevated.
Can I build big shoulders with just dumbbells?
Absolutely. In fact, dumbbells are often superior for shoulders because they allow for a more natural range of motion and prevent your dominant side from taking over. A solid pair of adjustable dumbbells and a bench are all you really need to execute a full chart.
Why do my shoulders click when I do lateral raises?
It is often due to 'impingement' where the tendon rubs against the bone. Try leaning slightly forward and rotating your thumbs slightly upward (the 'full can' position) rather than keeping your palms flat to the floor. This opens up the shoulder joint and usually clears up the clicking.