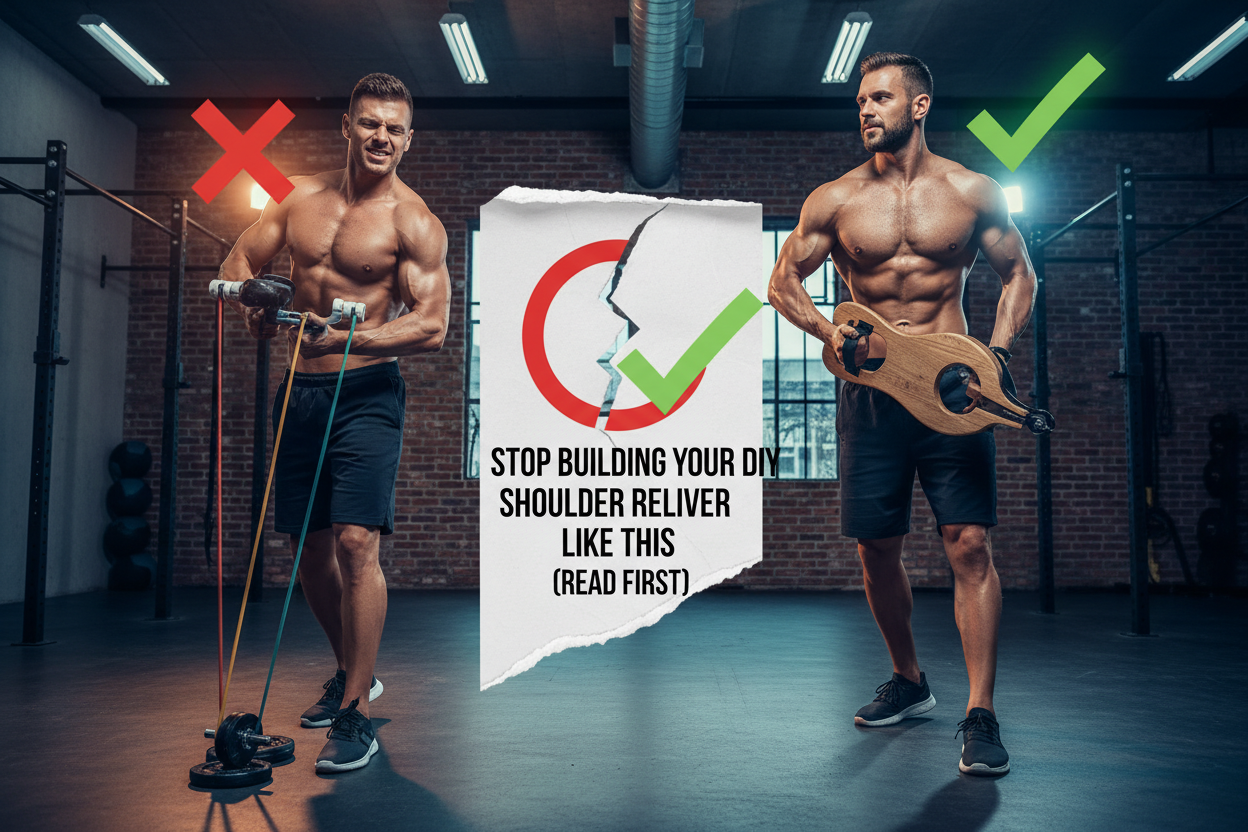
Stop Building Your DIY Shoulder Reliever Like This (Read First)
Shoulder pain is insidious. It wakes you up at night and turns putting on a jacket into a strategic operation. If you are dealing with impingement or rotator cuff tightness, you have likely seen the expensive traction devices online and wondered if you can rig up a solution at home. You absolutely can, but precision matters.
Building a diy shoulder reliever isn't just about tying a band to a doorknob; it is about replicating the specific biomechanical traction that creates space in the shoulder capsule. If you get the angle wrong, you are just irritating an already angry tendon. Let’s break down how to construct a setup that actually provides relief without risking further injury.
Key Takeaways: Safe DIY Traction
- Anchor Height Matters: The anchor point must be above shoulder height to allow for proper subacromial decompression.
- Passive Tension is Key: The goal is to let the arm hang 'dead' against the resistance; engaging the muscles defeats the purpose.
- Use Variable Resistance: A heavy loop resistance band is superior to static rope because it allows for gradual tissue lengthening.
- The 45-Degree Rule: Traction works best when the arm is abducted roughly 45 degrees from the body, not straight overhead.
The Mechanics: Why Traction Works
Before you start assembling gear, you need to understand the goal. Most chronic shoulder pain, specifically impingement, occurs when the space between your arm bone (humerus) and the top of your shoulder blade (acromion) narrows. This pinches the rotator cuff tendons.
A proper shoulder reliever diy setup aims to pull the head of the humerus down and out. This is called caudal glide. By creating this traction, you physically widen that gap, allowing blood flow to return to the area and giving the inflamed tissue a chance to breathe. It’s simple physics, but it requires a relaxed muscle state to work.
The Setup: Building Your Rig
You don't need PVC pipe or complex pulleys. You need reliable tension and a fail-safe anchor.
1. The Anchor Point
Do not trust a standard door latch with your body weight. The safest method is using a dedicated door anchor (the kind that comes with suspension trainers) thrown over the top of a sturdy door. Close the door and lock it. If you are in a garage gym, looping around a squat rack pull-up bar is ideal.
2. The Resistance Component
Use a thick, heavy-duty resistance band (usually the green or purple width). Static ropes are harsh and can trigger a "stretch reflex," causing your muscles to spasm and tighten up defensively. A band offers a dynamic pull that encourages the nervous system to let go.
3. The Cuff
This is where most DIY attempts fail. If you just grab the band with your hand, your grip muscles fire. When your grip fires, your rotator cuff fires. This breaks the traction. You need a loop or a cuff that goes around your wrist or elbow so your hand can remain limp.
Execution: The Passive Hang Technique
Once your rig is set, face the anchor point. Place your wrist inside the band loop. Step back until there is significant tension.
Here is the critical part: Turn your body away from the arm. If your right arm is in the band, rotate your torso to the left. Lean your body weight away from the anchor. You should feel a deep, dull pull inside the joint, not a sharp pinch on top of it. Hold this for 45 to 60 seconds. Breathe deep into the belly; tension release often happens on the exhale.
My Training Log: Real Talk
I have spent years managing a cranky supraspinatus from years of heavy bench pressing, so I have experimented with every iteration of this.
The first time I tried a homemade version, I used a thin red band and just gripped it with my fist. It was useless. My forearm pumped up, and my shoulder stayed tight. The game-changer for me was wrapping a small hand towel around my wrist before looping the heavy green band over it.
Without the towel, the latex digs into the skin and pulls on your arm hair—that sharp, stinging surface pain makes it impossible to mentally relax the deep shoulder muscles. The moment I added the padding, I could actually feel that distinct "pop" of relief, like a vacuum seal breaking in the joint. Also, a word of warning: check your band for micro-tears. I had a band snap mid-stretch once; the whip-crack sound alone nearly gave me a heart attack, let alone the welt it left on my lat.
Conclusion
A diy shoulder reliever can be a potent tool for managing impingement and restoring range of motion, provided you respect the anatomy. Focus on passive traction and ensure your anchor is bombproof. If you feel sharp pain, stop immediately—traction should feel like relief, not a fight.
Frequently Asked Questions
Is a DIY shoulder reliever safe for a torn rotator cuff?
If you suspect a tear, consult a physical therapist before trying traction. While gentle traction can help minor strains, aggressive pulling on a significant tear can worsen the injury or increase instability in the joint.
How often should I use my DIY traction setup?
Consistency beats intensity. Aim for 1-2 minutes per side, once or twice a day, preferably after a workout or a hot shower when the tissues are pliable. Doing it for 20 minutes once a week won't yield results.
Can I use a belt instead of a resistance band?
It is not recommended. A belt is static and doesn't provide the "give" necessary to bypass the body's protective stretch reflex. The elasticity of a band allows for a smoother, more gradual separation of the joint surfaces.

