Scale Your Exercise to Gym Standards on a Budget
I remember the exact moment a client realized their living room workout wasn't cutting it anymore. They were doing 50 bodyweight squats just to feel a burn, slipping on a cheap yoga mat, and knocking their knee against a coffee table. If you are tired of patching together random living room routines, it is time to scale your exercise to gym standards. As a personal trainer who has helped dozens of clients build out their spare rooms and garages, I know the pitfalls of buying the wrong gear.
You do not need commercial-grade machines to get a commercial-grade workout. You just need a smart progression plan. Let's walk through how to upgrade your space without wasting money on redundant equipment.
Quick Takeaways
- Start with high-density flooring to protect your joints and home foundation.
- Transition from bodyweight to adjustable free weights to save space and money.
- Prioritize a sturdy adjustable bench with a minimum 500-lb weight capacity.
- Structure your weekly splits just like you would in a commercial facility.
The Evolution of Your Home Workout Space
How do you know when to upgrade? The physical signs are usually obvious. You might find yourself doing endless reps of push-ups without achieving muscle failure, or maybe your current fitness exercise gym routine feels more like an endurance test than strength training. When you hit a plateau, your muscles are begging for progressive overload.
I always tell my clients to look at their current limitations. If you are stacking heavy textbooks on your back to make planks harder, you have outgrown your setup. Transitioning to a structured equipment-based space requires a massive mindset shift. You are no longer just moving around in the living room; you are building a dedicated training zone.
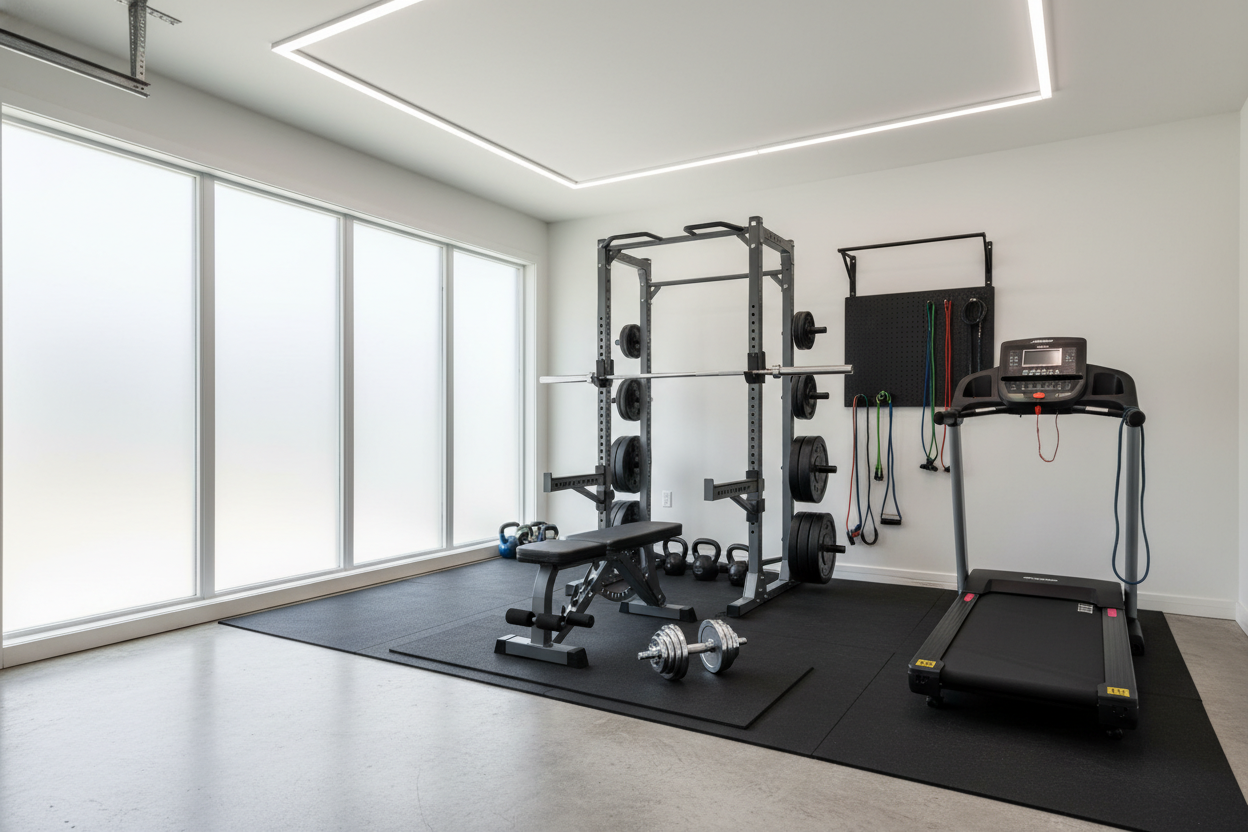
This means clearing out the clutter and dedicating a minimum of a 6x6 foot area strictly for lifting. It is about creating an environment that commands respect the moment you step into it. The goal is to eliminate friction between deciding to work out and actually lifting the weights.
Foundation First: Protecting Your Floors and Joints
Before you even think about buying heavy metal plates or a shiny new rack, you have to look down. The very first investment must be proper flooring. I have seen clients crack hardwood floors and shatter tiles because they dropped a 35-pound dumbbell on a flimsy foam puzzle piece. Standard room floors are simply not engineered to handle intense gym workout exercises safely.
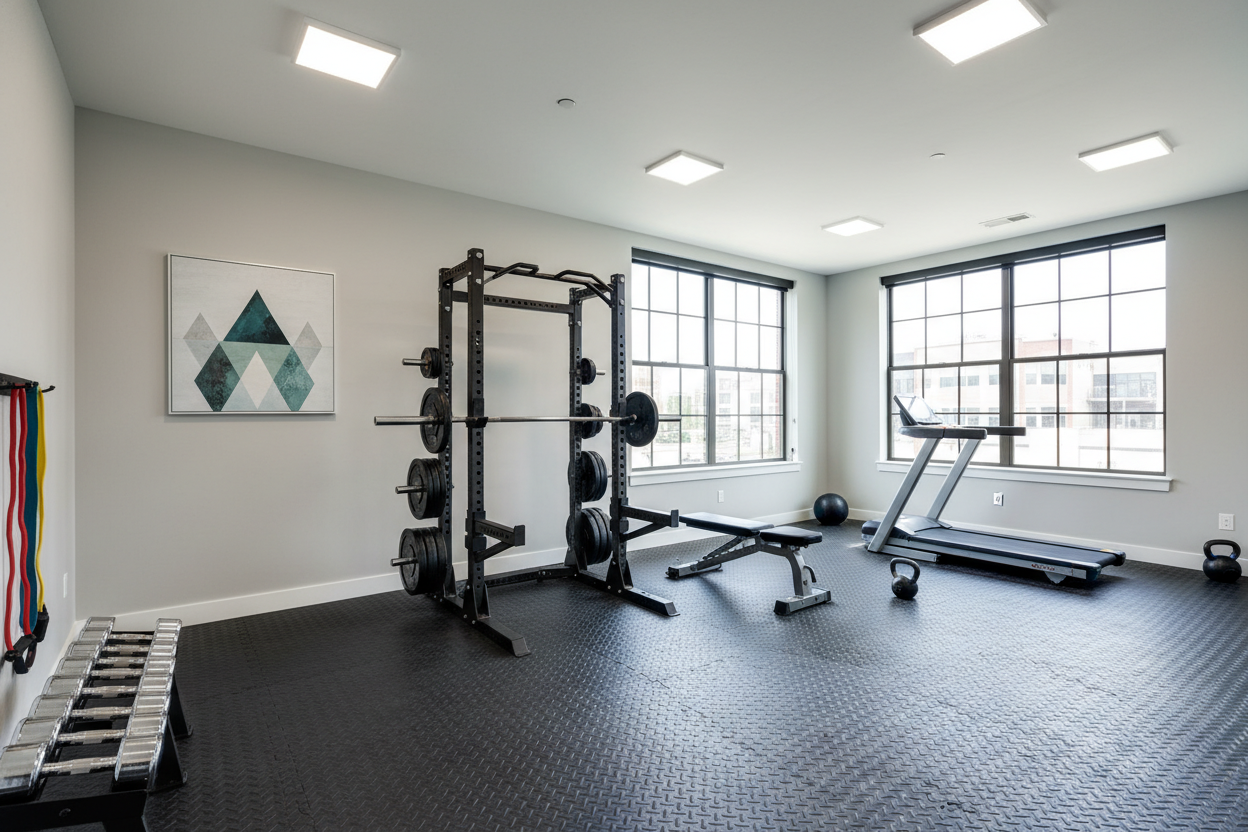
When you start lifting heavier weights or doing high-impact plyometrics like burpees and box jumps, you need serious shock absorption. A thin 3mm yoga mat will leave your knees bruised and your floorboards dented. You need a dedicated, heavy-duty surface that will not slide around when you sweat. I always recommend laying down a durable 6x8ft exercise mat. This exact dimension gives you enough square footage to perform walking lunges and lateral movements without stepping off the edge.
Good flooring also dampens noise. If you live in an upper-level apartment or work out while the kids are sleeping, soundproofing is critical. High-density mats absorb the clanking of weights and the thud of jumping jacks. It creates a stable base that prevents your bench from shifting during heavy presses. Do not skip this step. A solid foundation protects your joints from repetitive stress and saves your security deposit.
Selecting Essential Resistance Gear
Once your floor is protected, it is time to bring in the resistance. The goal is to replicate the exercise gym experience without turning your spare bedroom into a cluttered storage unit. You want versatile, compact gear that covers multiple movement patterns.
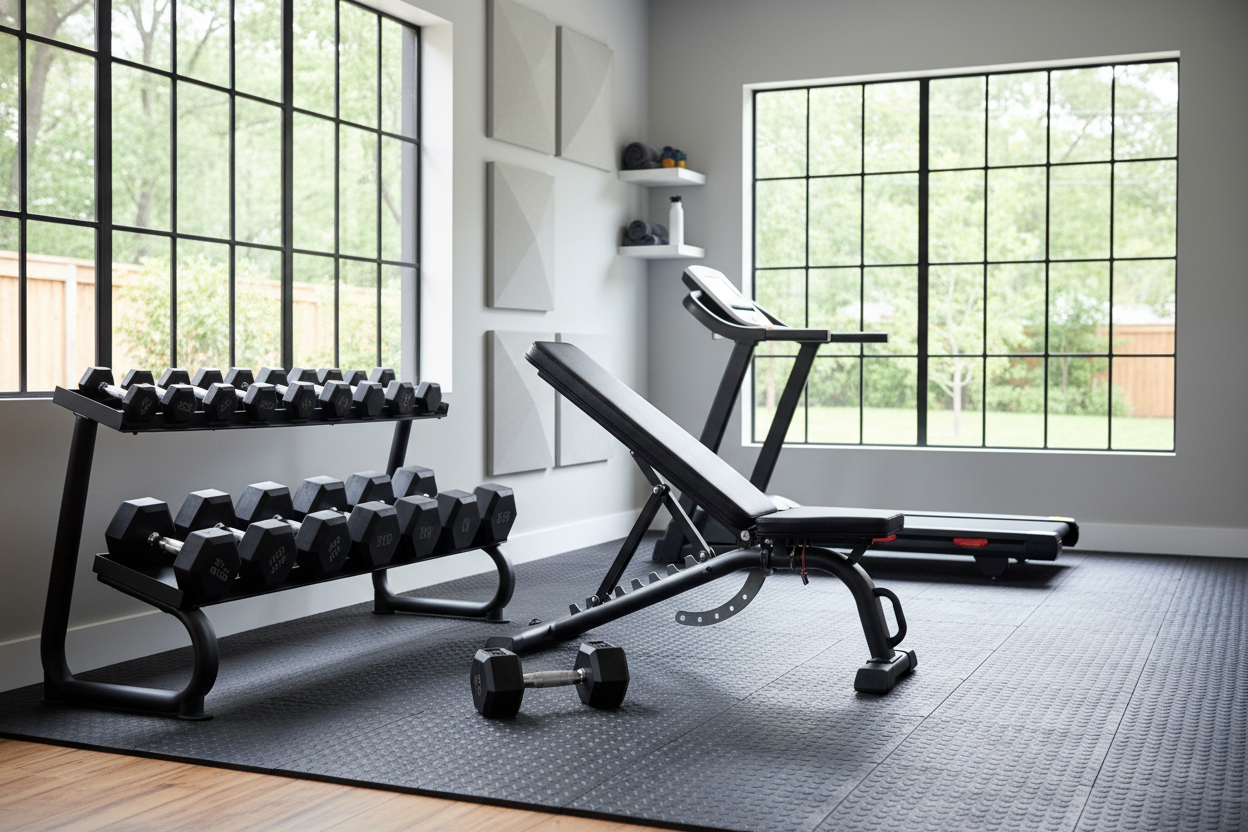
Start with adjustable dumbbells. A pair that ranges from 5 to 52.5 pounds replaces 15 sets of traditional dumbbells. They take up less than two square feet and allow you to perform everything from heavy goblet squats to isolated bicep curls. Pair these with an adjustable FID (Flat, Incline, Decline) bench. Look for a bench with at least a 500-pound weight capacity and a wide back pad for shoulder stability.
Next, consider a pull-up bar and a set of resistance bands. Bands are fantastic for accommodating resistance and offer up to 150 pounds of tension for rows, triceps pushdowns, and assisted pull-ups. They weigh almost nothing and hang neatly on a simple door anchor.
If you have a slightly larger budget and more space, you might be tempted by larger setups. Before dropping thousands on a massive multi-station rig, research your options. You can read up on the best exercise machines for home to decide if a compact cable tower or a foldable cardio rower makes sense for your specific goals. Stick to equipment that allows for compound movements first.
Adapting Free Weights vs. Machines
The debate between free weights and machines is amplified when square footage is tight. In a commercial setting, you might use five different leg machines. At home, you need to rely on the best fitness exercises using free weights to get the exact same stimulus. Dumbbells and kettlebells force you to engage stabilizer muscles, offering a superior functional workout compared to seated machine tracks.
However, if you are recovering from an injury or specifically want to isolate muscles without joint strain, a compact functional trainer is worth the footprint. A basic dual-pulley system fits into a corner and provides constant tension for chest flys and lat pulldowns. To really understand how to blend these elements, you should learn how to build a pro gym setup using a smart mix of versatile free weights and one anchor machine. Keep it simple and prioritize gear that serves at least three different exercises.
Programming Your Upgraded Space
Having the right gear is useless if you don't know how to use it. When clients upgrade their home setup, they often suffer from shiny object syndrome. They try to use every piece of equipment in a single session, leading to junk volume and burnout. You need to structure your exercise for gym equipment effectively.
I recommend starting with a classic upper and lower split, four days a week. This allows for adequate recovery and ensures you hit every major muscle group twice.
- Monday: Lower Body Focus. Start with dumbbell goblet squats for 4 sets of 8-10 reps. Move into Romanian deadlifts with your heaviest adjustable settings. Finish with walking lunges and calf raises.
- Tuesday: Upper Body Push and Pull. Begin with incline dumbbell presses for 4 sets of 8-12 reps. Follow up with single-arm dumbbell rows, overhead shoulder presses, and banded face pulls to protect your rotator cuffs.
- Thursday: Lower Body Volume. Switch to unilateral movements like Bulgarian split squats and single-leg glute bridges. Keep the reps higher, around 12-15 per leg.
- Friday: Upper Body Isolation. Focus on arms and shoulders. Bicep curls, triceps overhead extensions, and lateral raises.
Track your workouts in a notebook. Write down the weights and reps. The principle of progressive overload still applies in your living room. If you benched 40-pound dumbbells for 8 reps last week, aim for 9 reps this week.
Maintaining Consistency in Your New Environment
The biggest challenge of working out at home isn't the lack of equipment; it is the abundance of distractions. The couch is right there. The laundry needs folding. To maintain long-term gym fitness exercise habits, you have to treat your upgraded space with the same respect as a commercial facility.
Set strict operating hours for your home gym. If your workout time is 6:00 AM, you step onto the mat at 6:00 AM, no excuses. Visual cues help trigger psychological readiness. Laying down a large exercise mat for home gym use physically defines the boundaries of your workout zone. When you step onto that rubber surface, you are no longer in your bedroom or garage; you are in the gym. Put on your actual workout shoes, queue up your playlist, and get to work.
Trainer's Notes: Real Equipment Testing
Over the past five years, I have personally tested dozens of home setups. One piece of gear I extensively tested was a popular brand of 50-pound adjustable dumbbells. They saved massive amounts of space and allowed me to quickly drop set from 50lbs down to 20lbs in seconds. The downside? They are incredibly bulky. The length of the dumbbell remains the same even if you only select 10 pounds, which makes movements like chest flys a bit awkward at the top of the rep. Still, the space-saving benefits far outweighed that minor inconvenience.
Frequently Asked Questions
How much space do I actually need for a home gym?
A 6x6 foot area is the absolute minimum for safely performing dumbbell and kettlebell exercises. If you plan to add a bench and a rack, aim for at least an 8x10 foot space to move comfortably.
Are adjustable dumbbells worth the high upfront cost?
Yes. Buying individual pairs of dumbbells from 5 to 50 pounds will cost significantly more and take up an entire wall. Adjustable sets are the most cost-effective resistance investment you can make for a small space.
How do I protect my floors from heavy deadlifts?
Standard yoga mats will not cut it. You need high-density PVC or rubber flooring that is at least 7mm thick to absorb the shock and prevent structural damage to your floors.